| Front page › Mobile client › Menu › Picking › Select lists | Search | Version: 2.9.3 |
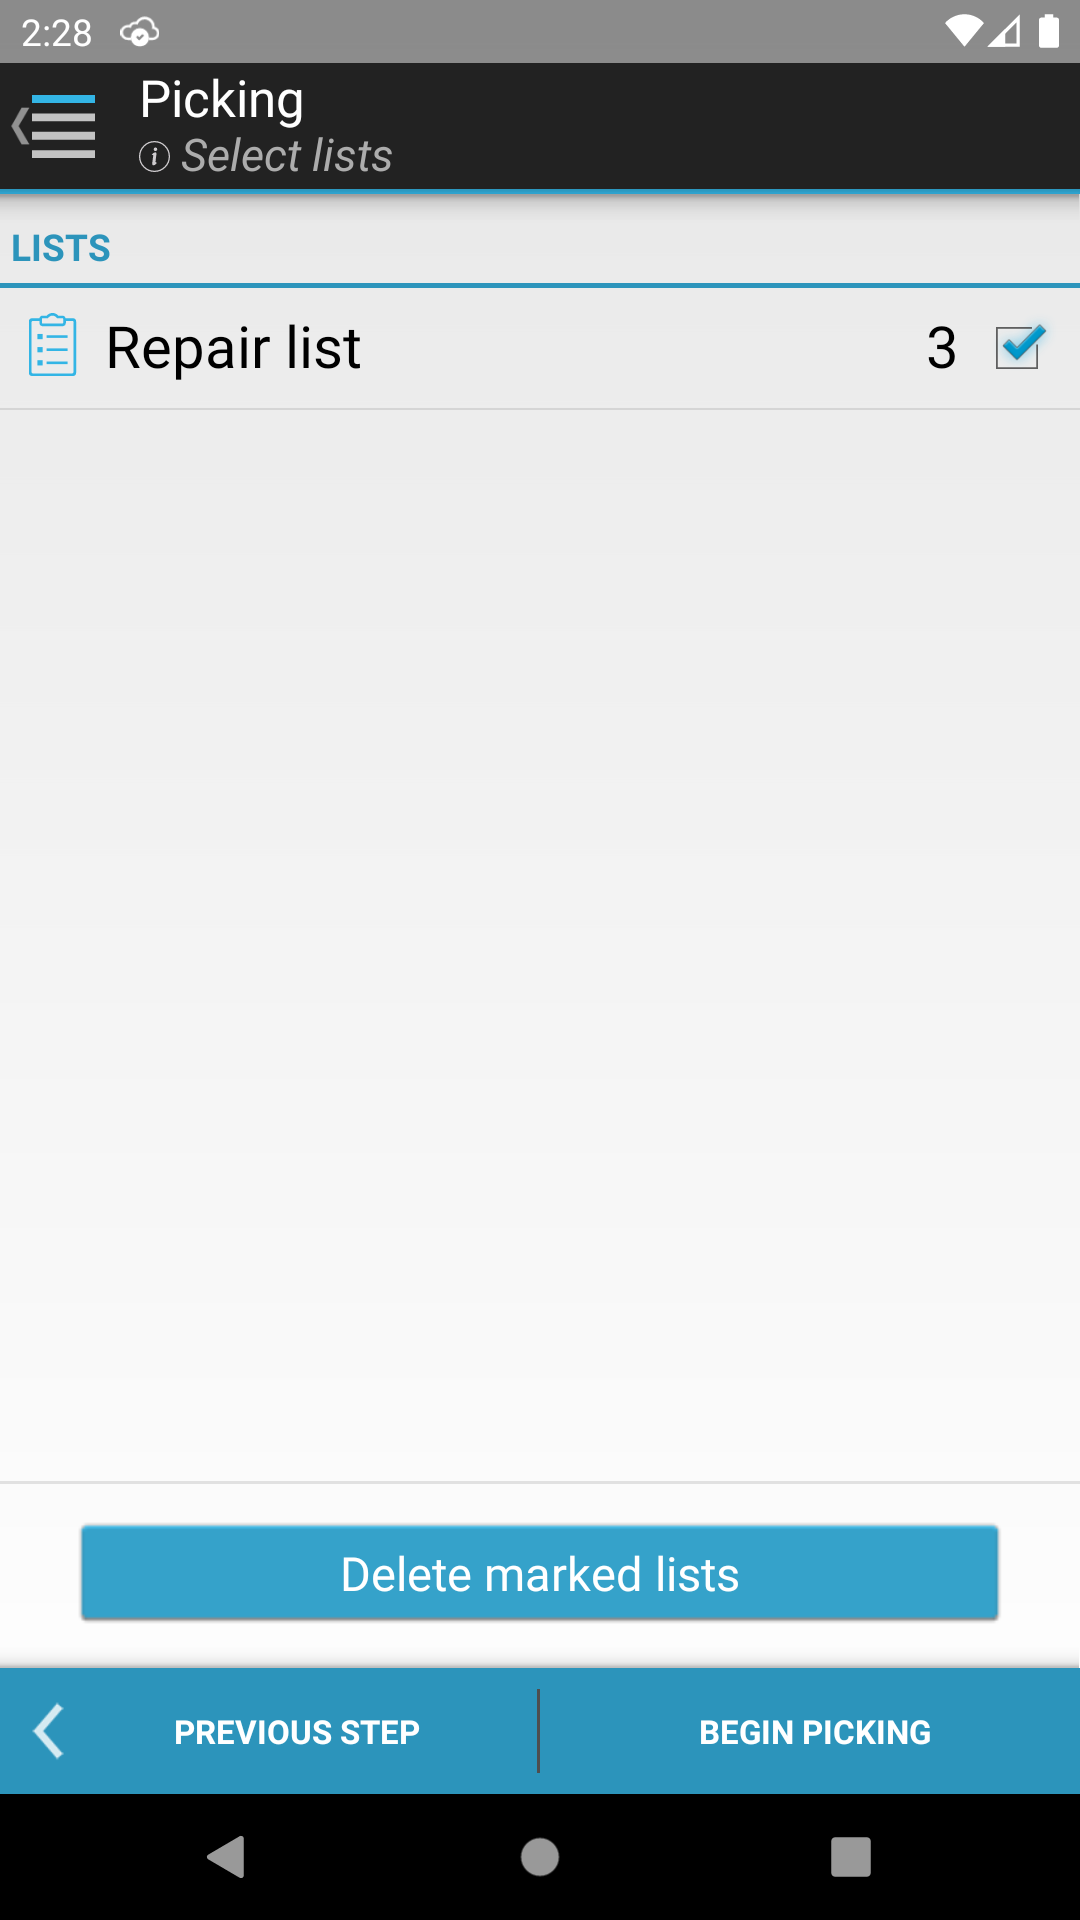
Select which named lists to retrieve pick orders for. After selecting one or more lists, click on “Begin picking” to proceed.
The selected lists can also be deleted by clicking on the “Delete marked lists” button.
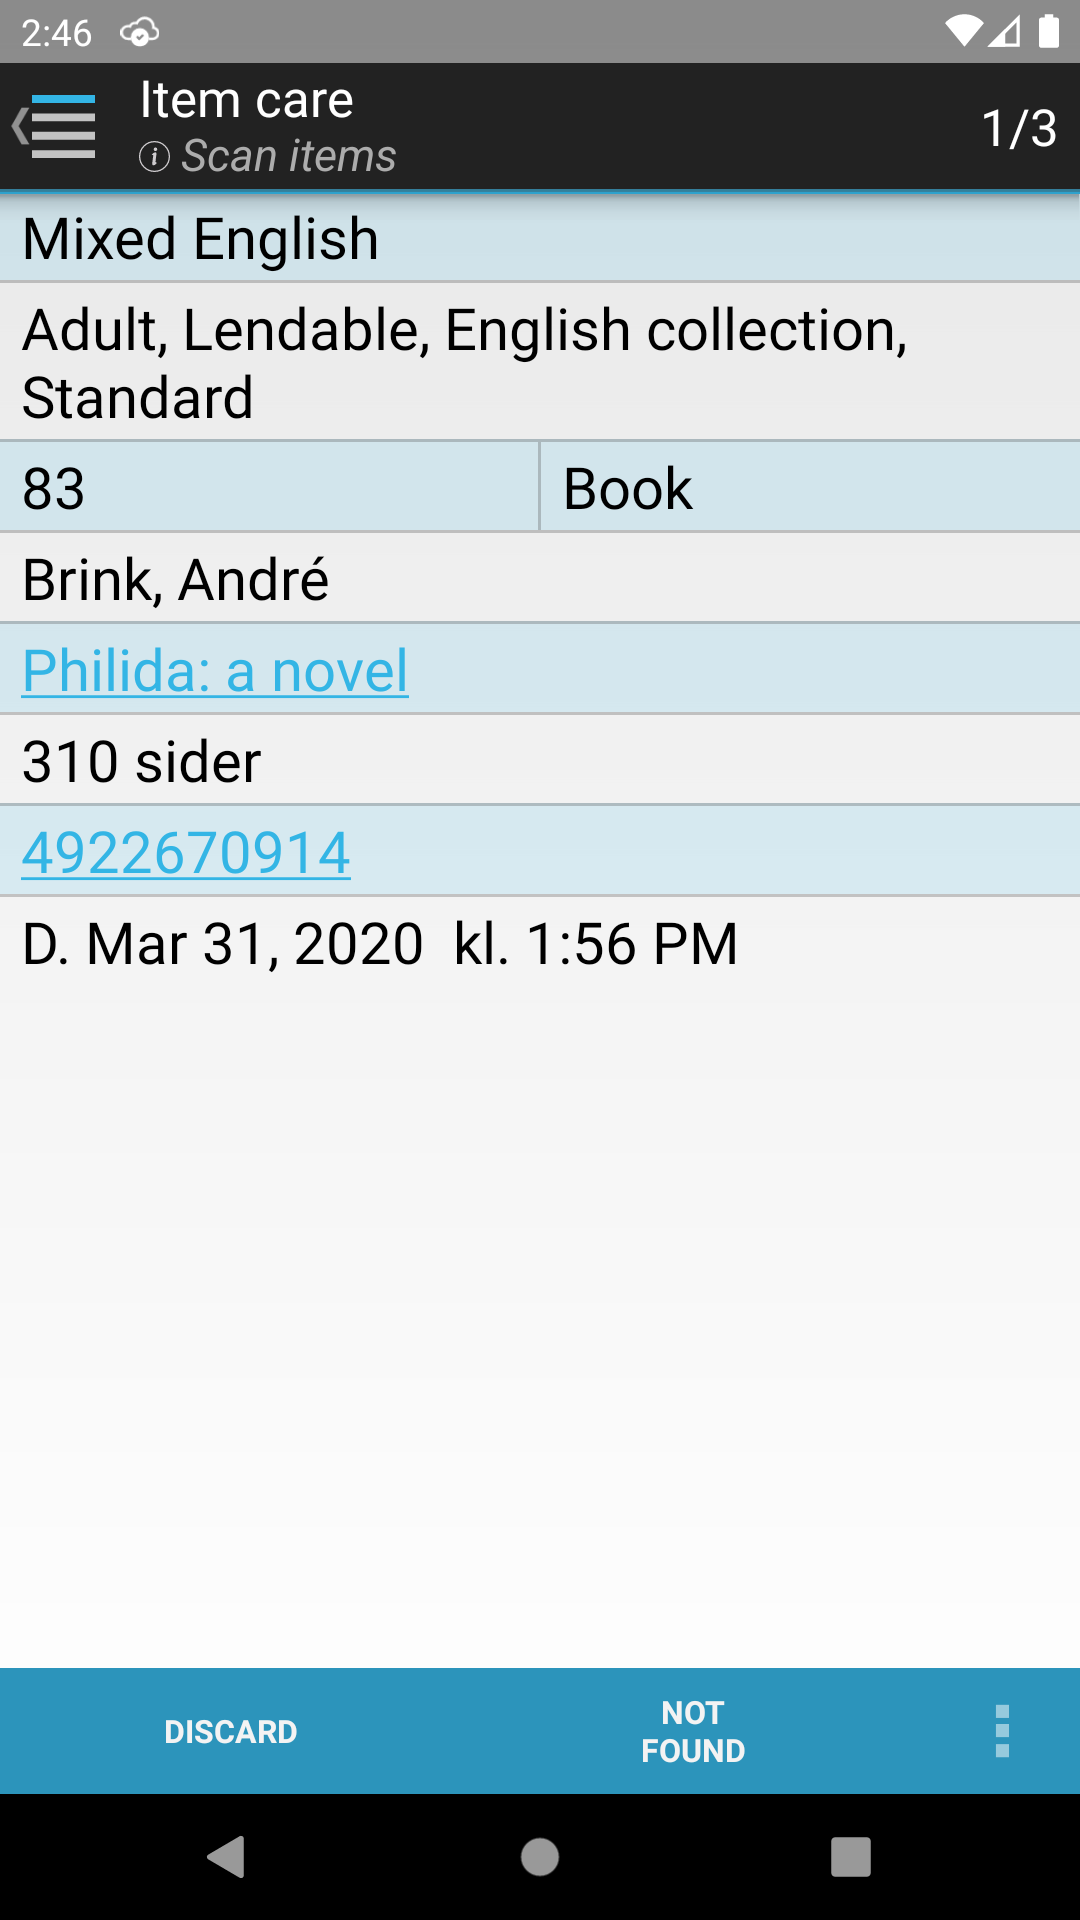
Once the lists have been selected and the orders have been pulled up, they are displayed on the screen.

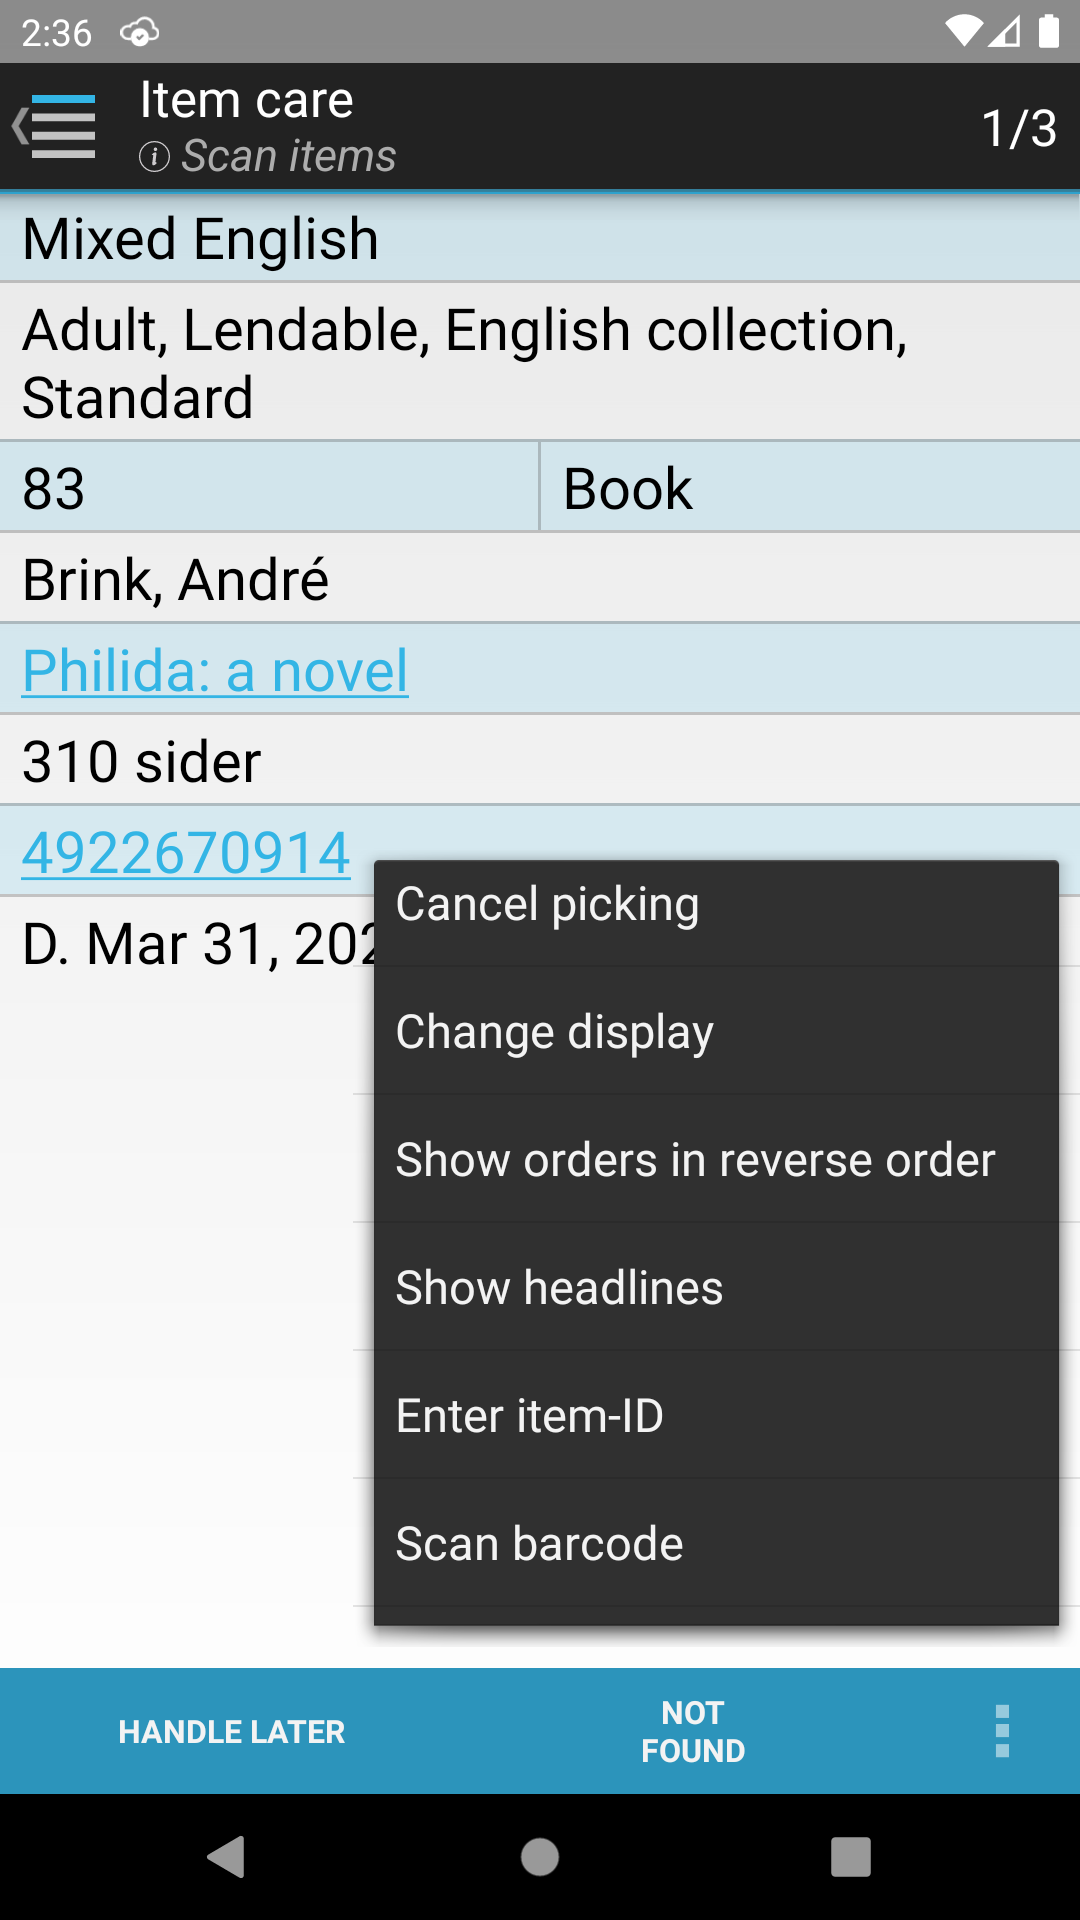
The menu provides the following options:
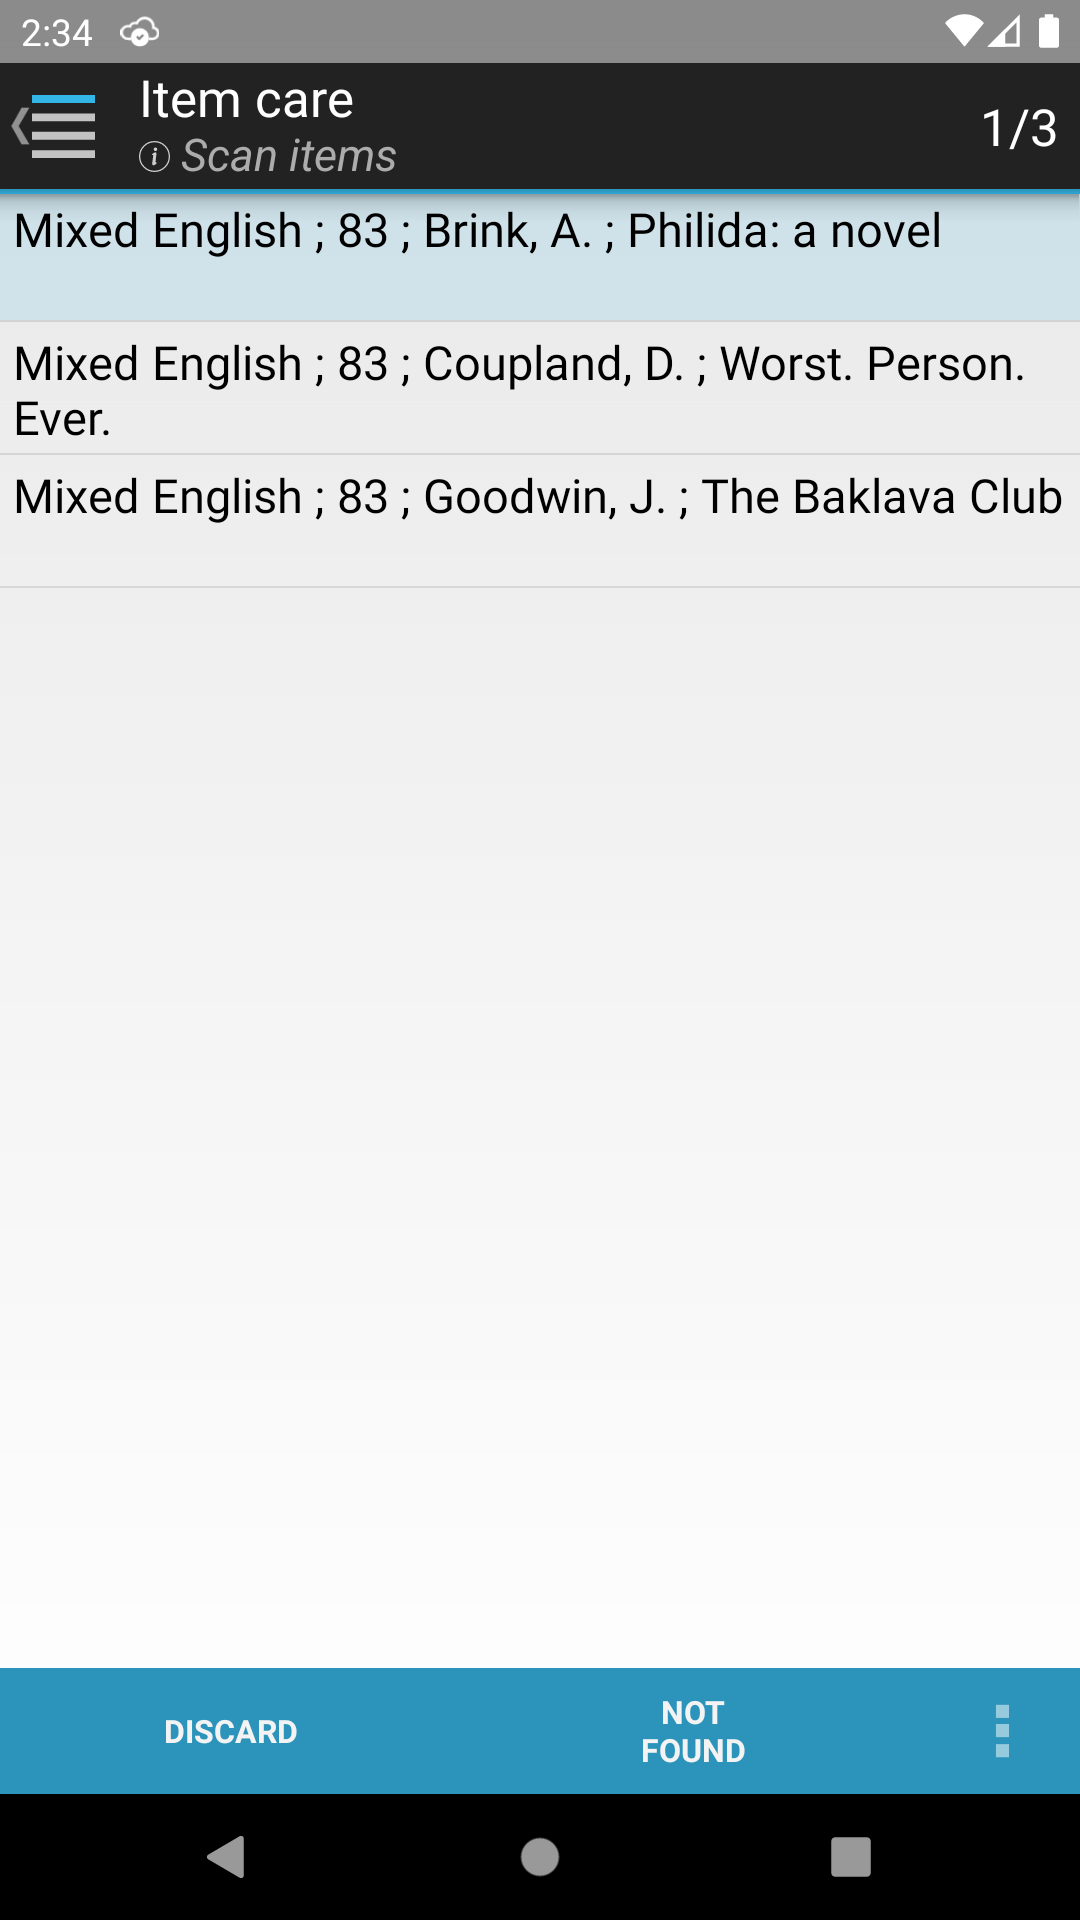
If “Change display” is selected, the screen appears as shown below.
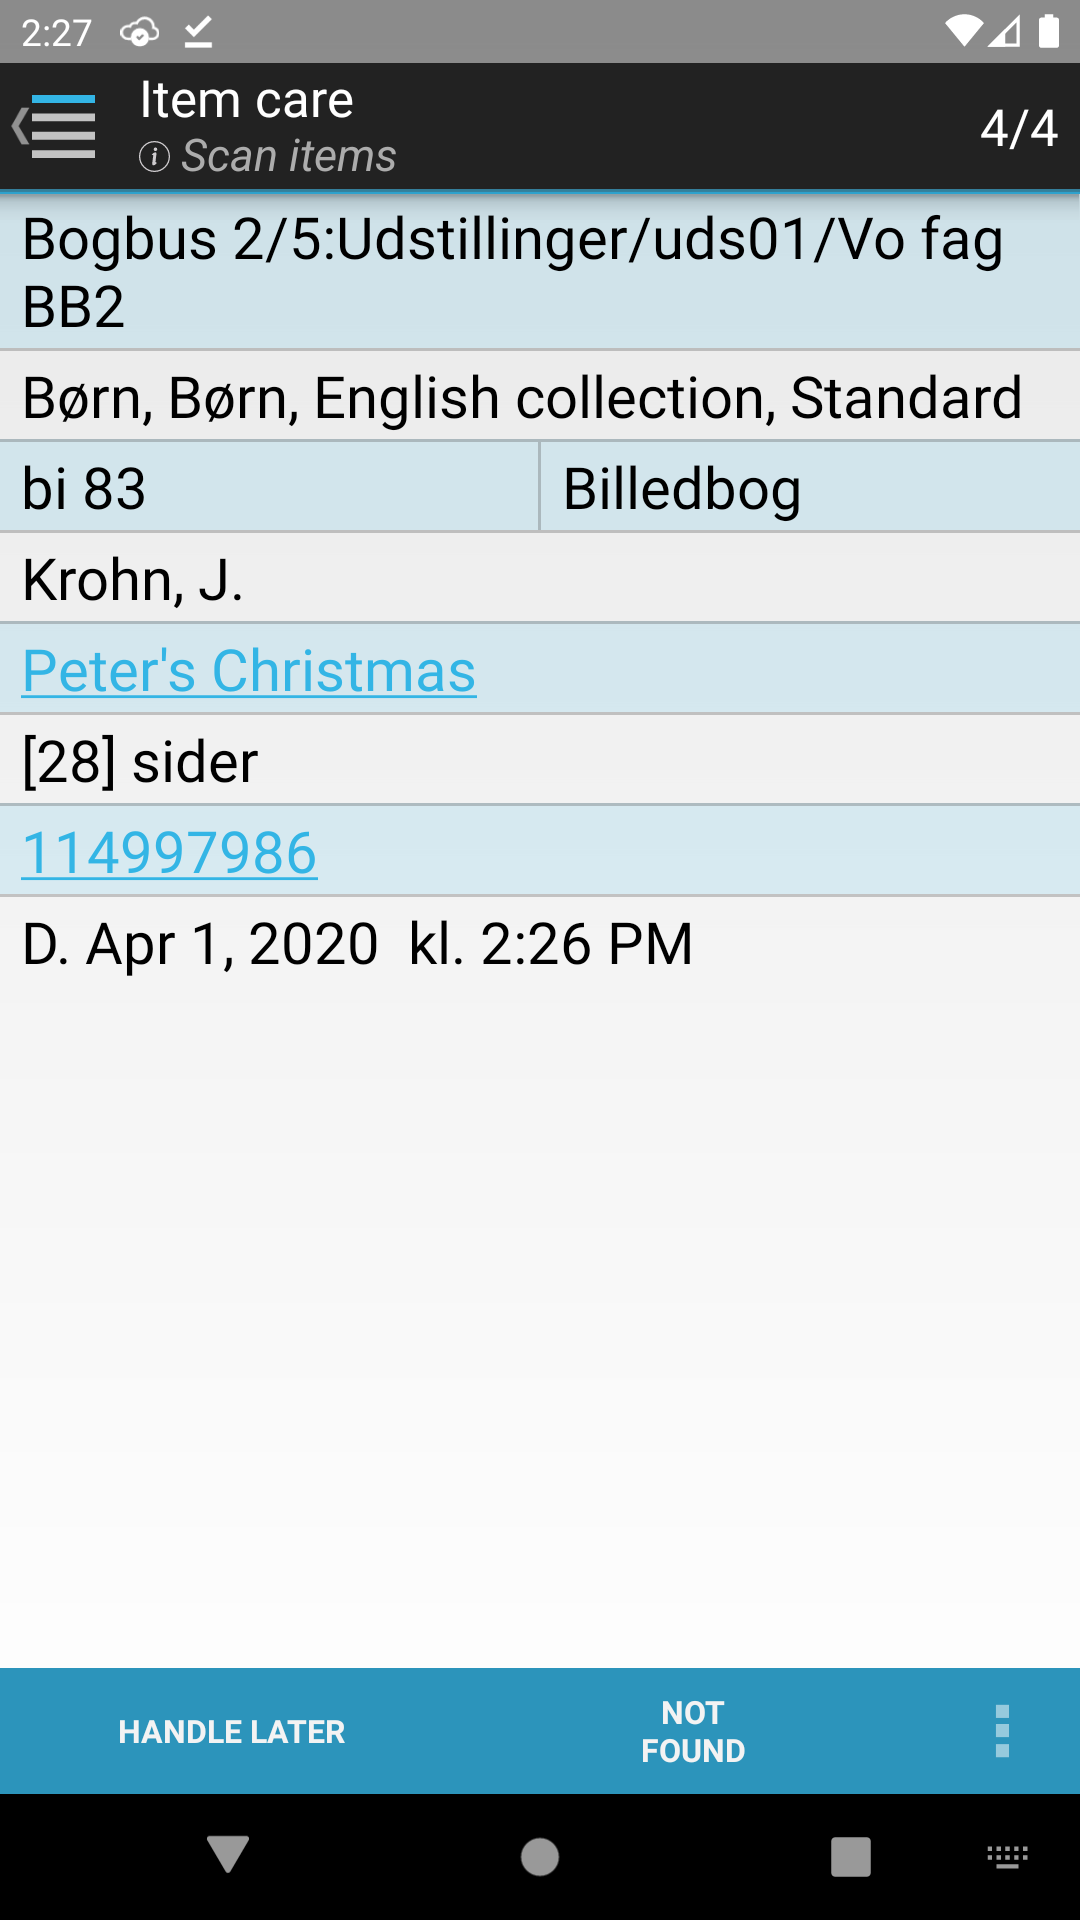
Once an item is located, it can either be scanned immediately, so that it is checked off on the list as processed or be scanned later by clicking on the “Handle later” button. If “Handle later” is clicked, the fact that the order should be displayed as processed is only noted on the mobile unit. The order's processing does not get registered in IMMS.
If the item cannot be located, click on “Not found” to discard the item.
At the top of the display screen, the number of the current order and the overall number of orders is listed (for example, “1/6” stands for order number 1 out of 6 orders). Since the orders are automatically updated continuously, both of these numbers can change if the order is added to, deleted, or updated.
In compact view, you can see the details of an individual order by pressing your finger on an order for about a second. The detail window disappears when you click anywhere on the screen.
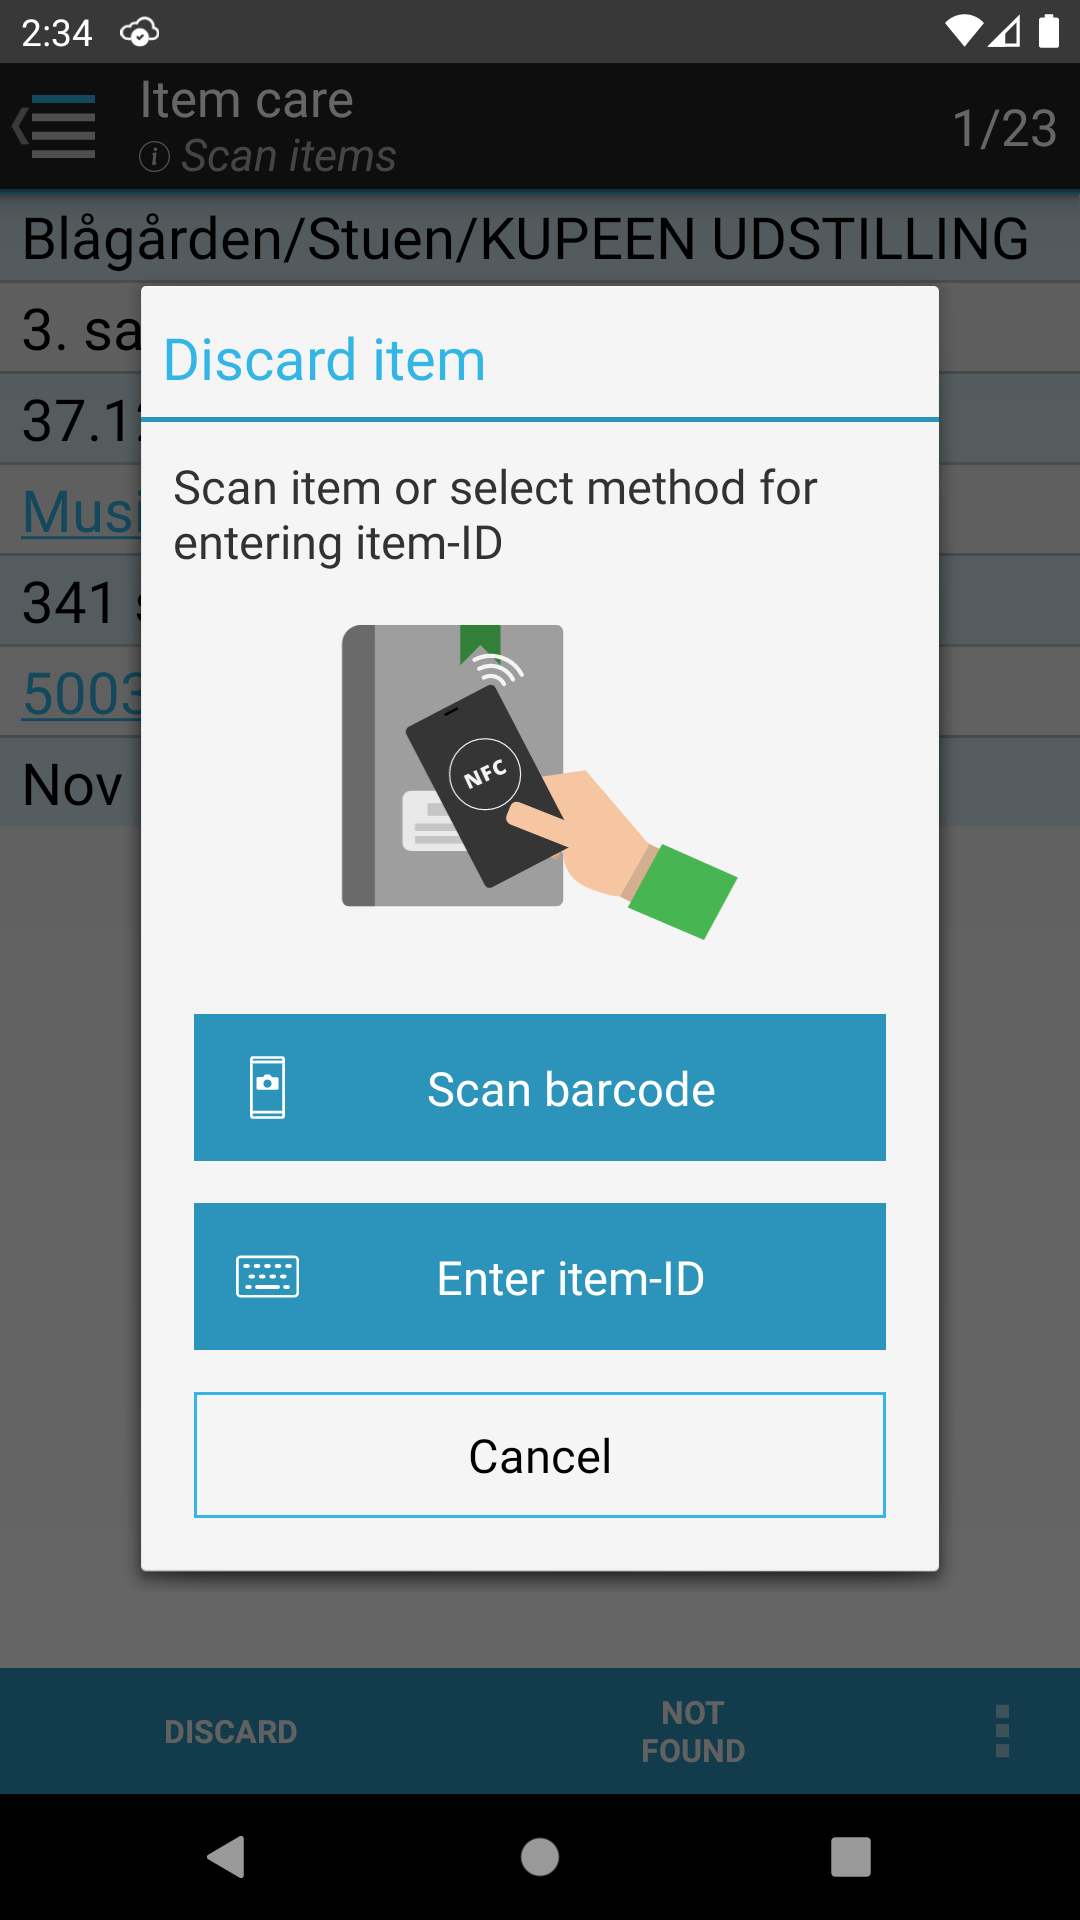
If you have discard rights the "Handle Later" button is moved to the menu and is replaced by a "Discard" button.

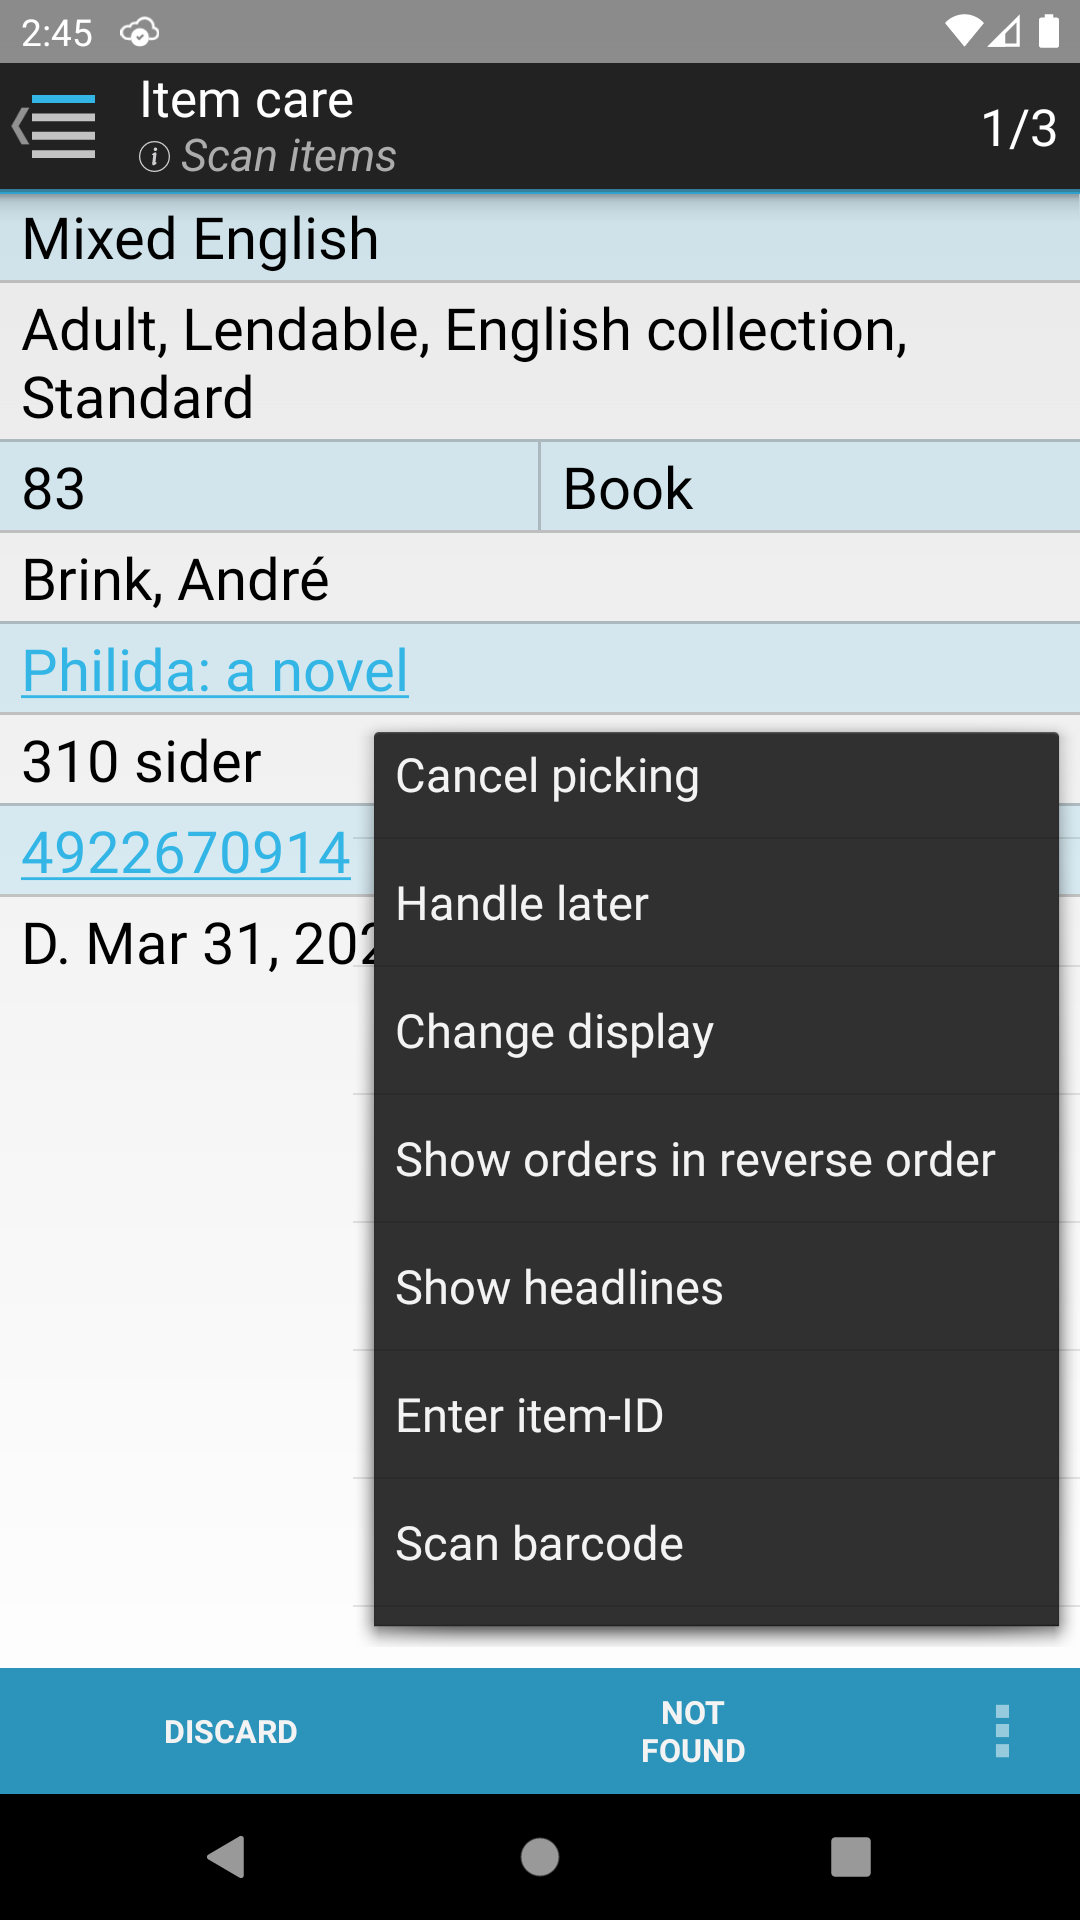
Items can be discarded by clicking Discard and then scanning the item or using the other options presented. If you change your mind, you can click the cancel button before you scan to return to items being handled by scanning
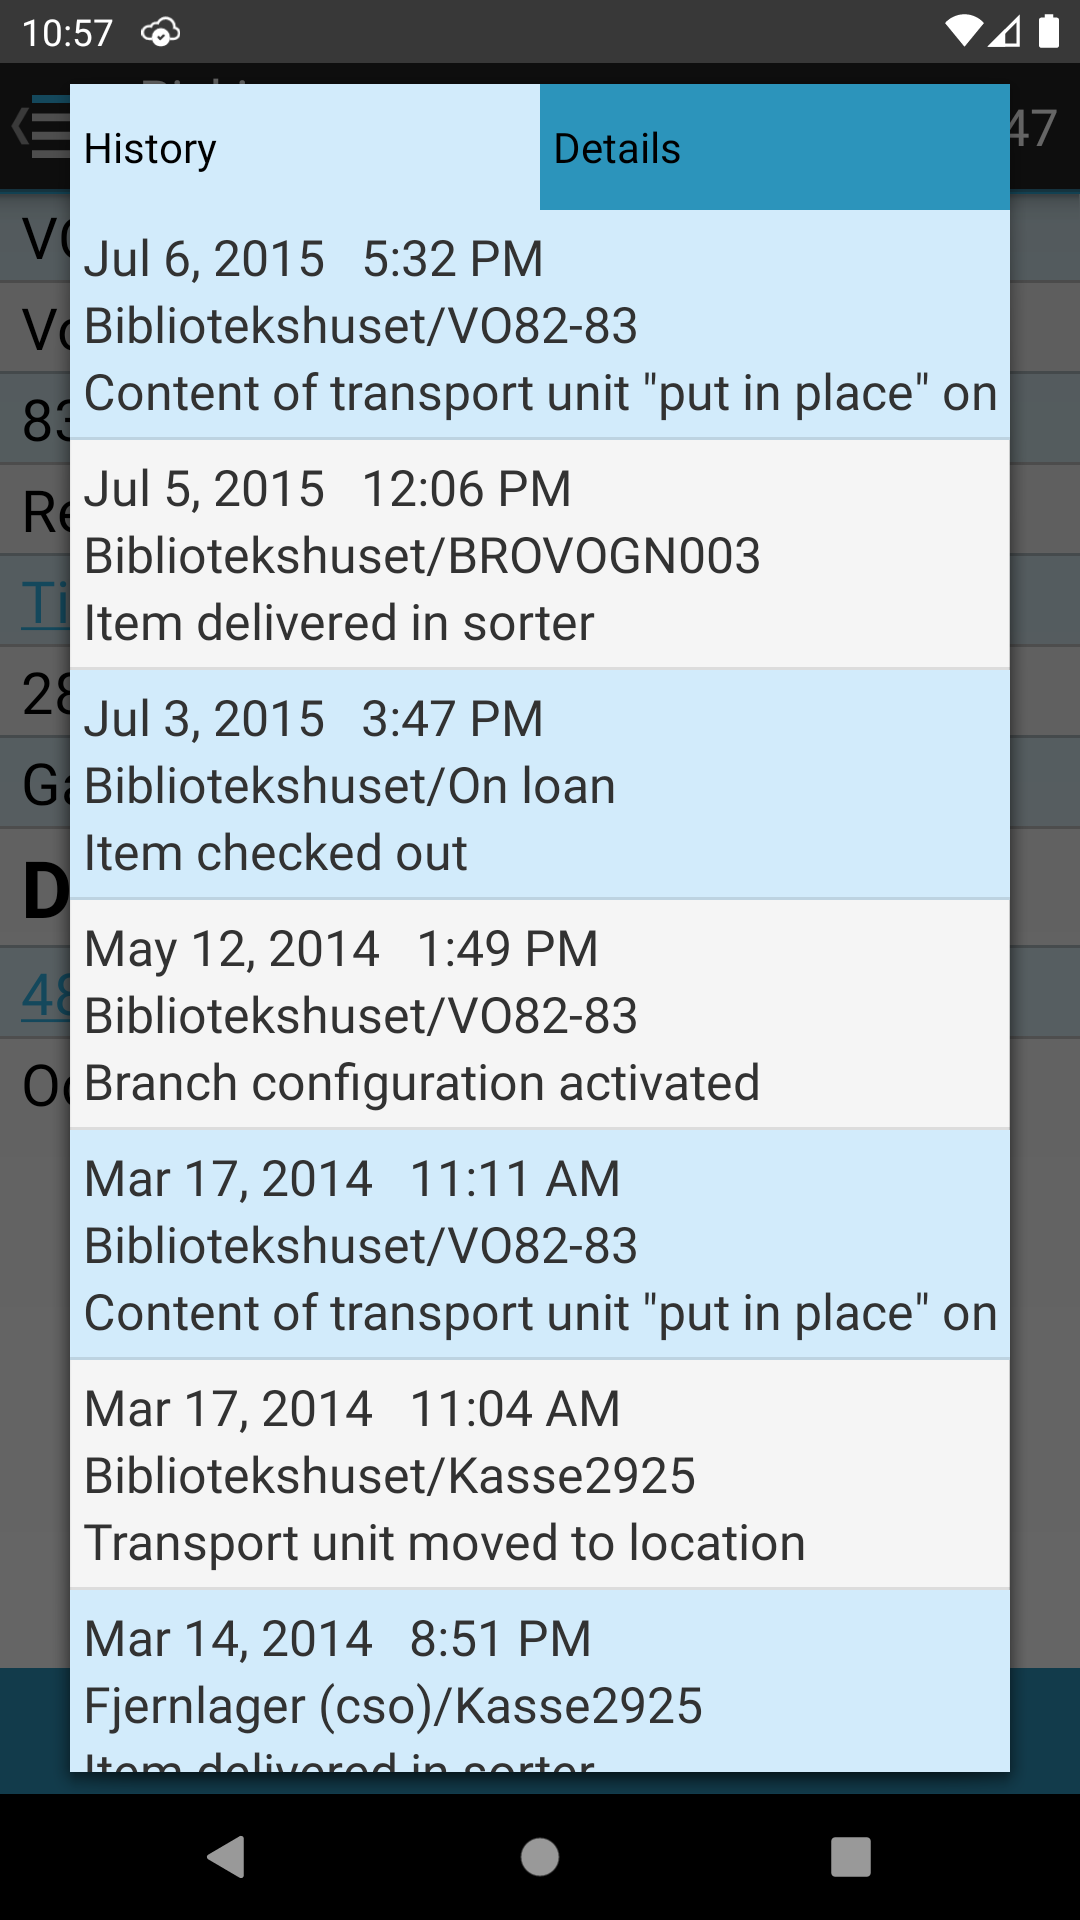
By clicking on the Item ID, the item’s history and details are displayed.
Here you can see where the item was previously located as well as the dates of the various placements.
The display of the item's history allows you to view the last 15 movements for an item.
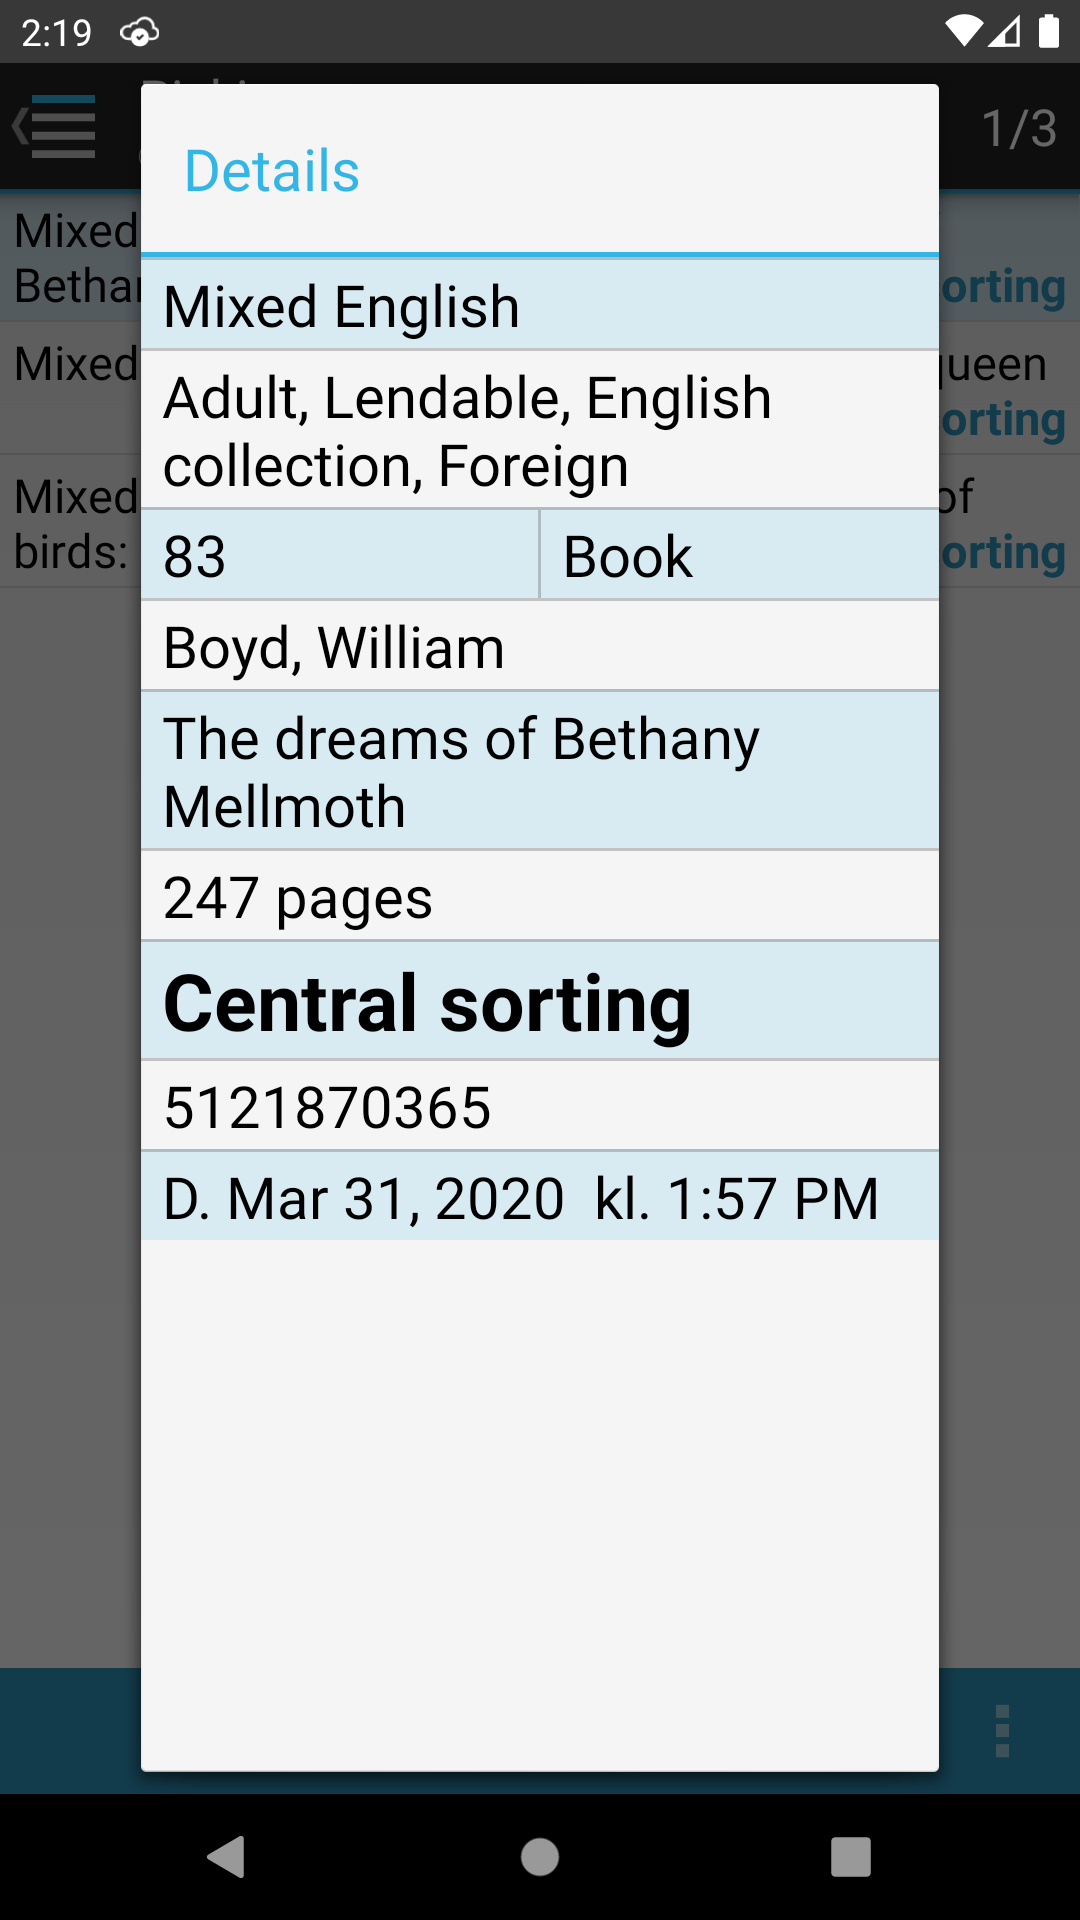
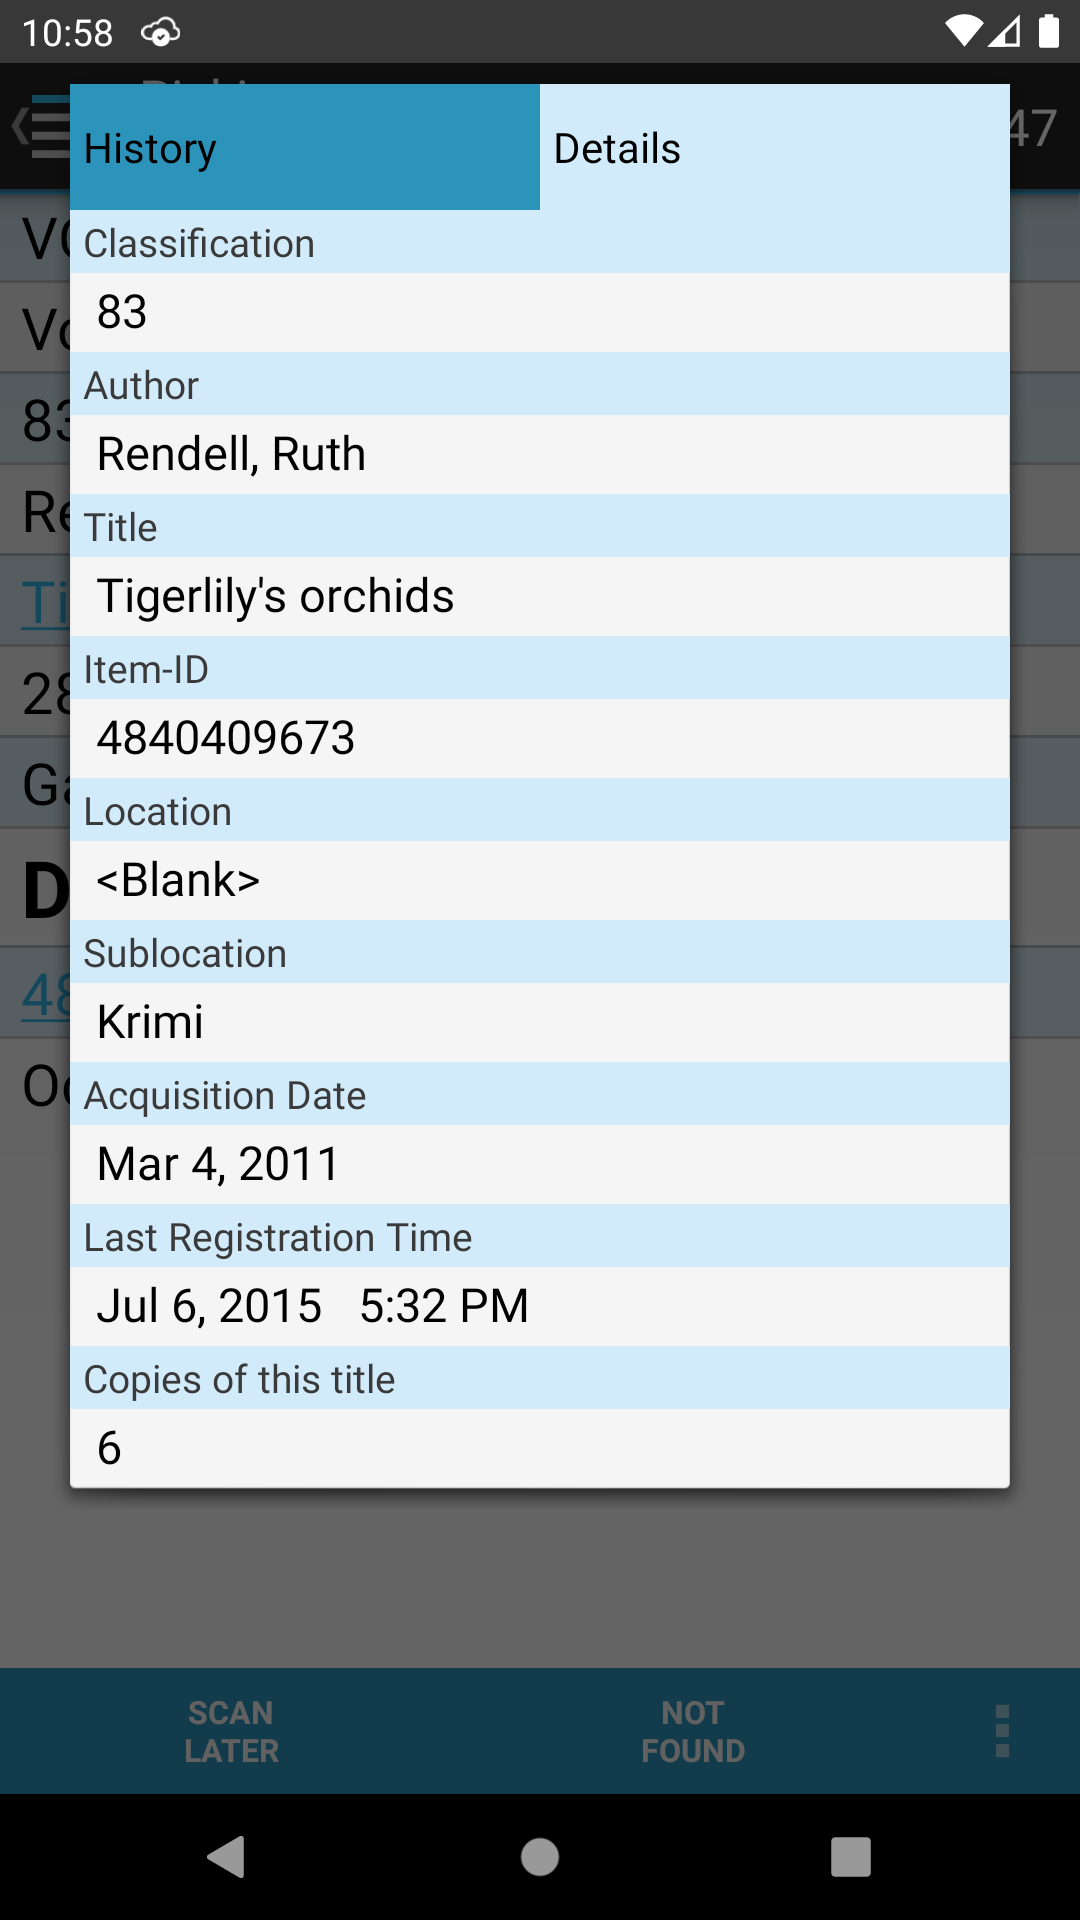
On the details tab, information about the item, when it was created and how there is, can be viewed.
You can return to picking by clicking on the “Back” button.
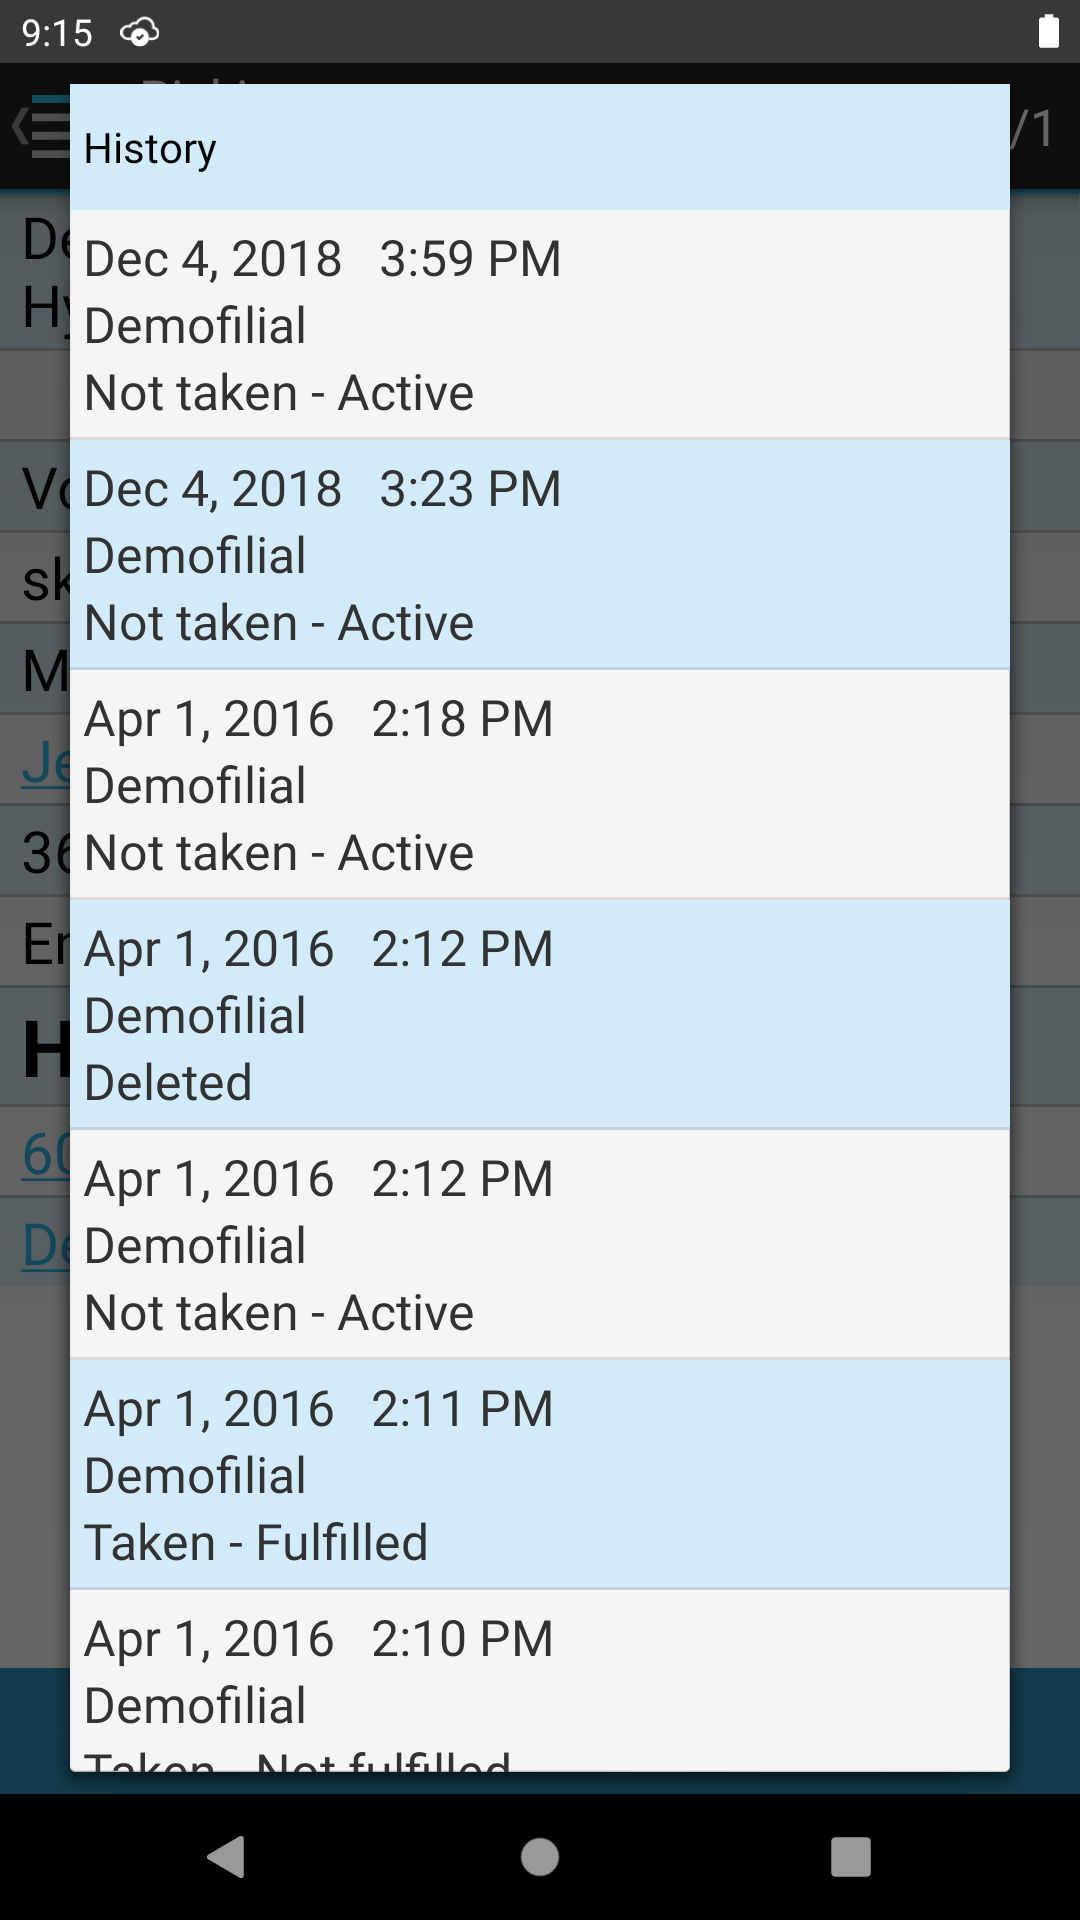
By clicking on the Item ID, the item’s history is displayed.
Here you can see the time and place where the item was previously located. In addition the material status is shown at the given time and place.
The display of the item's requisition history allows you to view the last 15 movements for an item.
You can return to picking by clicking on the “Back” button.
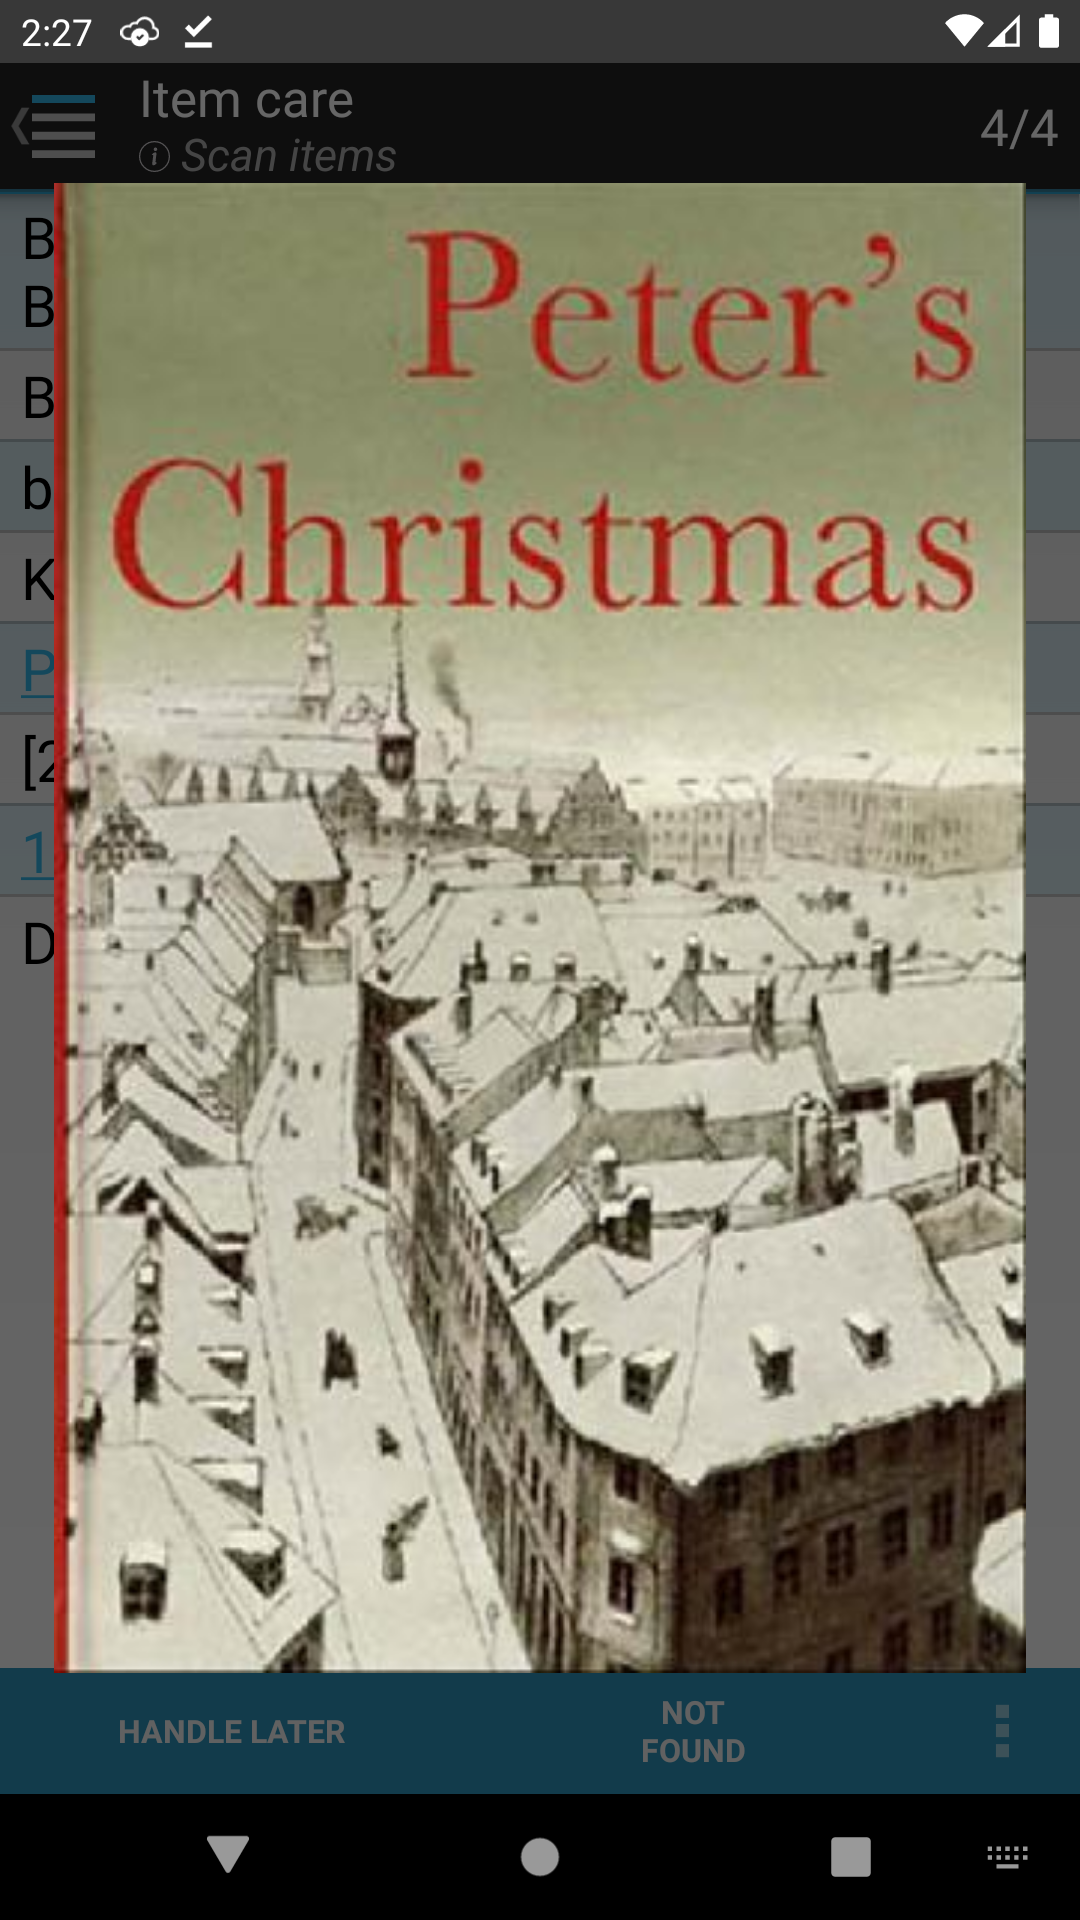
Clicking on an item’s title calls the cover image service, which displays an image of the front page for the item.
You can get rid of the image by clicking on or outside the image or by clicking the “Back” button.
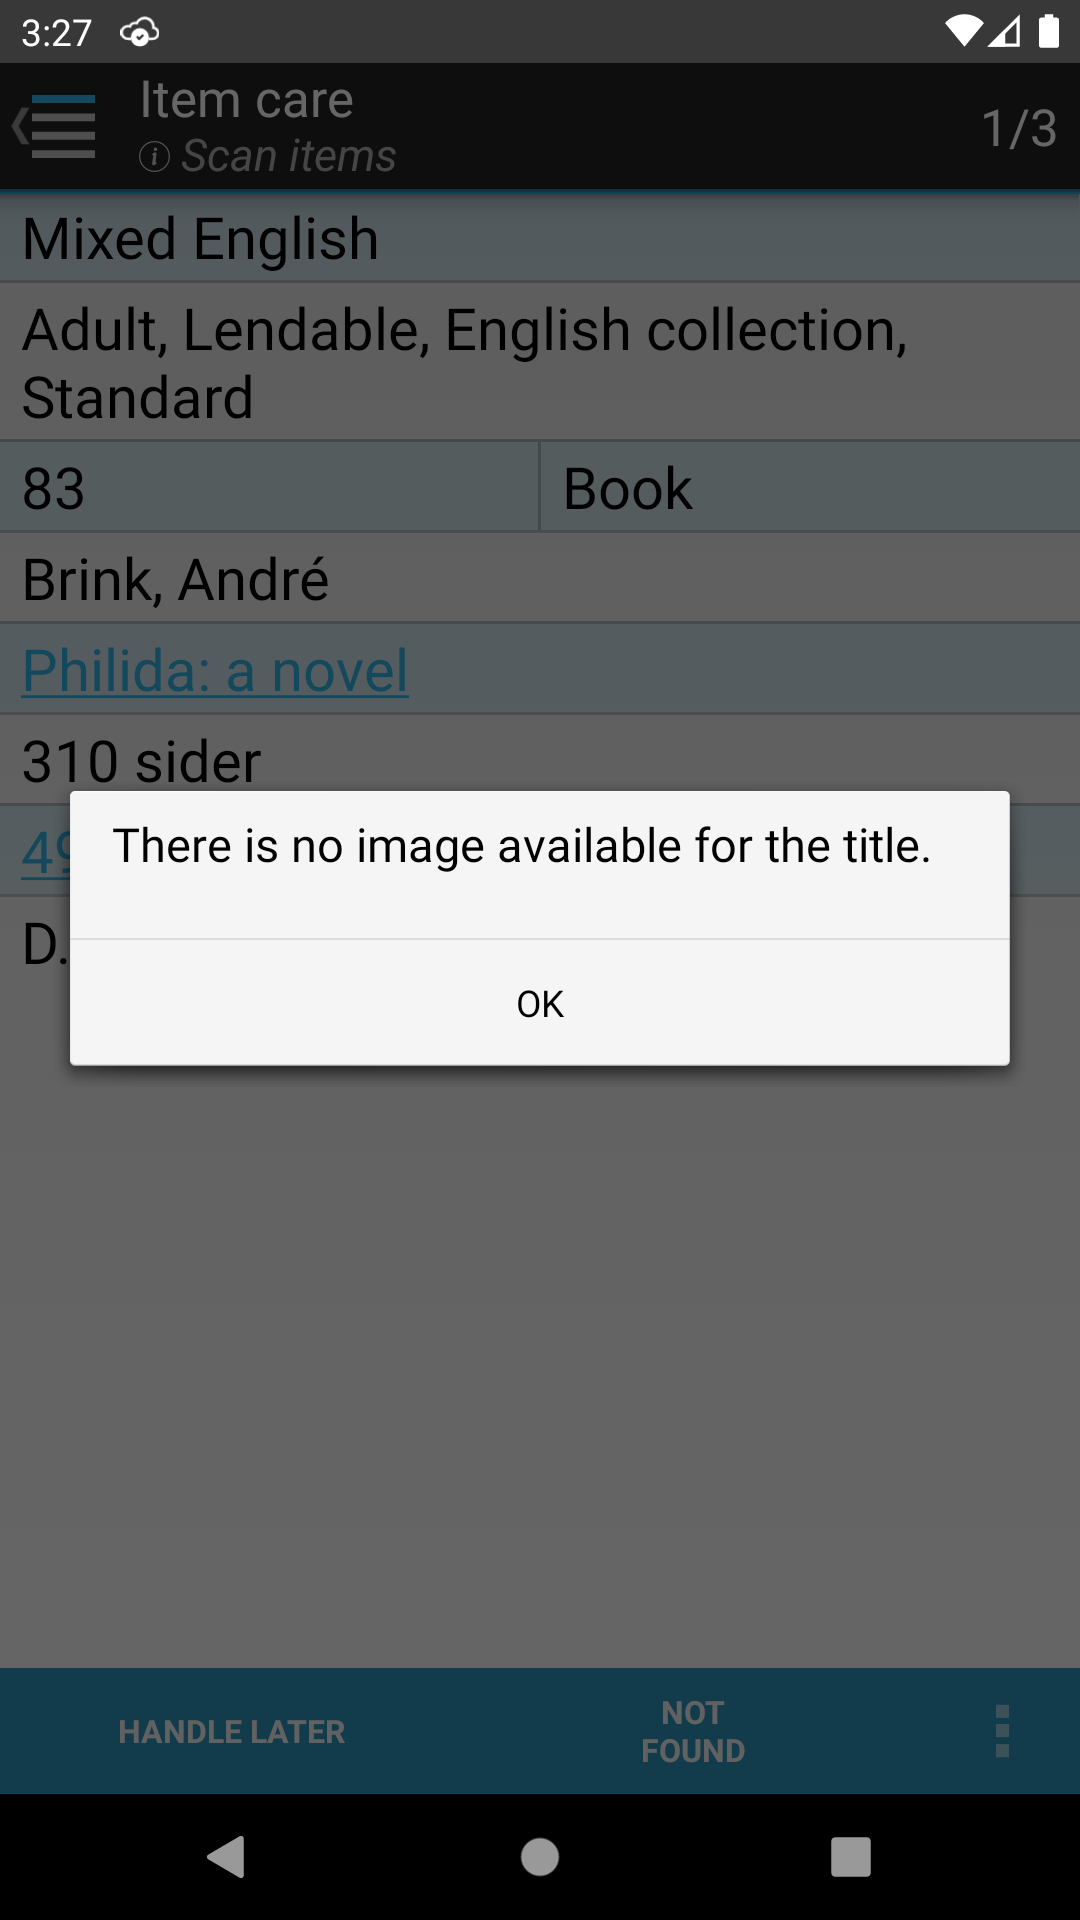
If the cover image service does not have an available image of the item, then a dialog box is displayed.