| Front page › Mobile client › Menu › Inventory | Search | Version: 2.9.3 |
During an inventory, a count can be carried out of the items that have been placed in an item grouping, in a transport unit, or at a location.
The counted items are compared with the existing item information in the system and any discrepancies can be corrected.
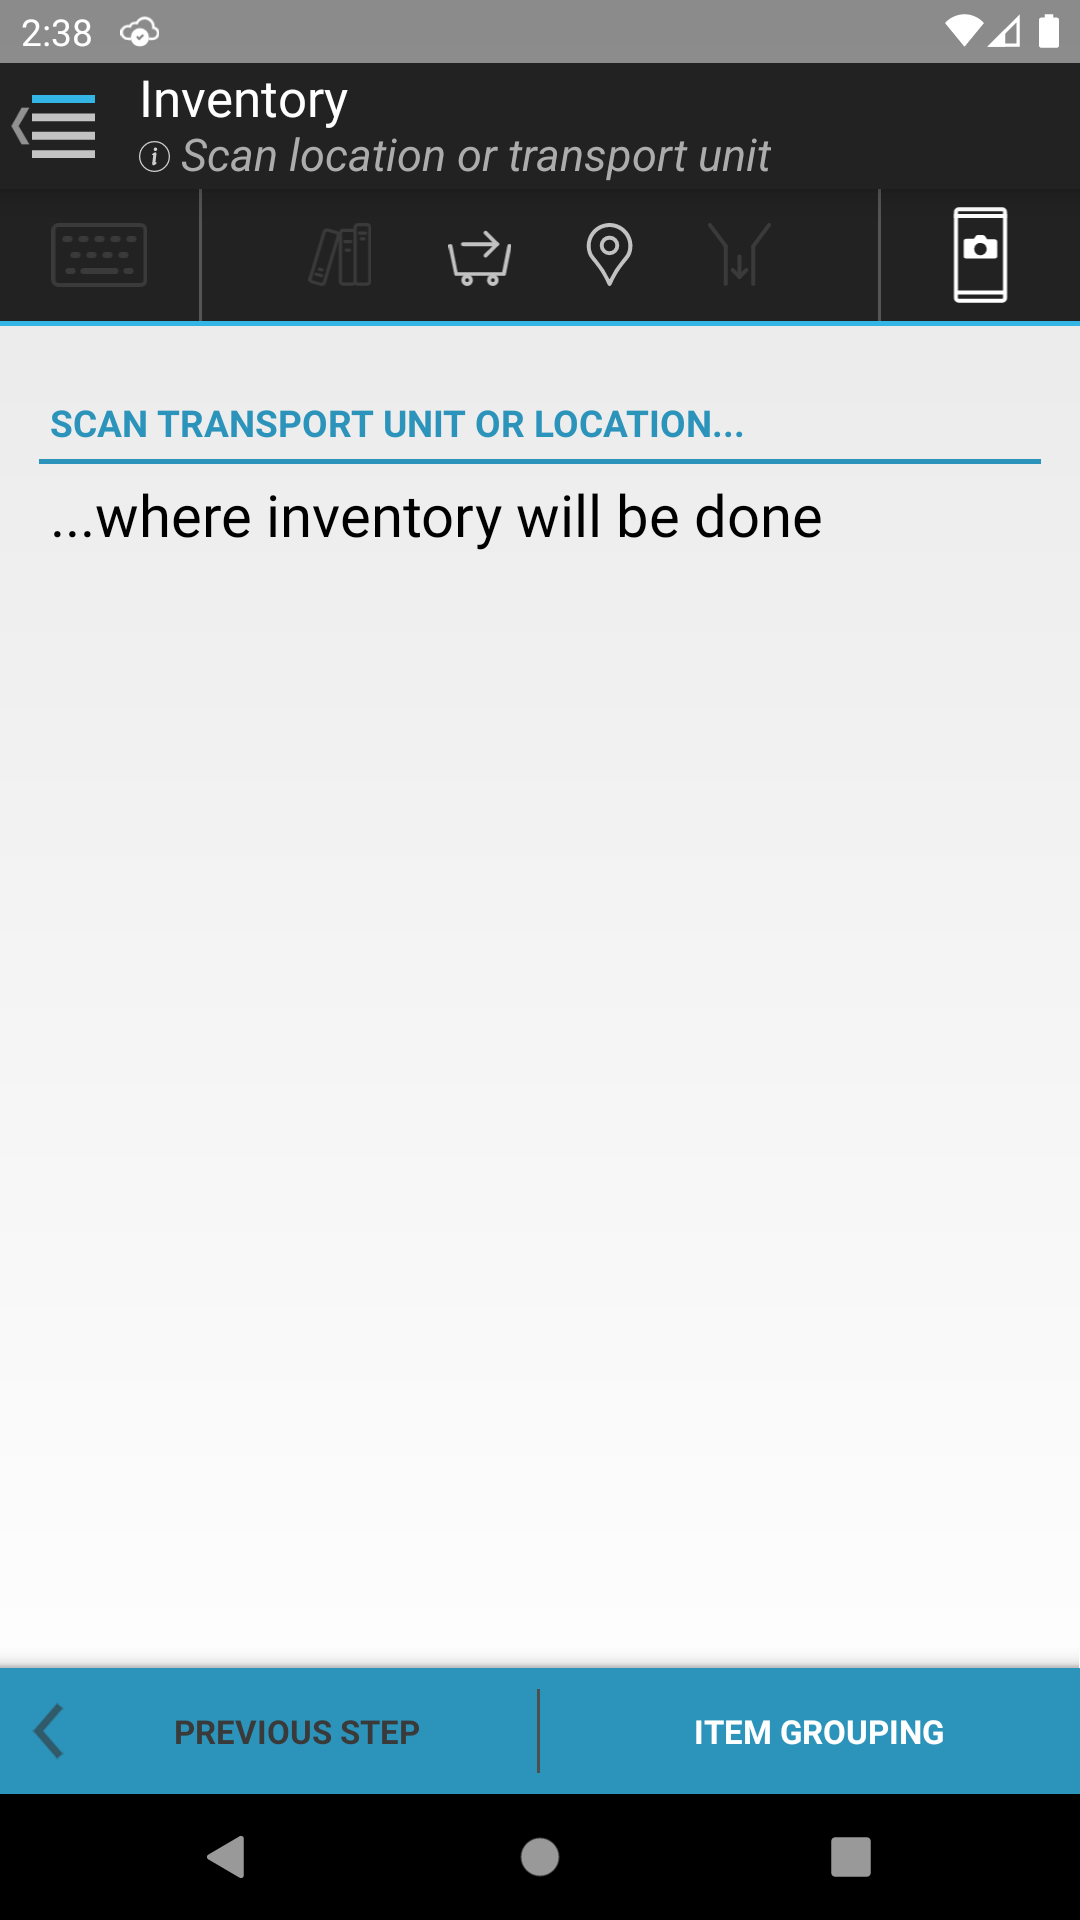
On this screen there is an option to either select an item grouping or scan a label belonging to a transport unit or location. The next screen depends on whether “Item grouping” is clicked or a transport unit or location is scanned.
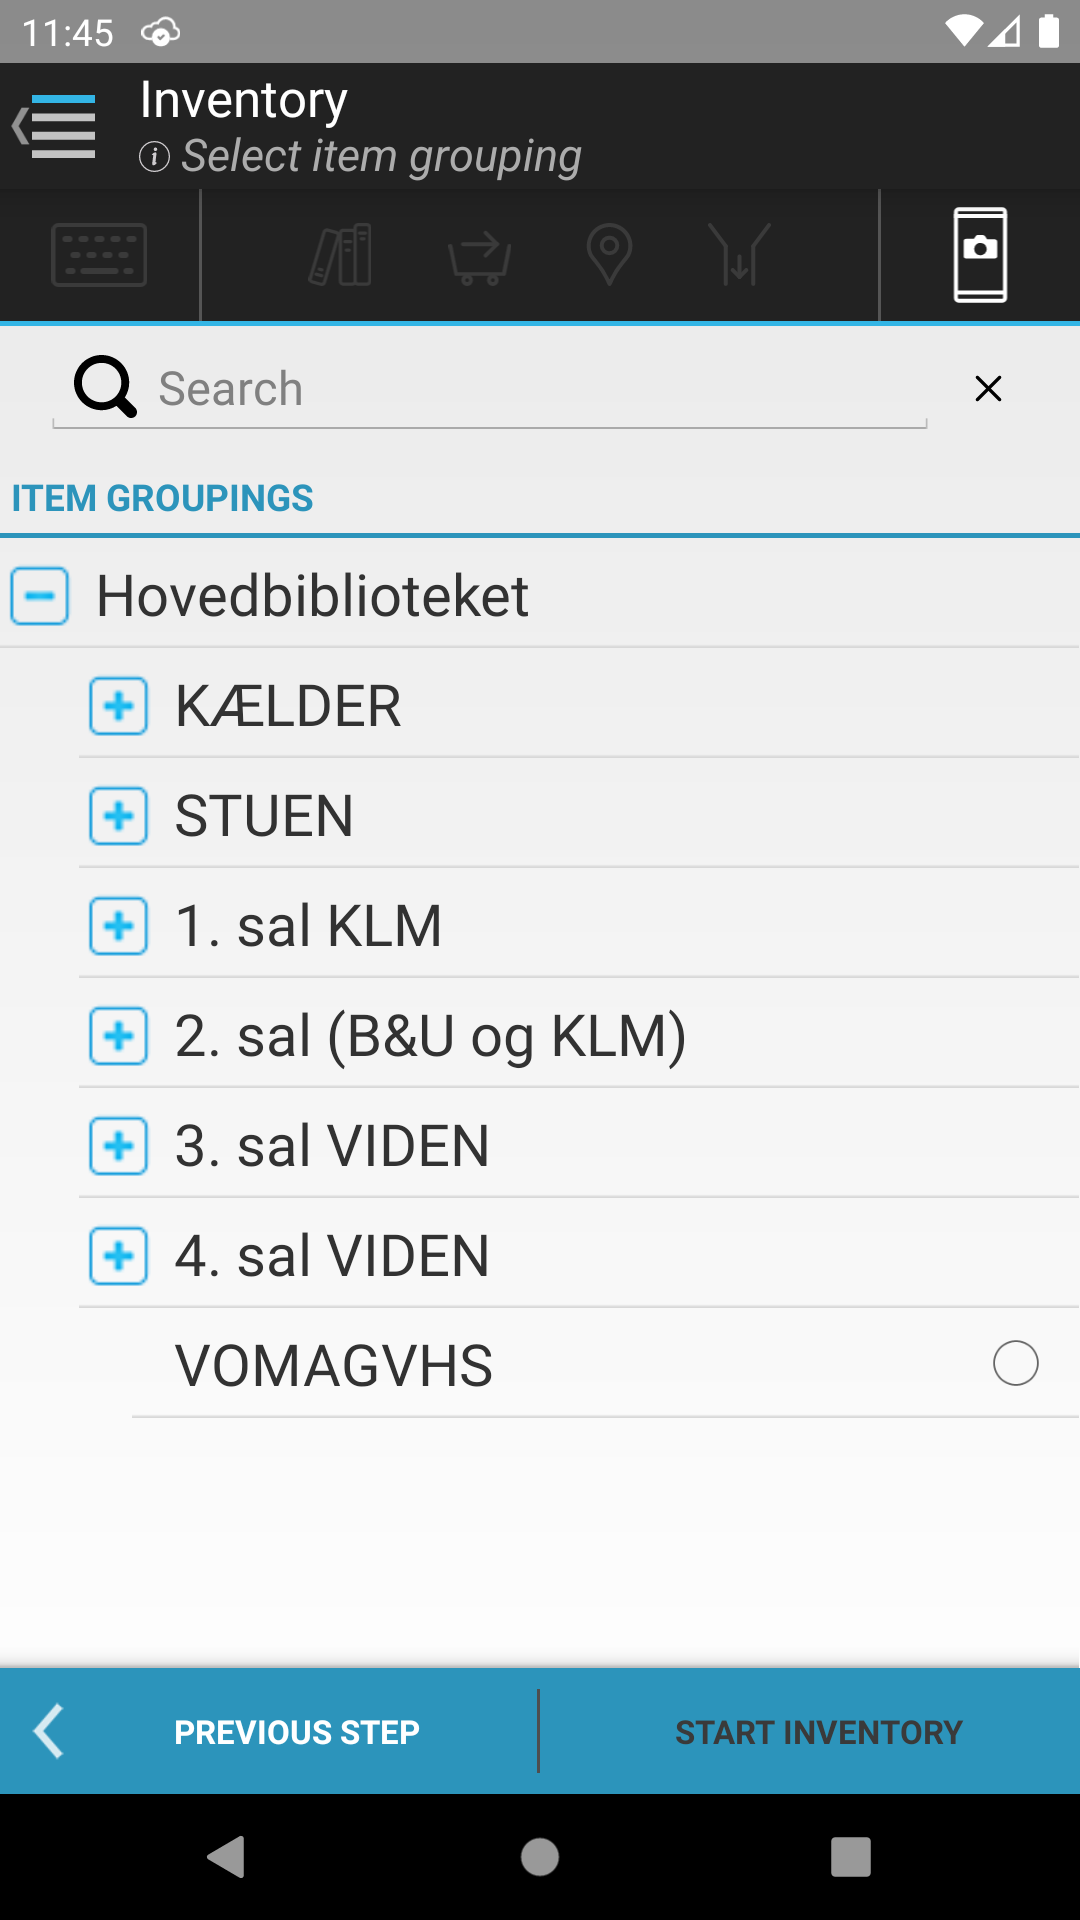
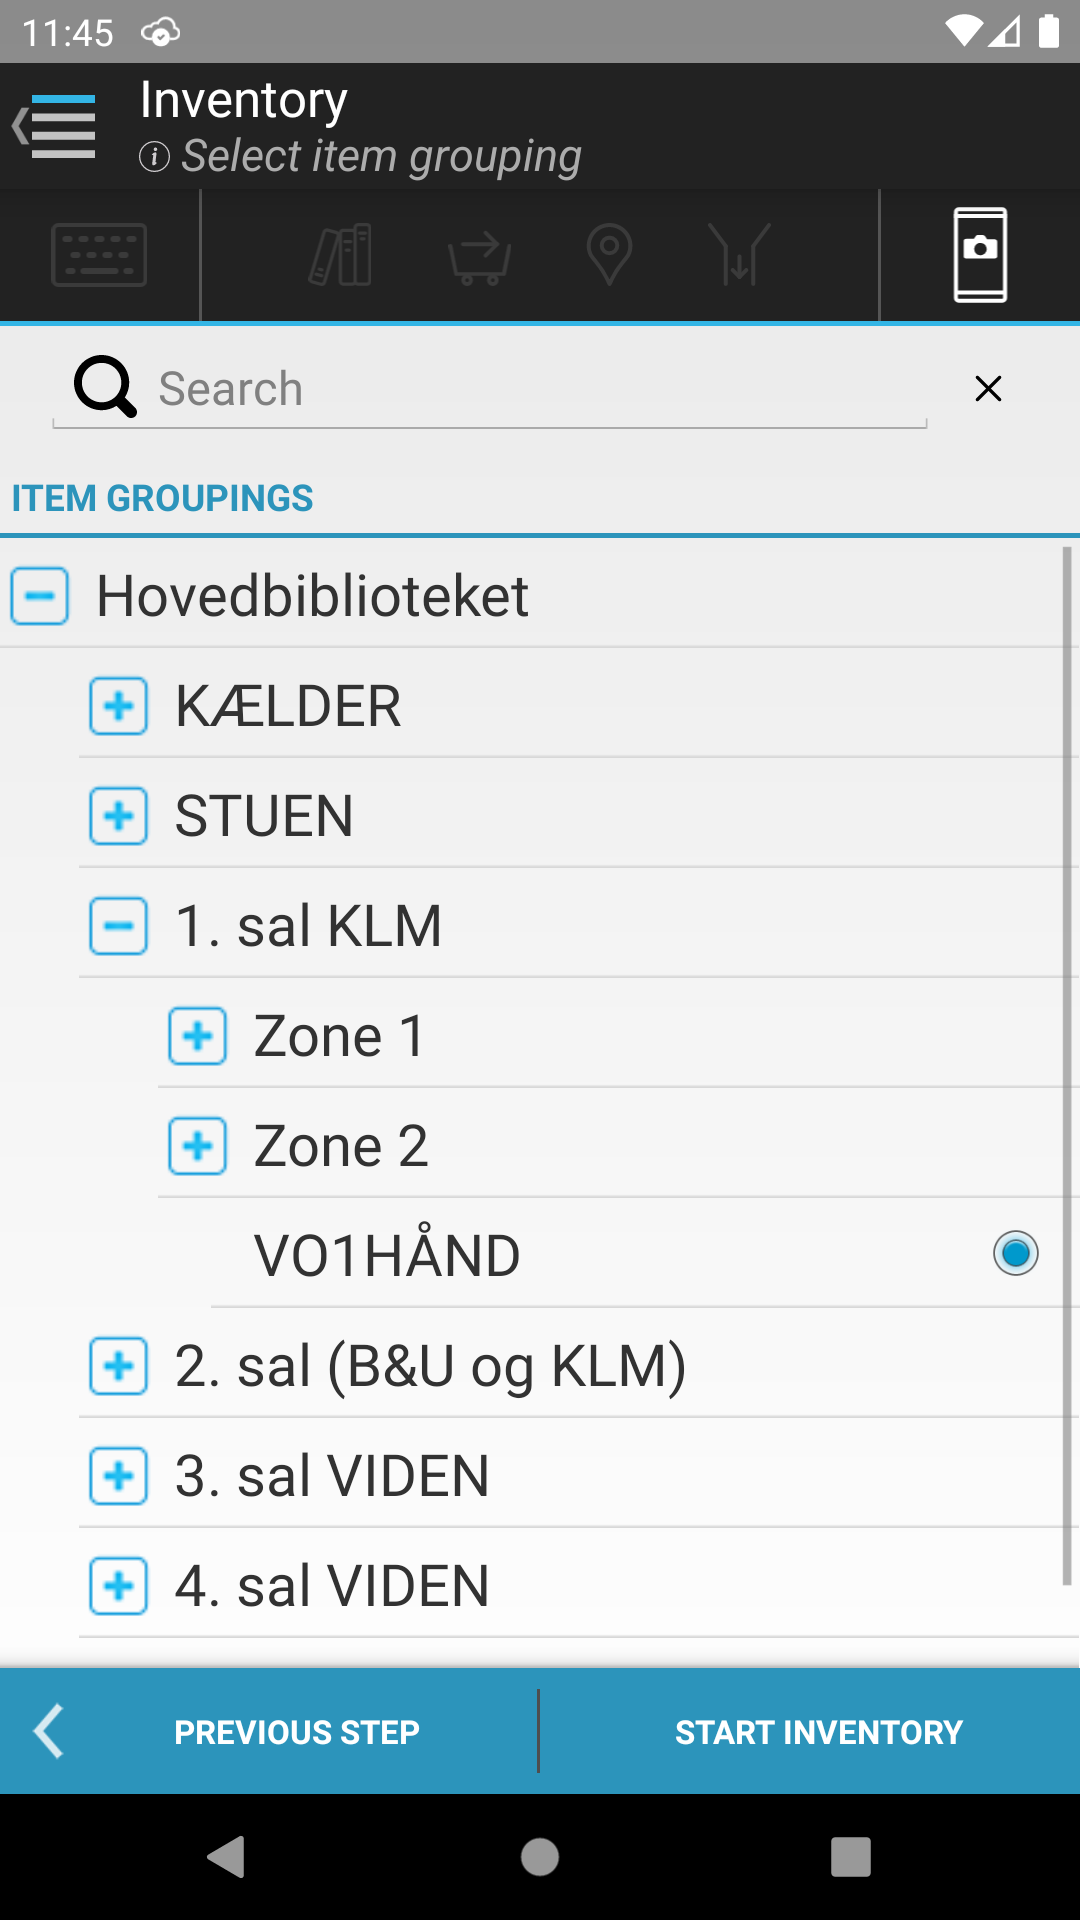
Select the item grouping for which an inventory should be run. Once an item grouping has been selected, you have the option of clicking on “Start inventory” to proceed with the count. An item grouping is selected by clicking on the line.
It is possible to search through the item groupings. The search is not case-sensitive, and it will find any grouping that contains the searched text.
An inventory may only be run for one item grouping at a time.

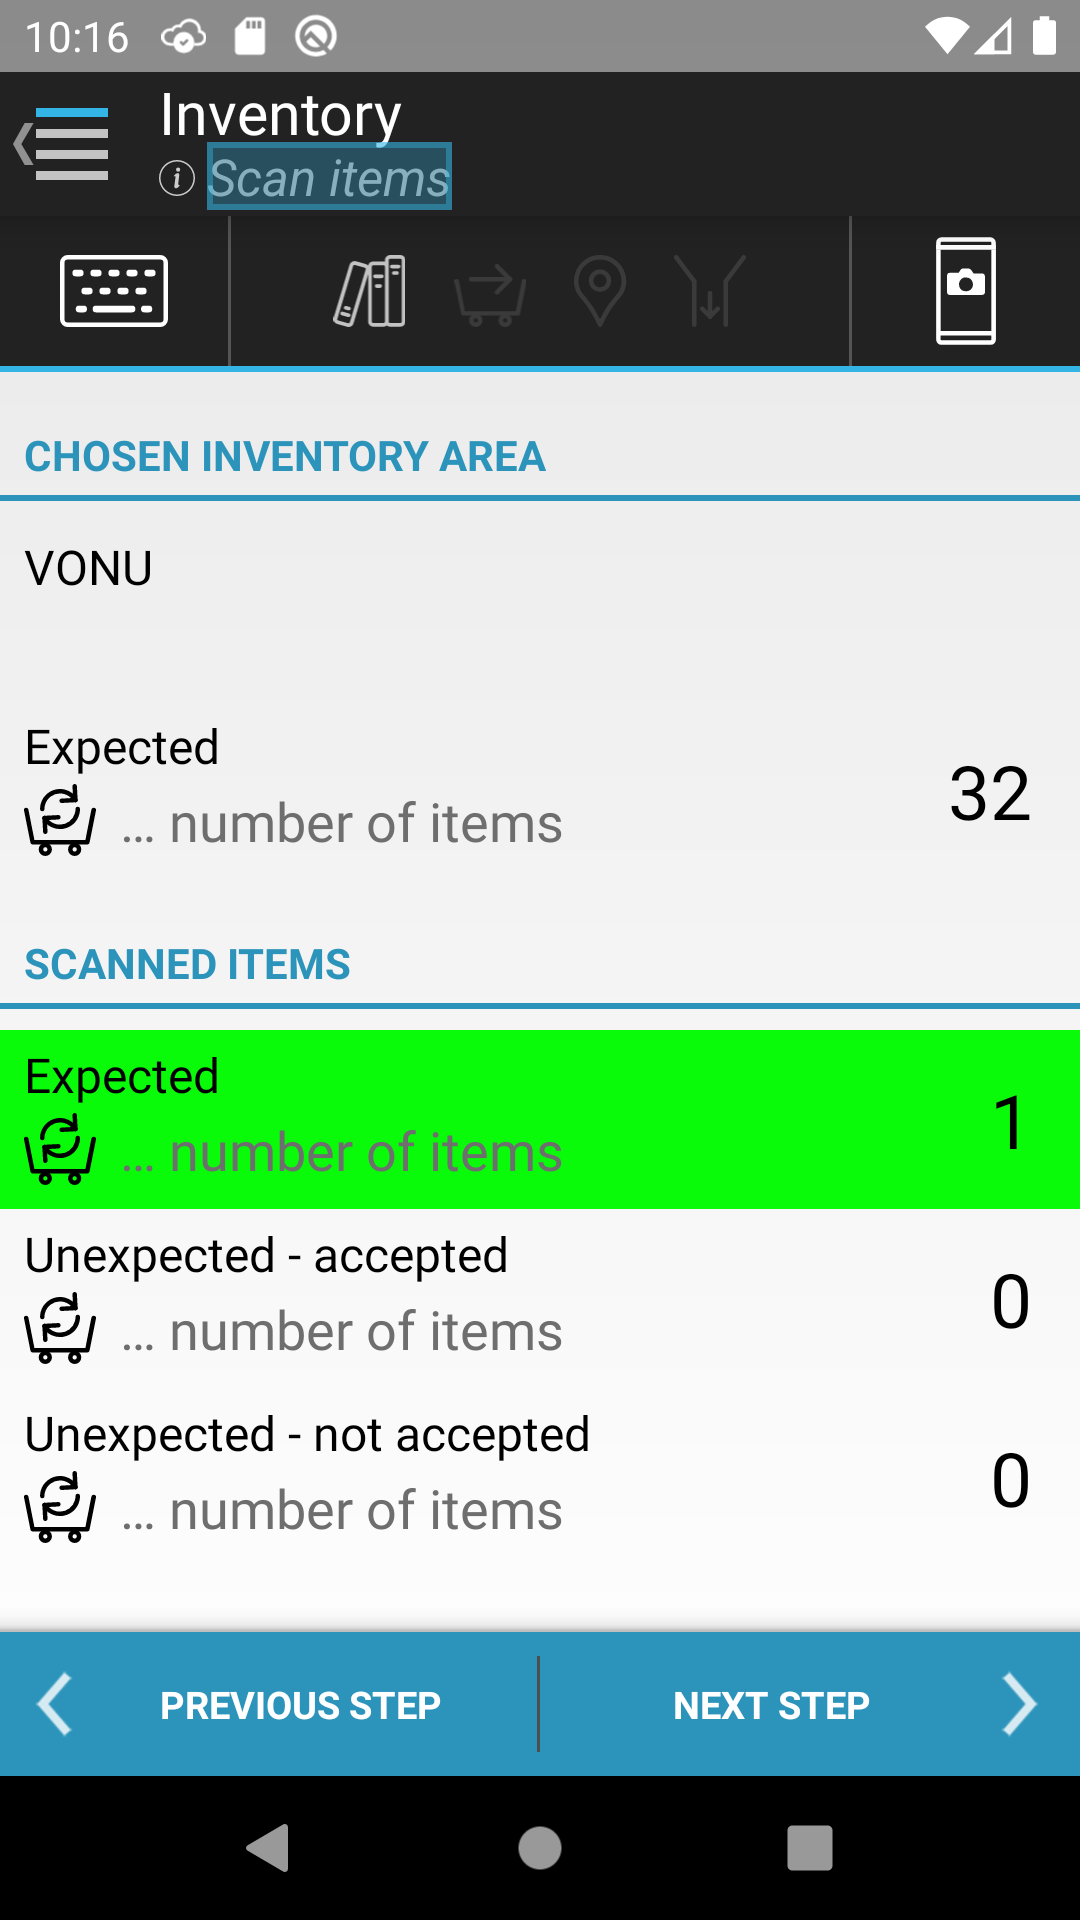
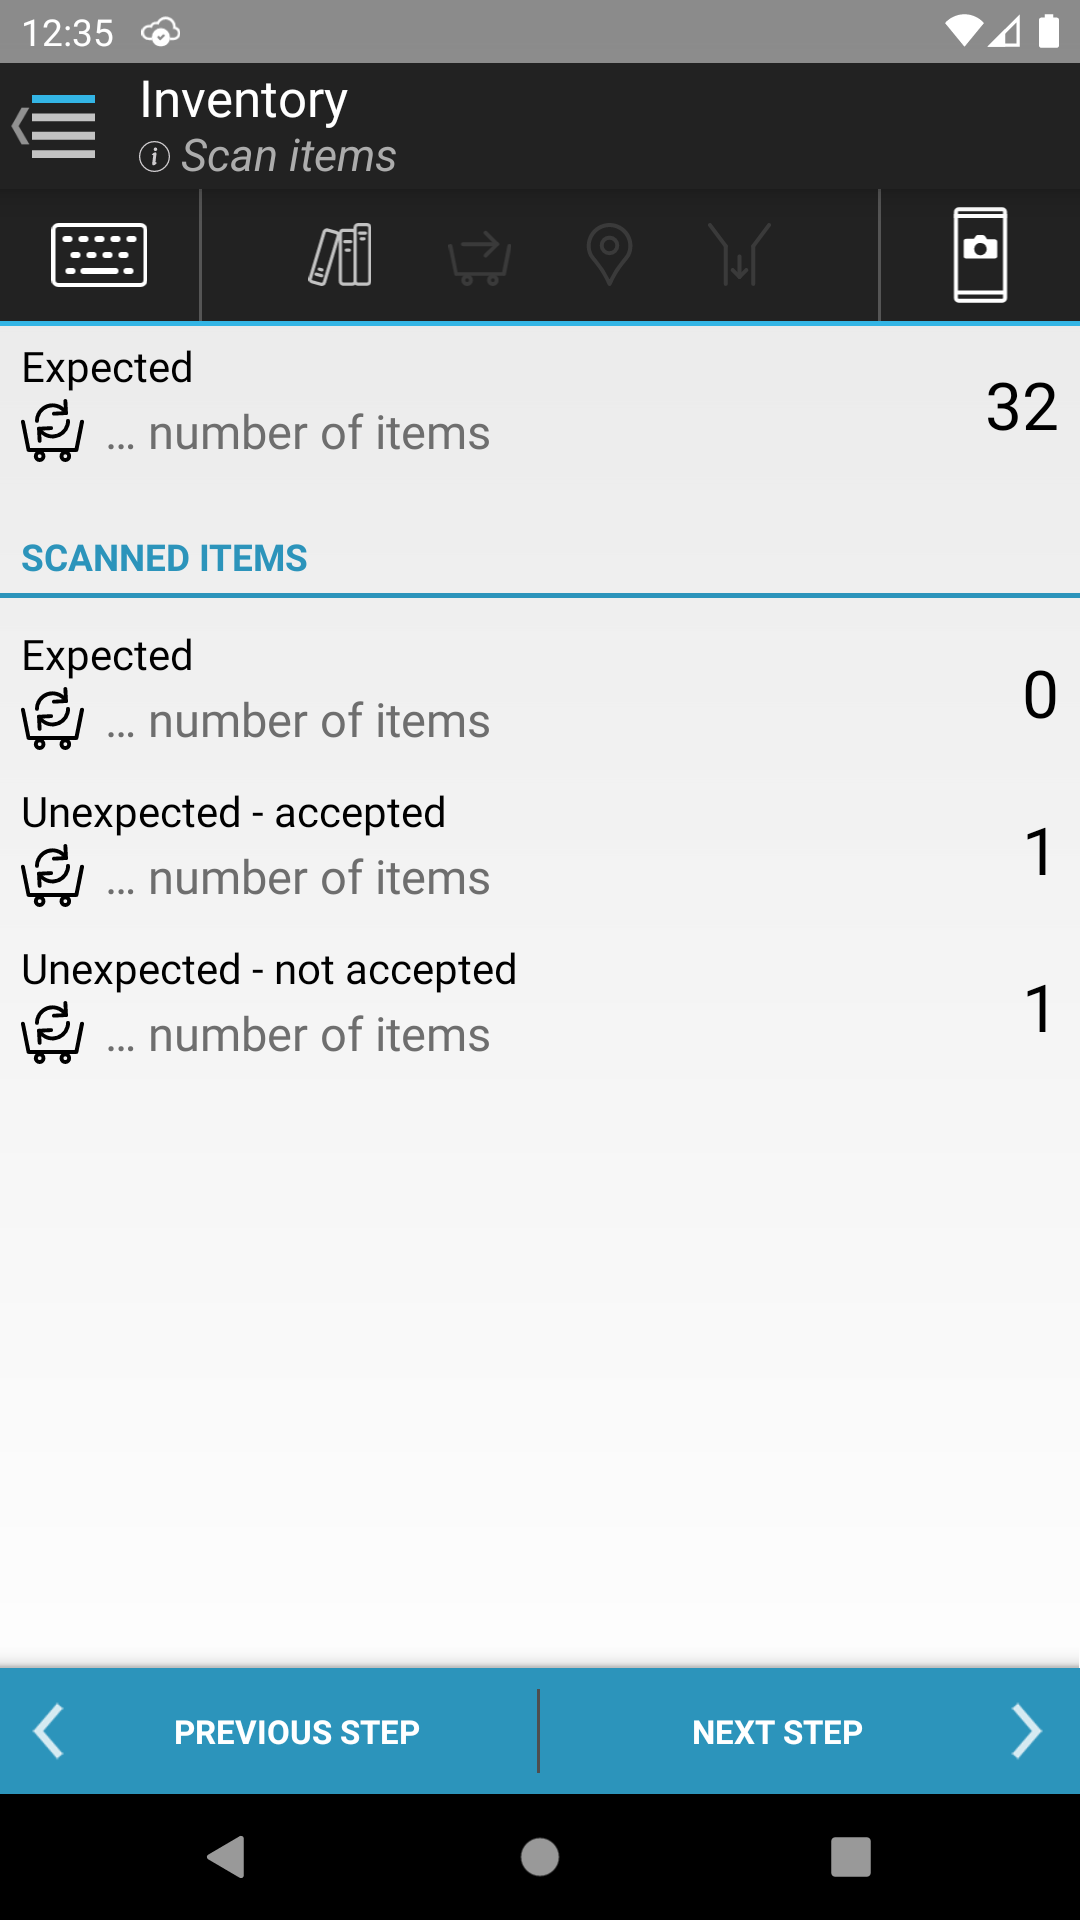
The display screen shows the status of the ongoing inventory.
Under “Chosen inventory area”:
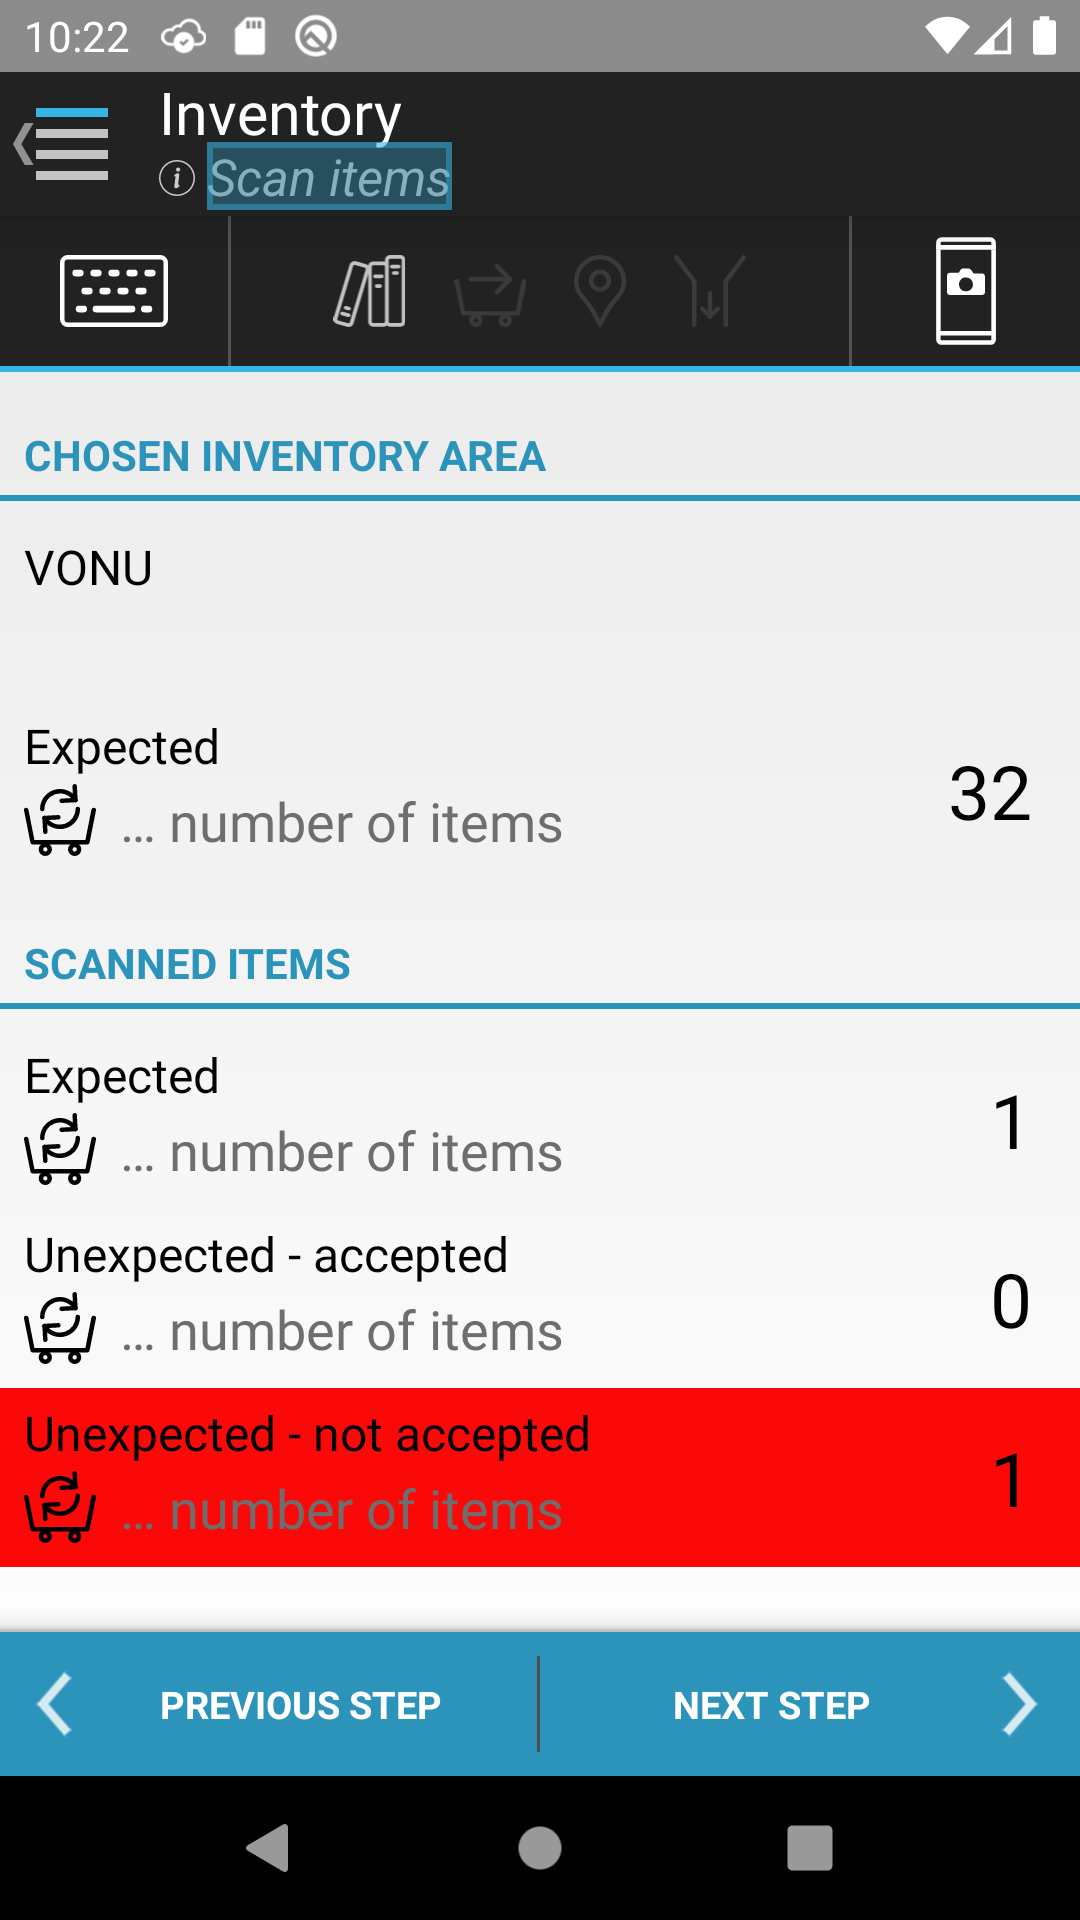
Under “Scanned items”:
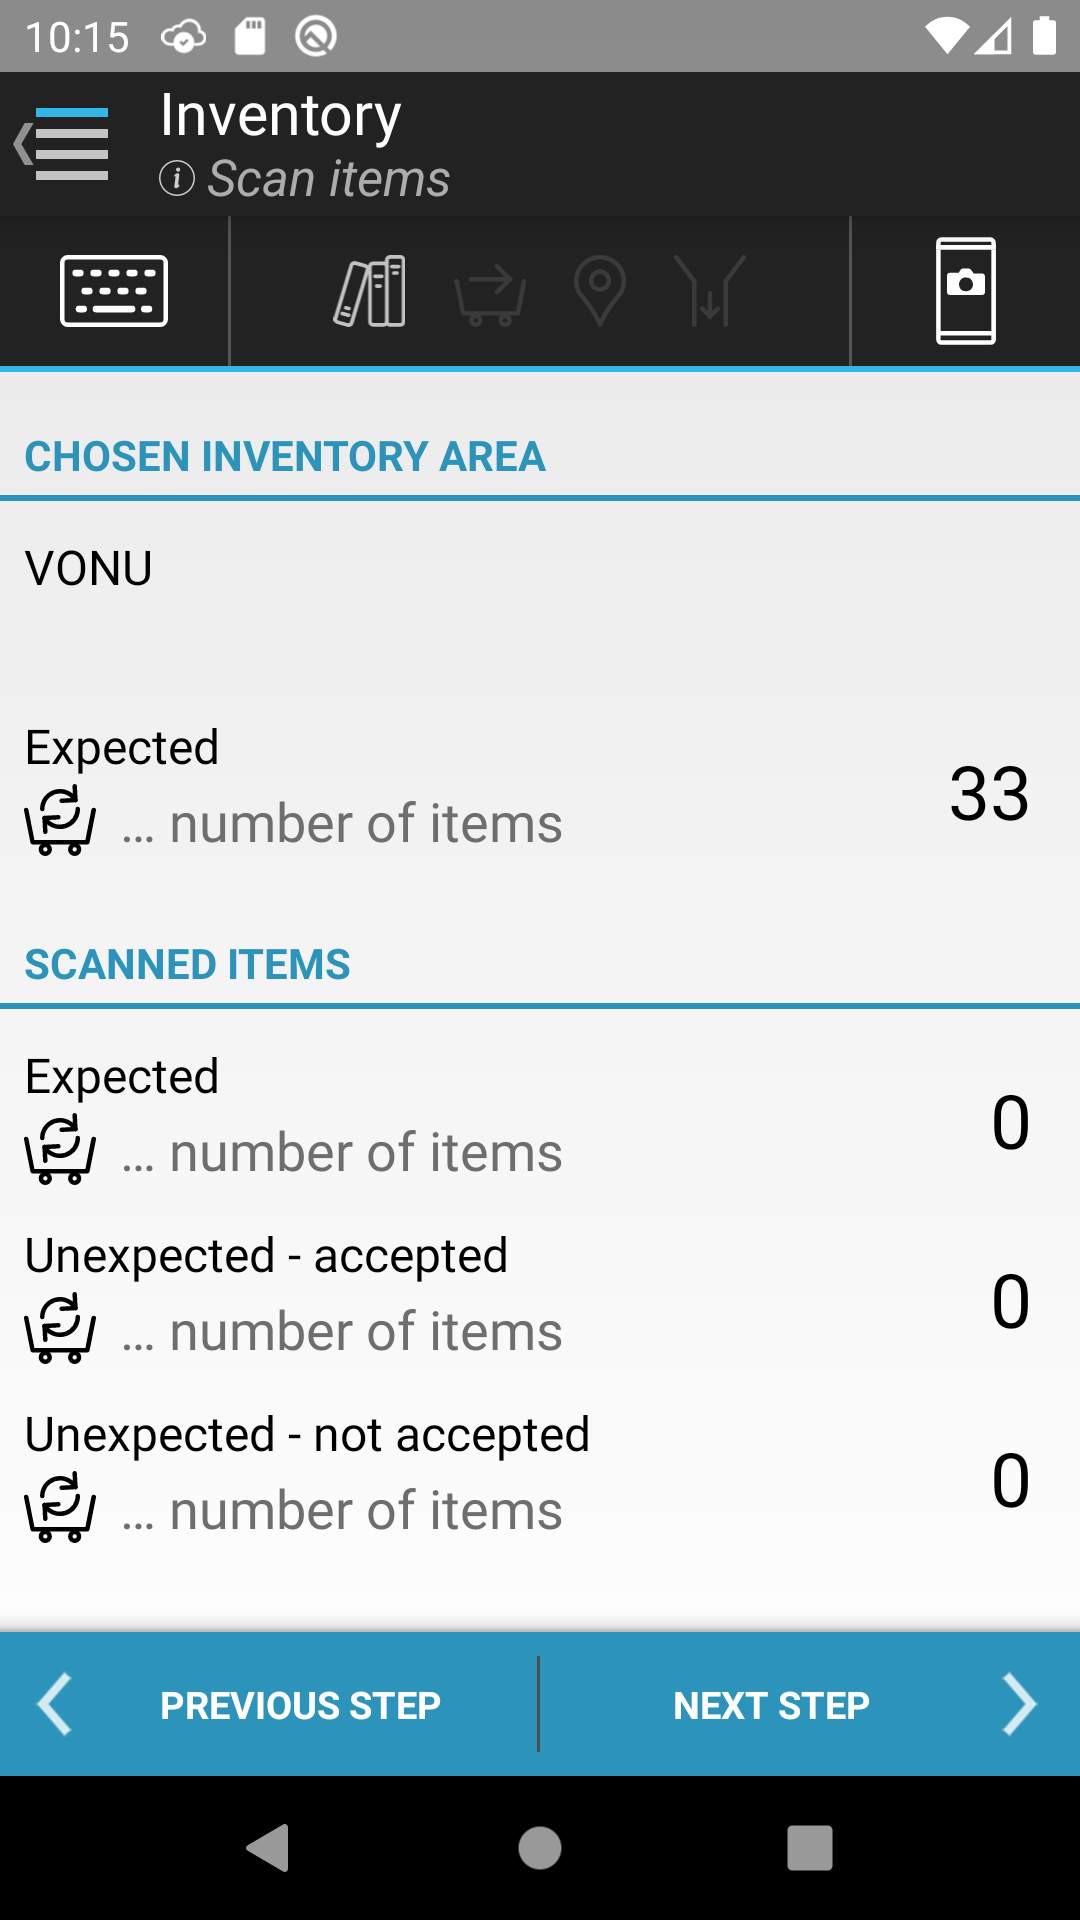
During scanning of an expected item, “Expected”, under “Scanned items”, is incremented by one and highlighted with green.
During scanning of an unexpected item, the server is contacted to determine whether the item can be legally located in the count location:
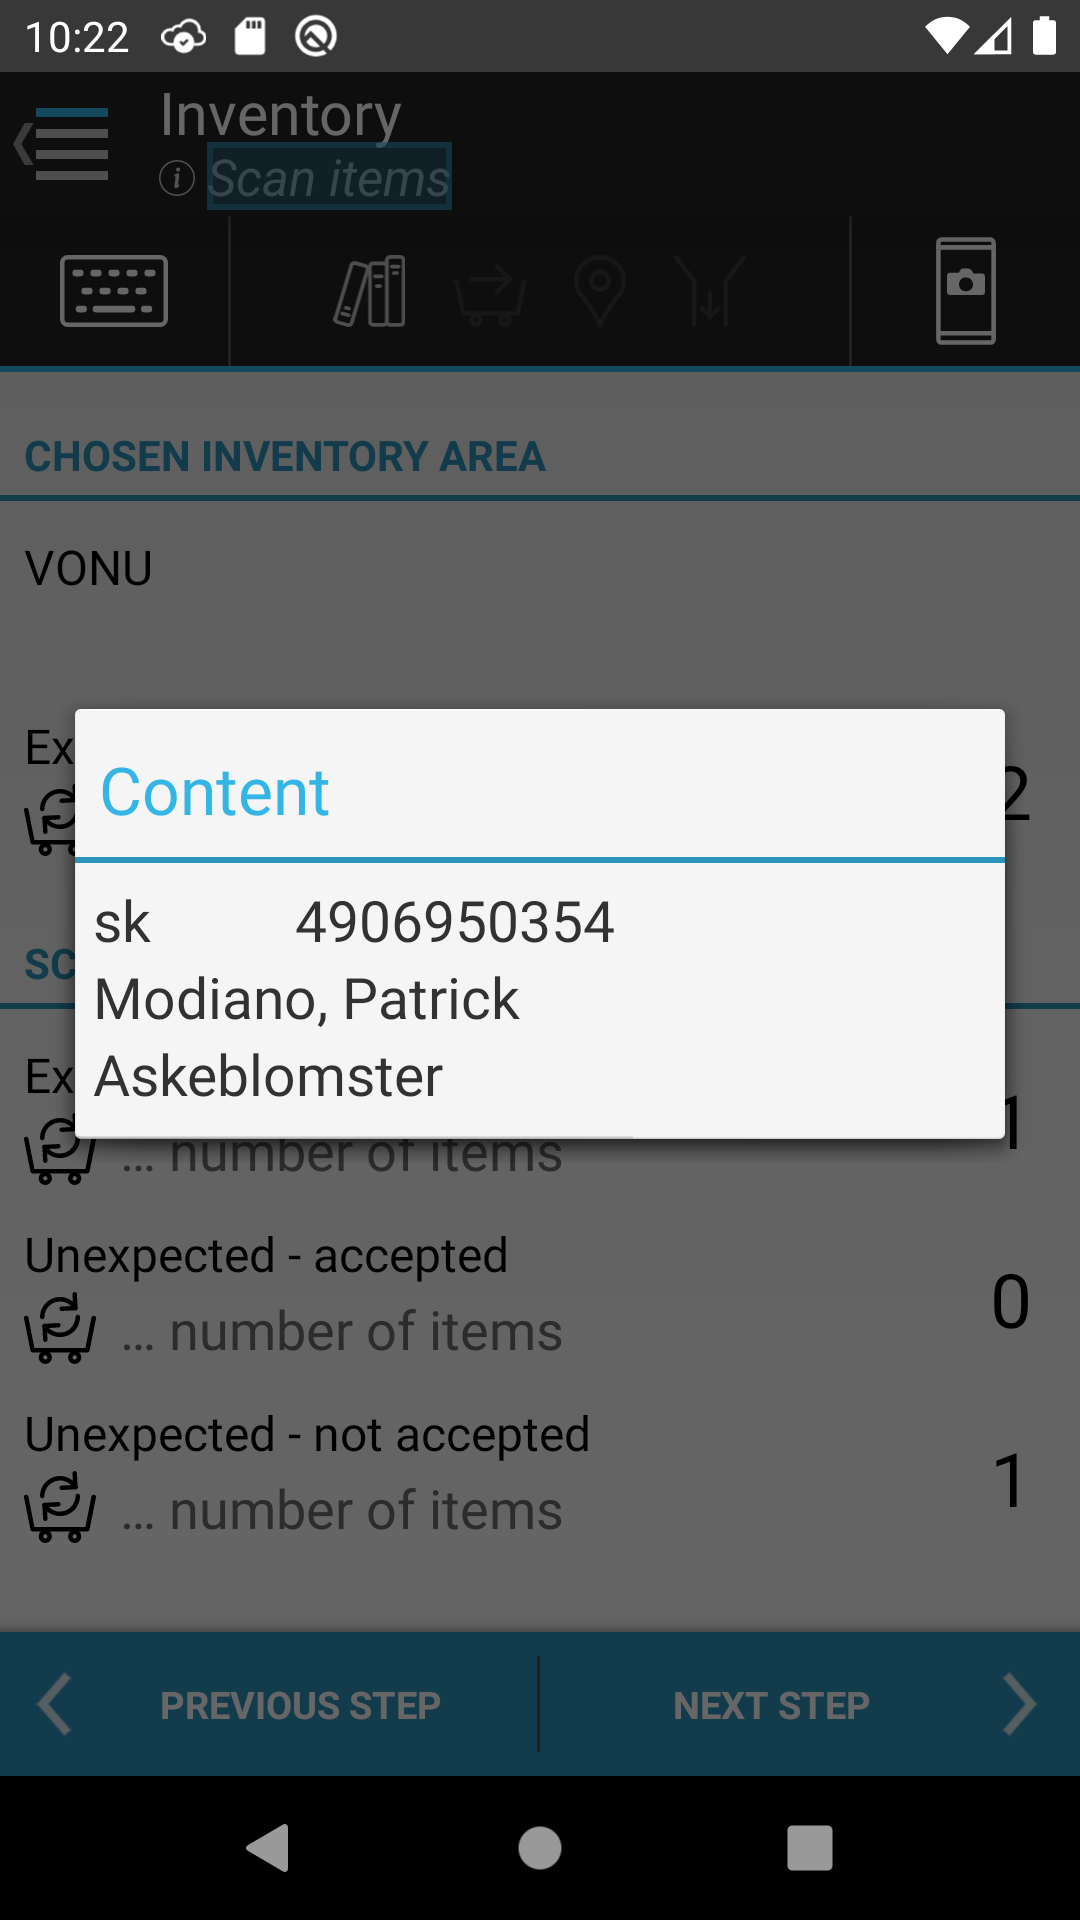
Long press on the counts will open a dialog showing information about the scanned materials. Long pressing a material will copy the ID to the clipboard.
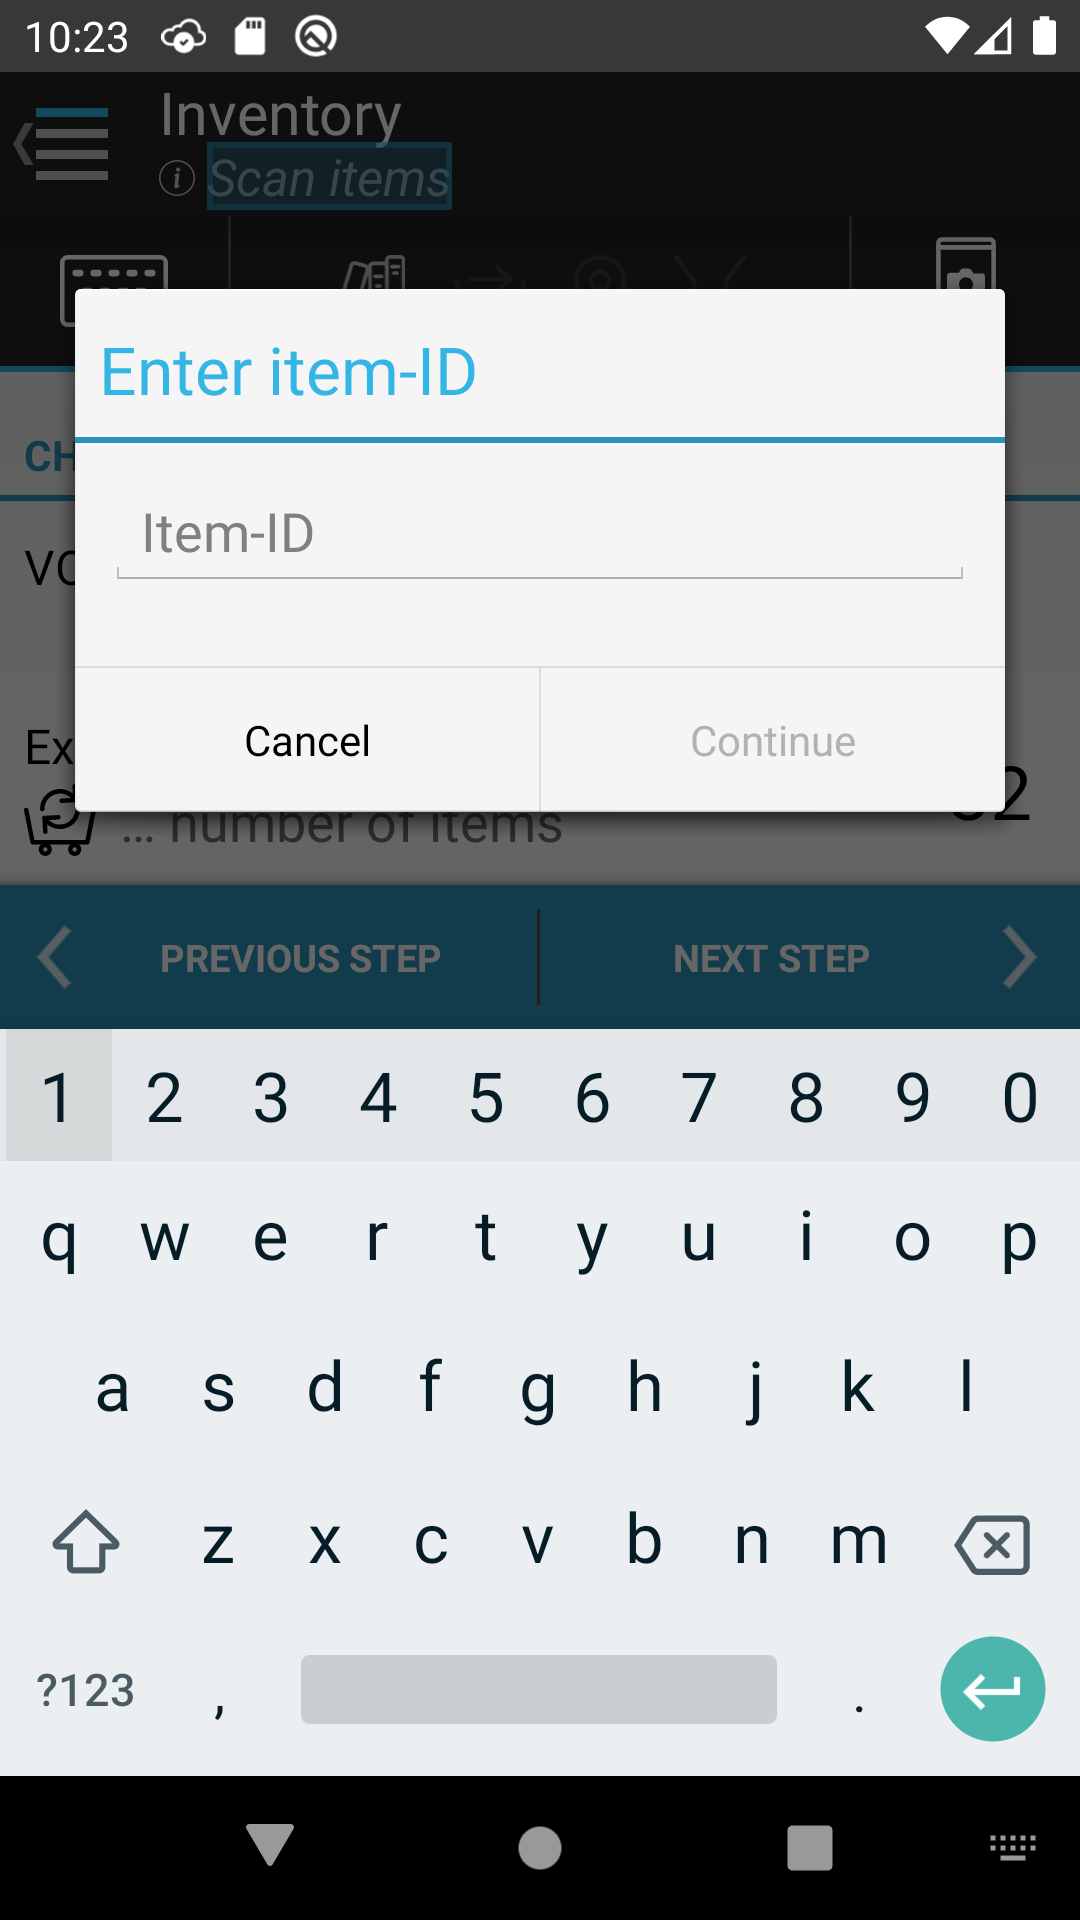
Clicking on the menu item “Enter Item ID”, provides the option of manually entering an Item ID.
As the items are scanned, registrations are created in order to note in the items’ histories that they have been seen.
Unexpected items, which must legally be placed at the inventory location, are registered as moved so that the item is subsequently registered with the correct placement.
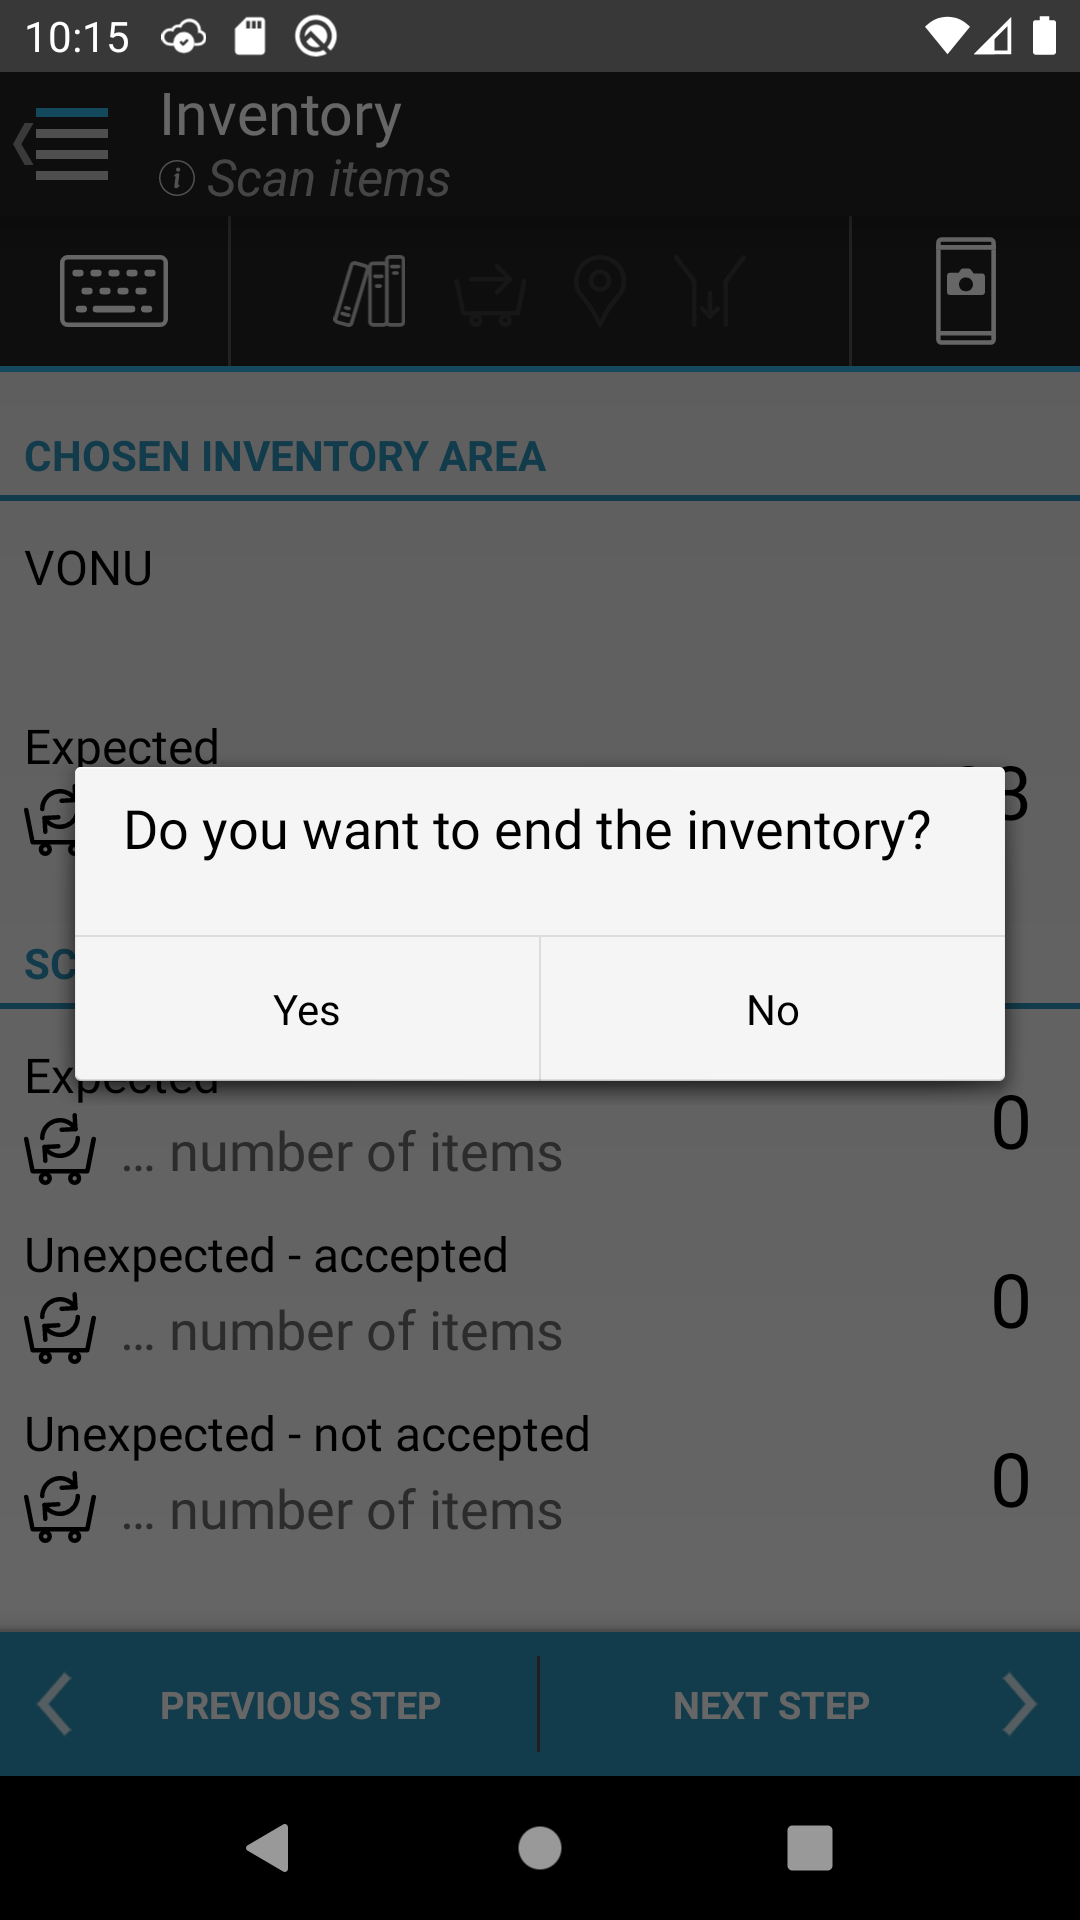
Clicking on “Previous step” terminates the ongoing inventory. If one or more of the expected items have not been scanned or processed on the Items not found screen, a dialog box is displayed to confirm that you would like to terminate the inventory. After this, you can begin a new inventory.
By clicking on “Next step”, you are transferred to the Items not found screen where missing items can be processed.
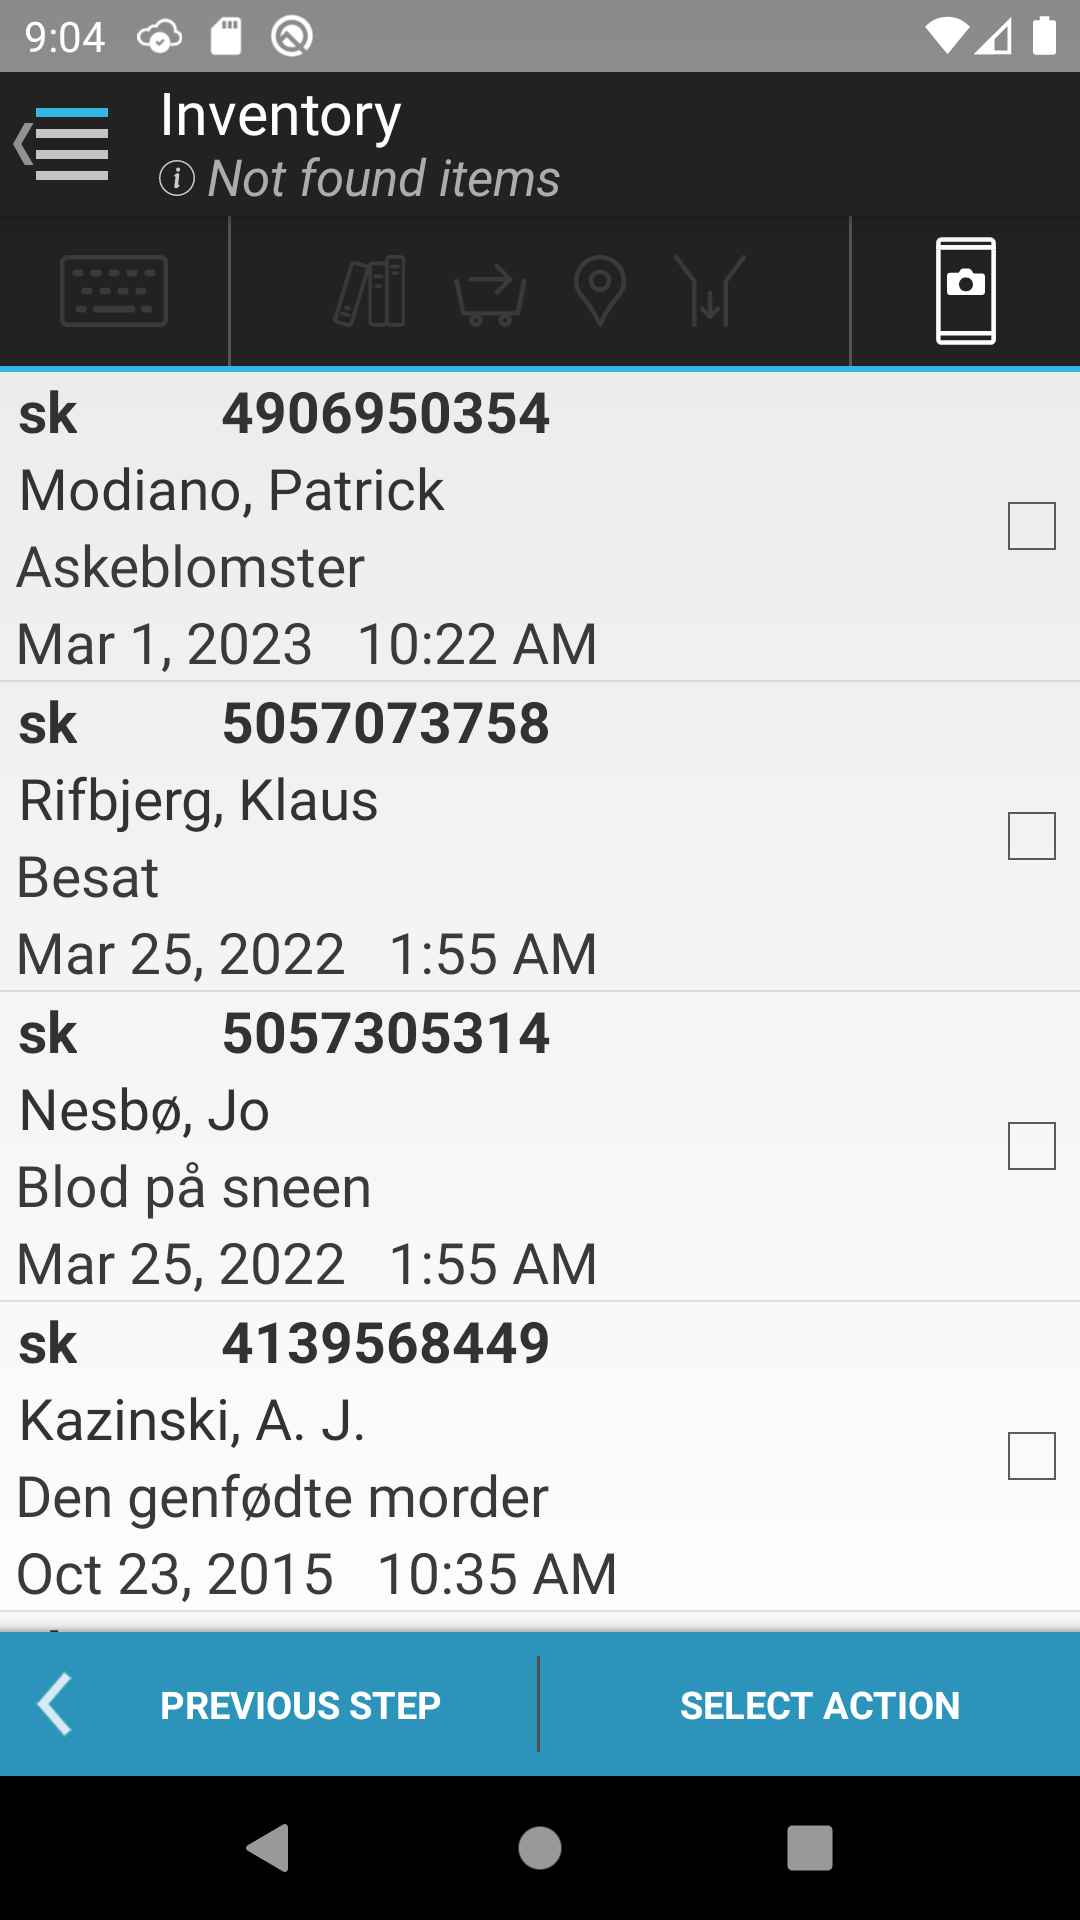
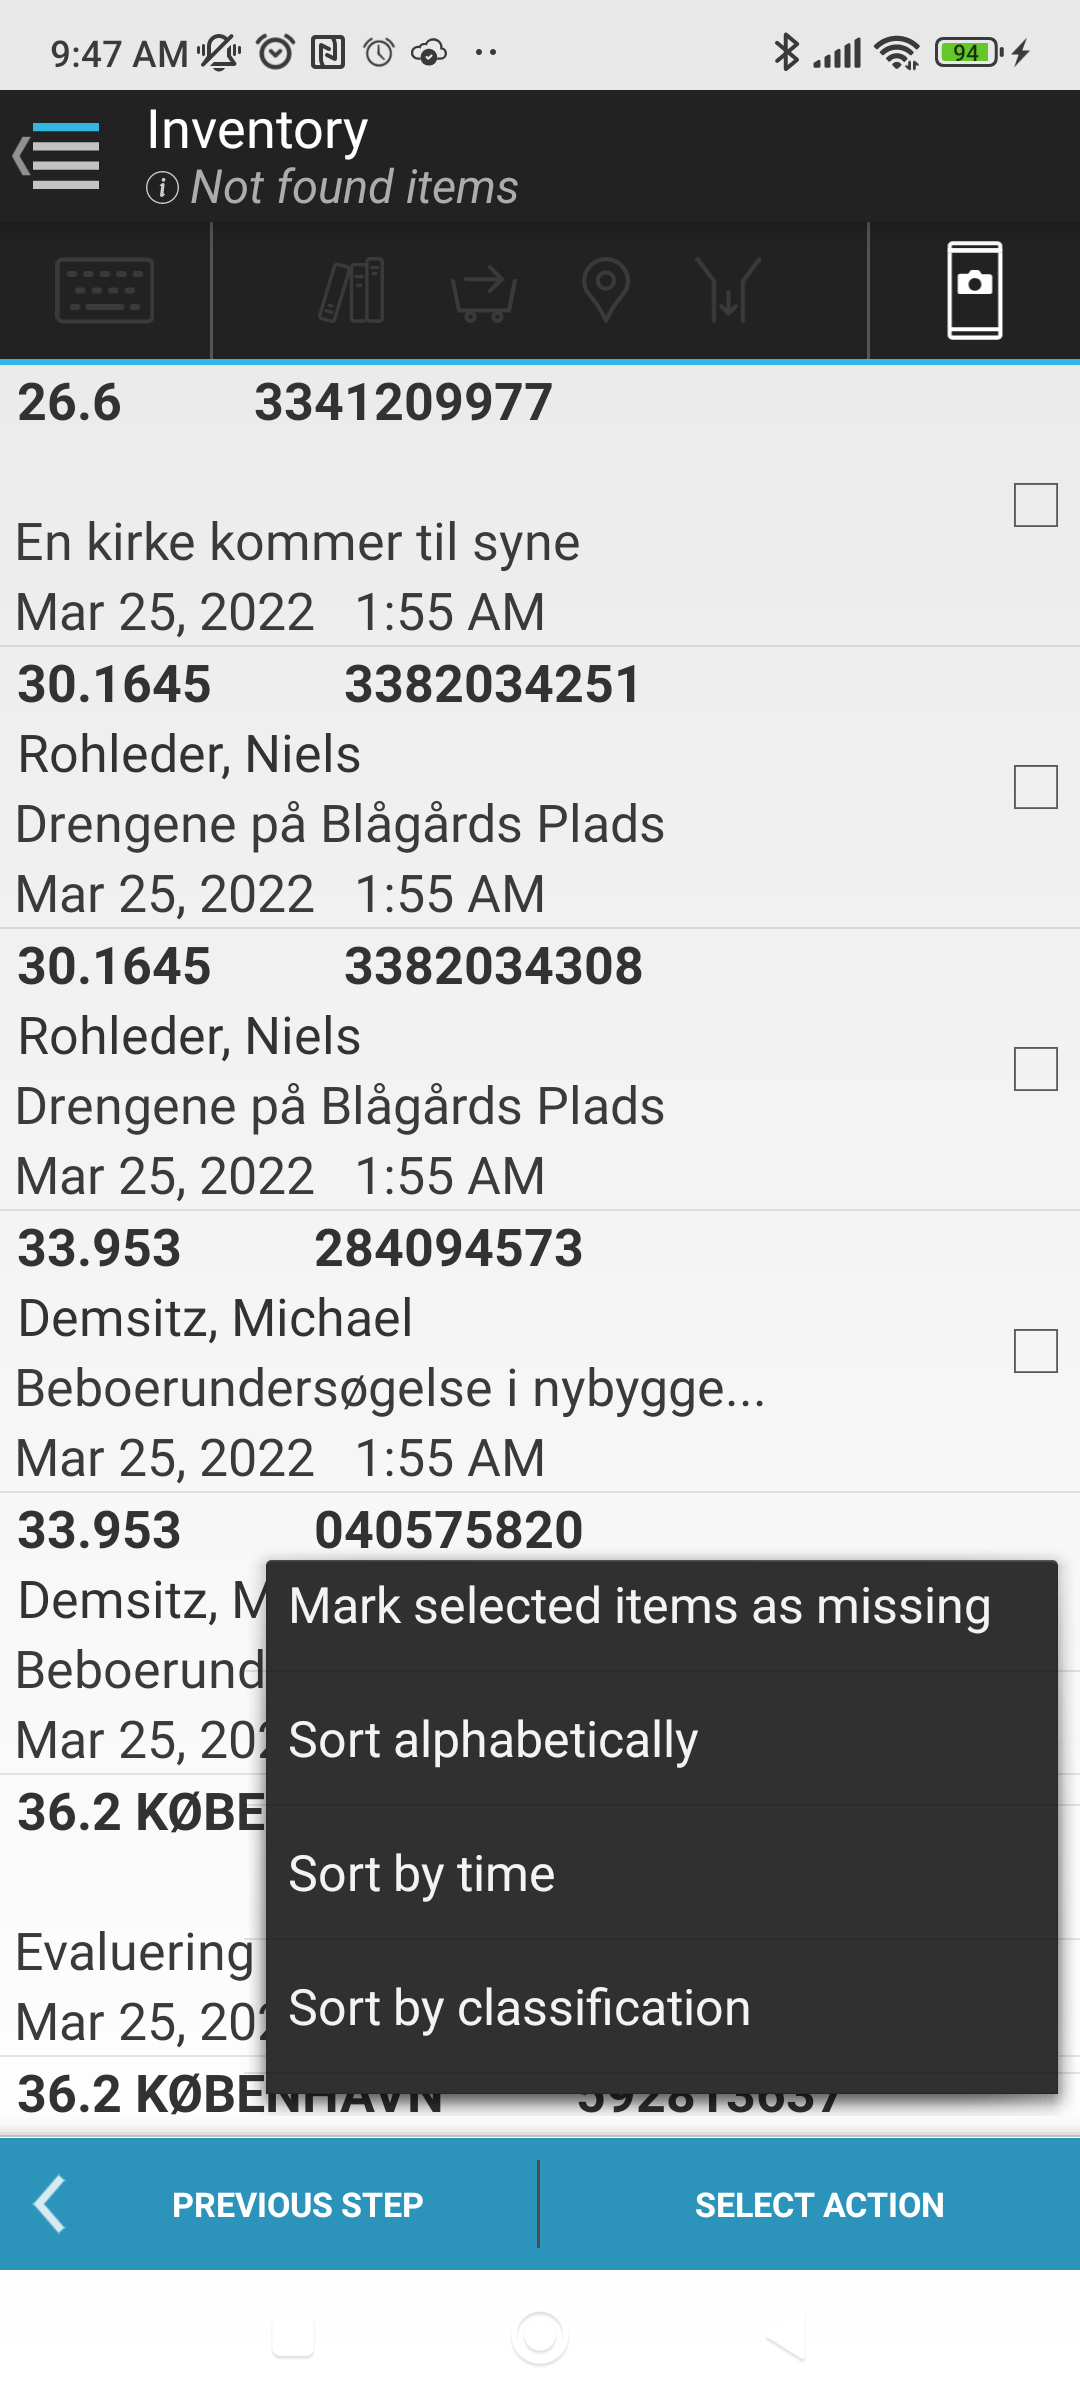
On this screen you can view a list of all items, which were registered at the count location by IMMS but have not (yet) been scanned by the inventory. For each item, the classification, id, author, title, date and time of the last registration for the item is displayed.
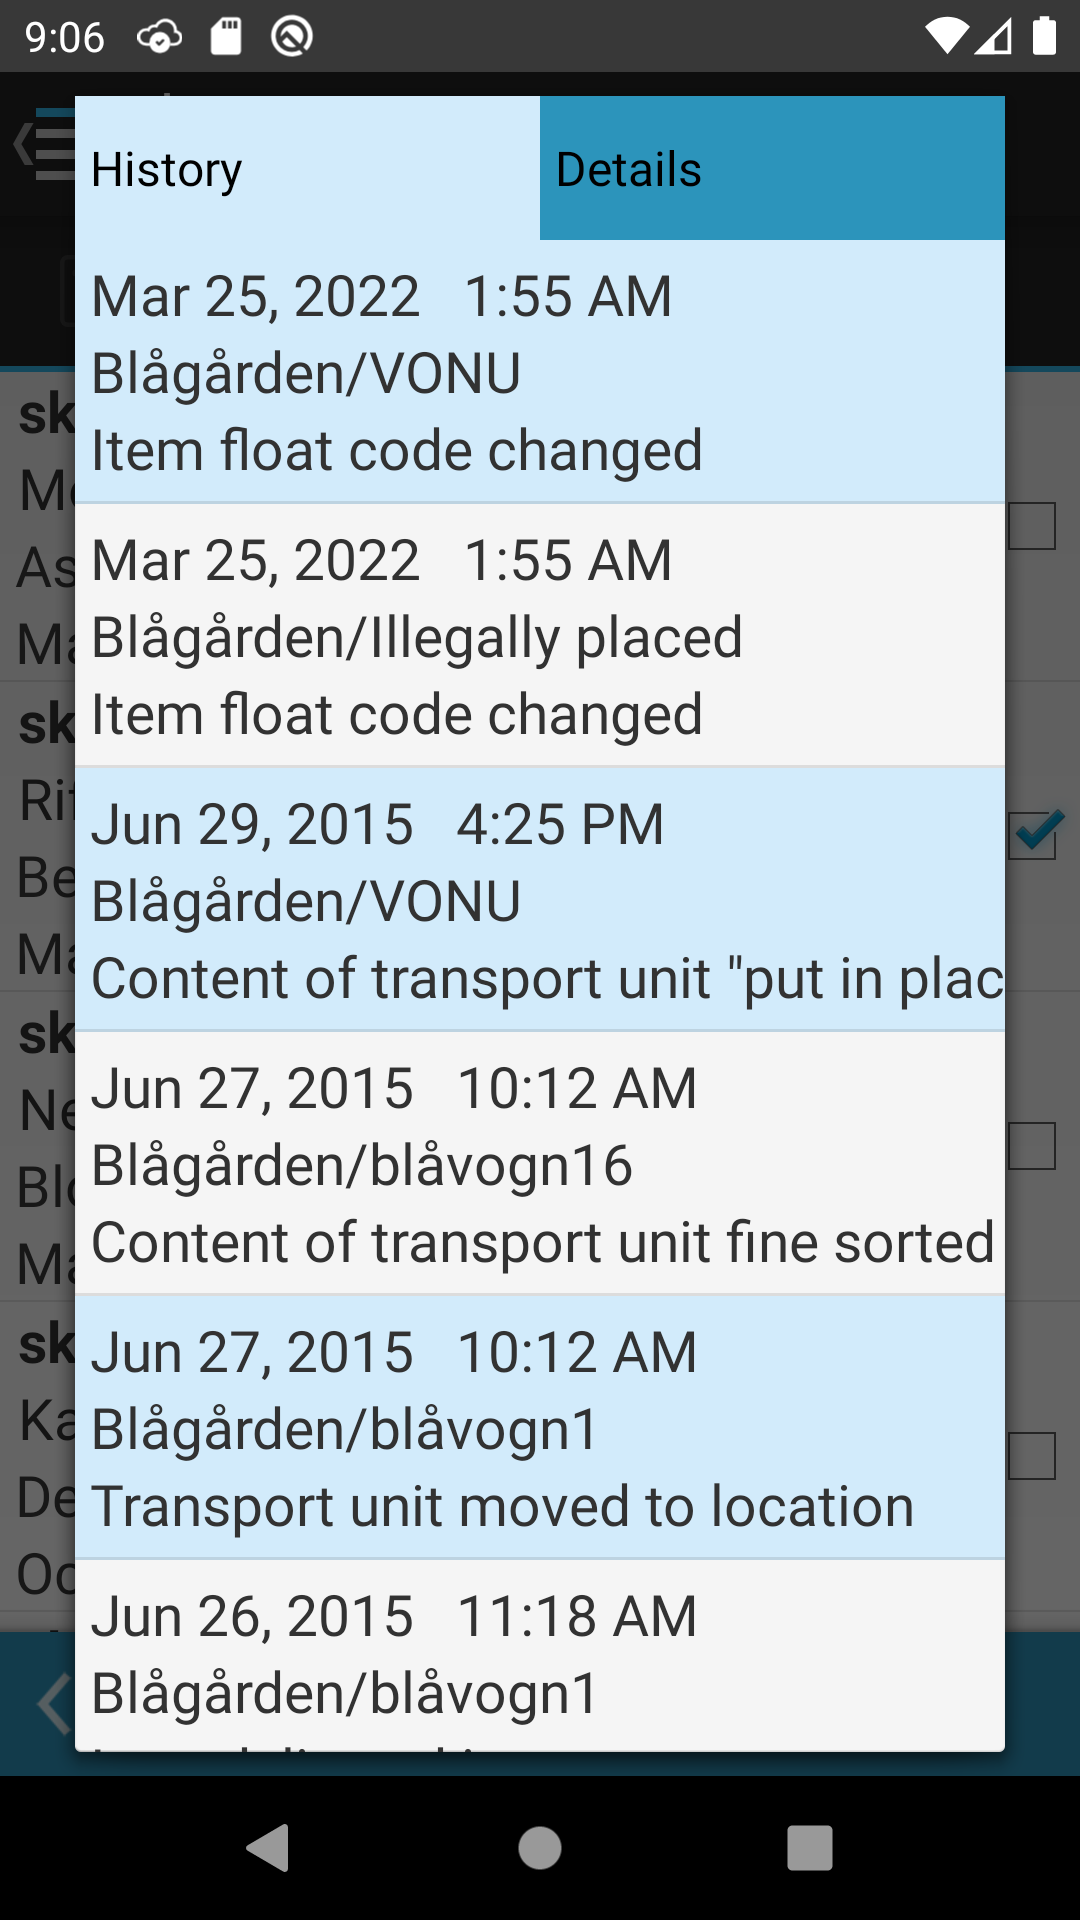
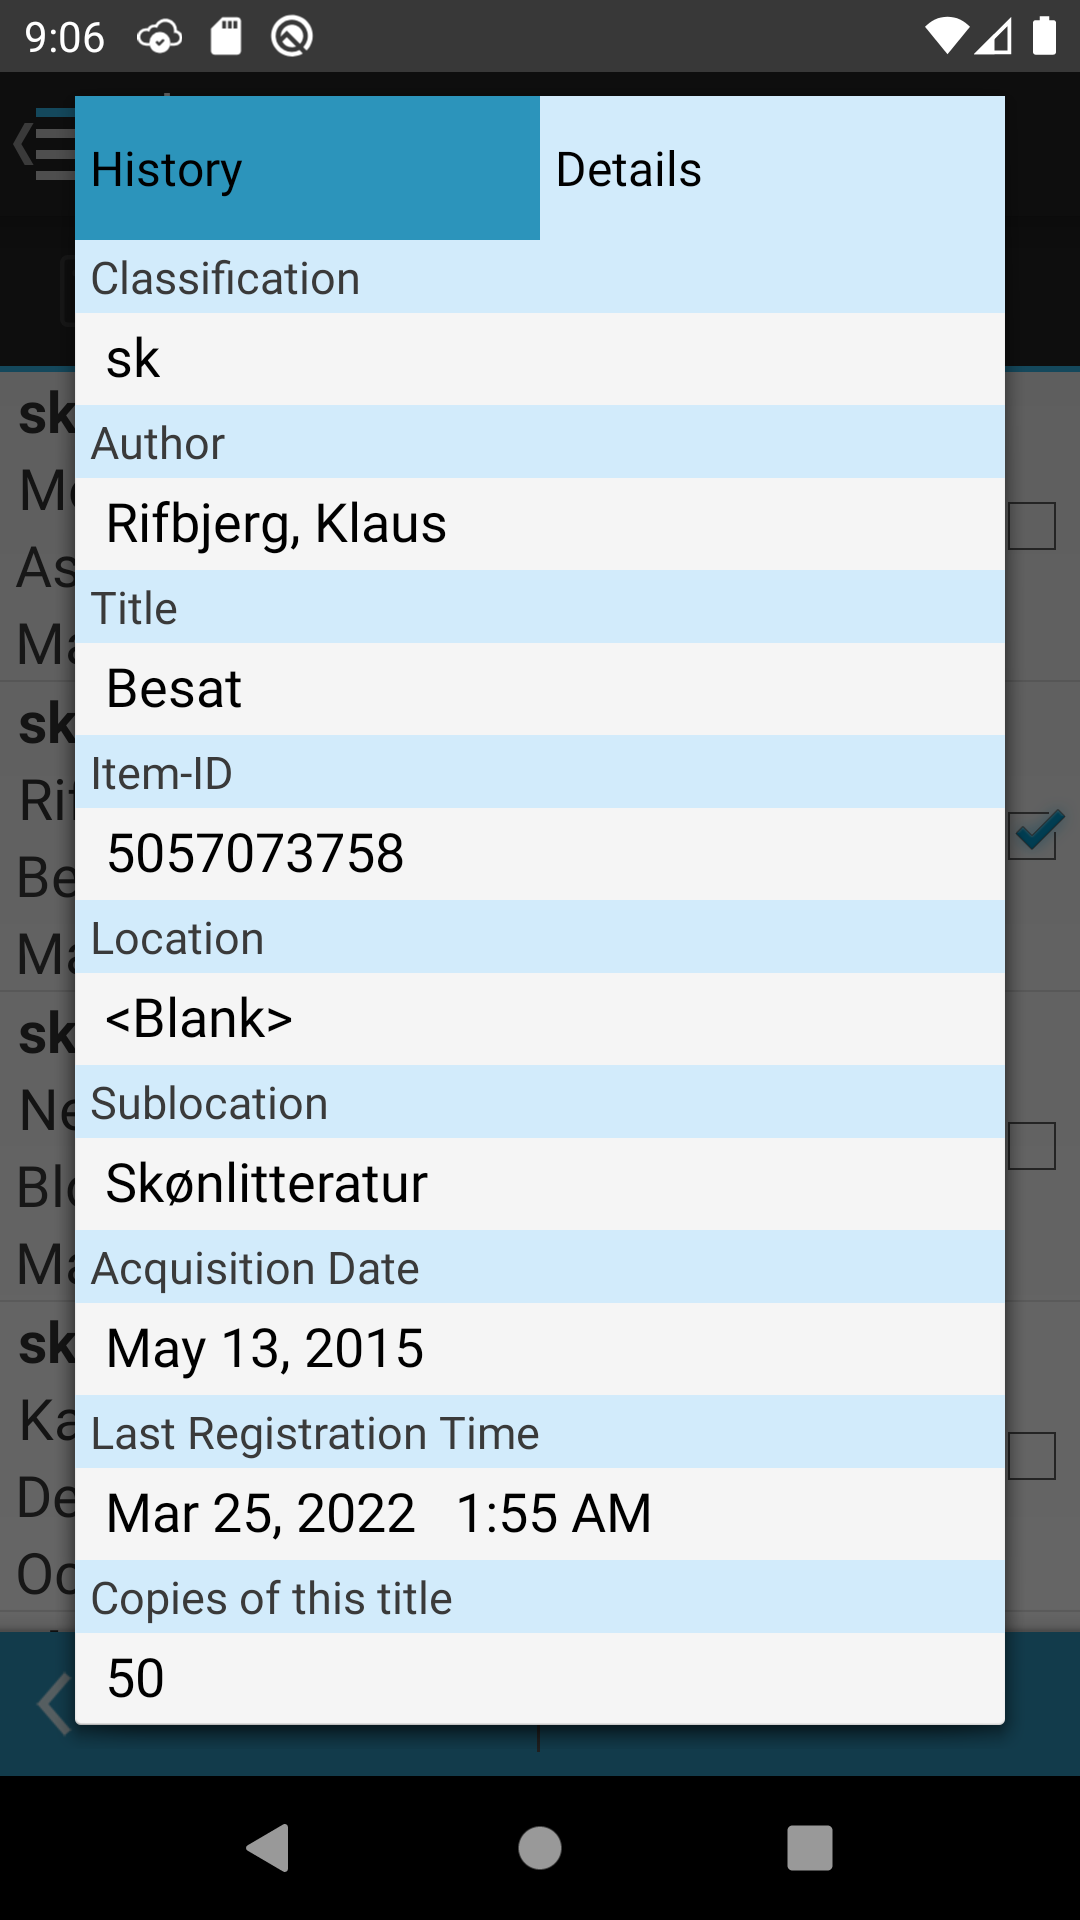
Pressing and holding an item for a few seconds pulls up a display of the history and details of the item. If the history text does not fit the screen, it is possible to scroll it horizontally. You can close the item history by clicking on the “Back” button.
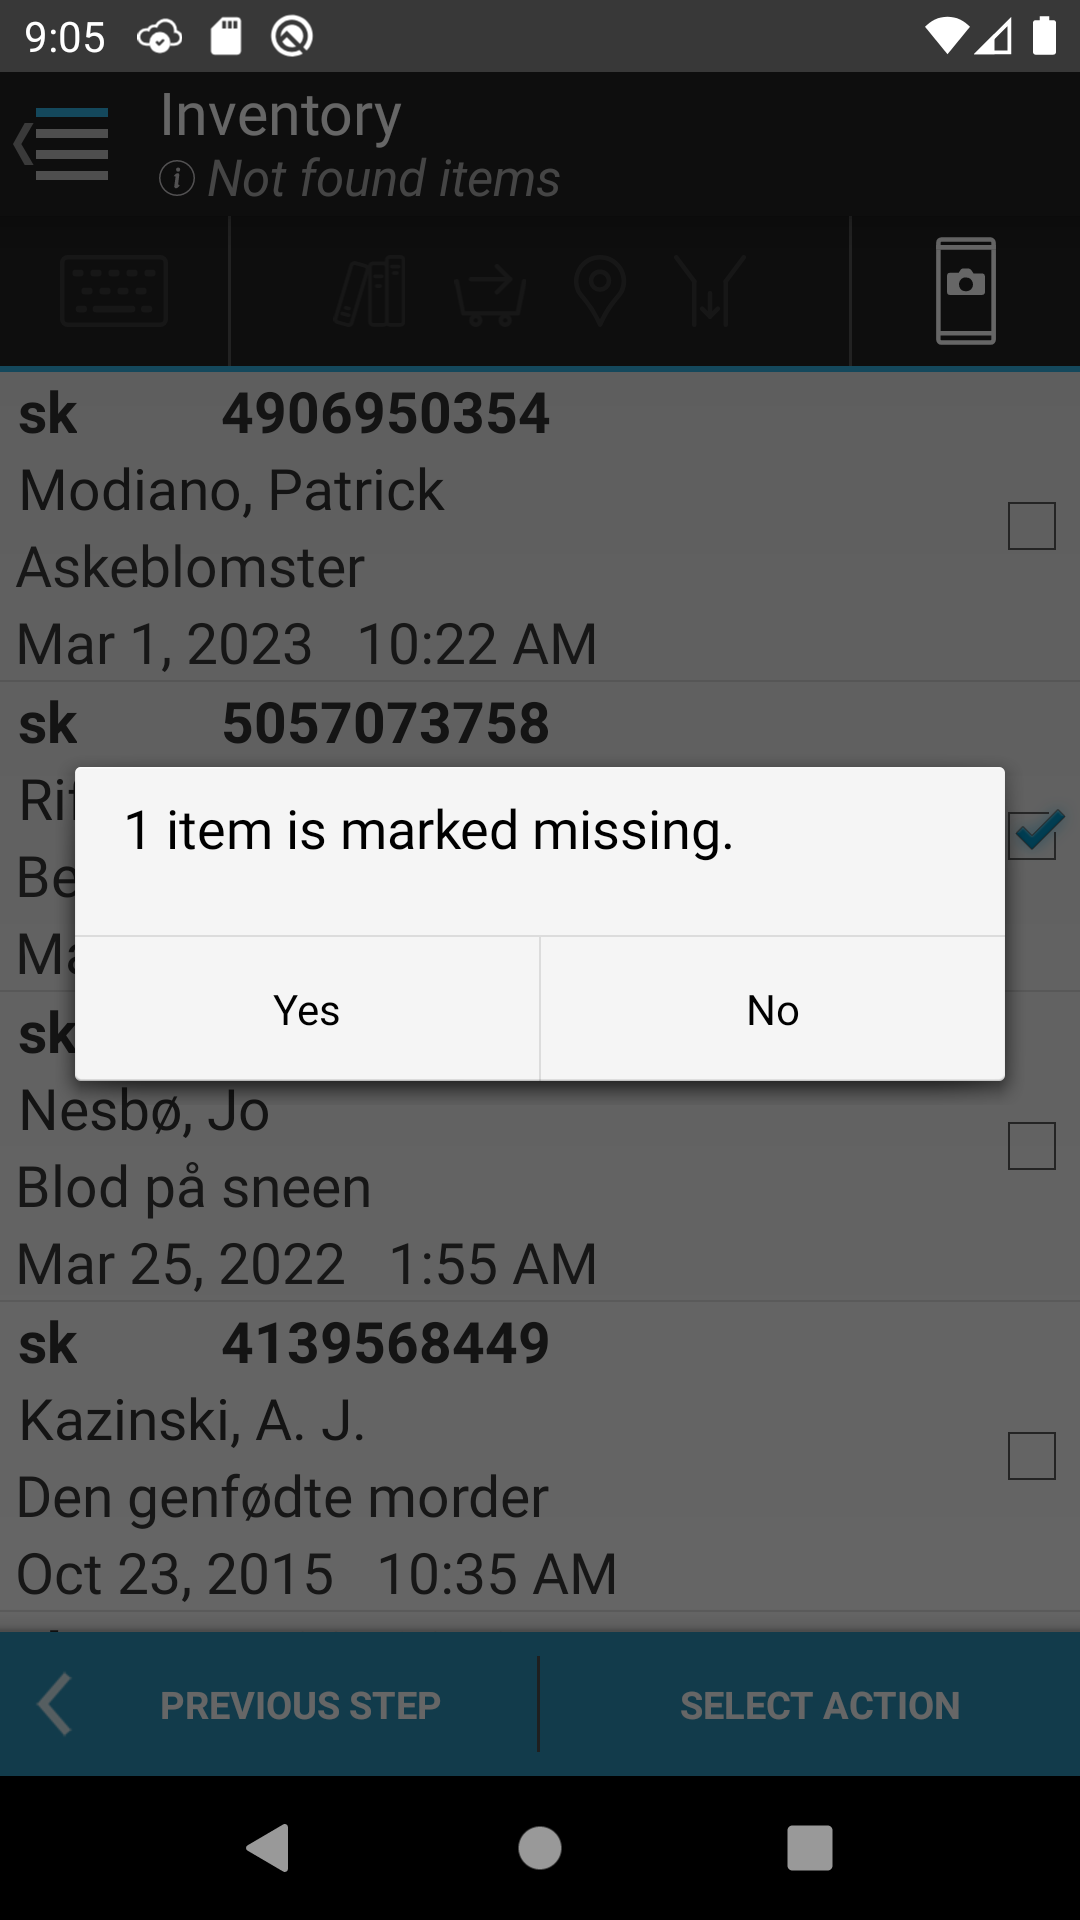
You can check or uncheck an item on the list by pressing briefly on the item. Items with no check box are taken for requisition and can not be marked missing.
The “Select an action” menu provides the following options:
If you do not want to take any action on the remaining items on the list, you can simply click on “Previous step” and scan more items, if needed, or exit the inventory function completely.