| Front page › Mobile client › Introduction | Search | Version: 2.9.3 |
This introduction provides an overview of the general functionality and top-level navigation between IMMS mobile client screens. The introduction is divided into the following sections:
Note: A detailed review of the mobile client’s functions can be found in the menu description.
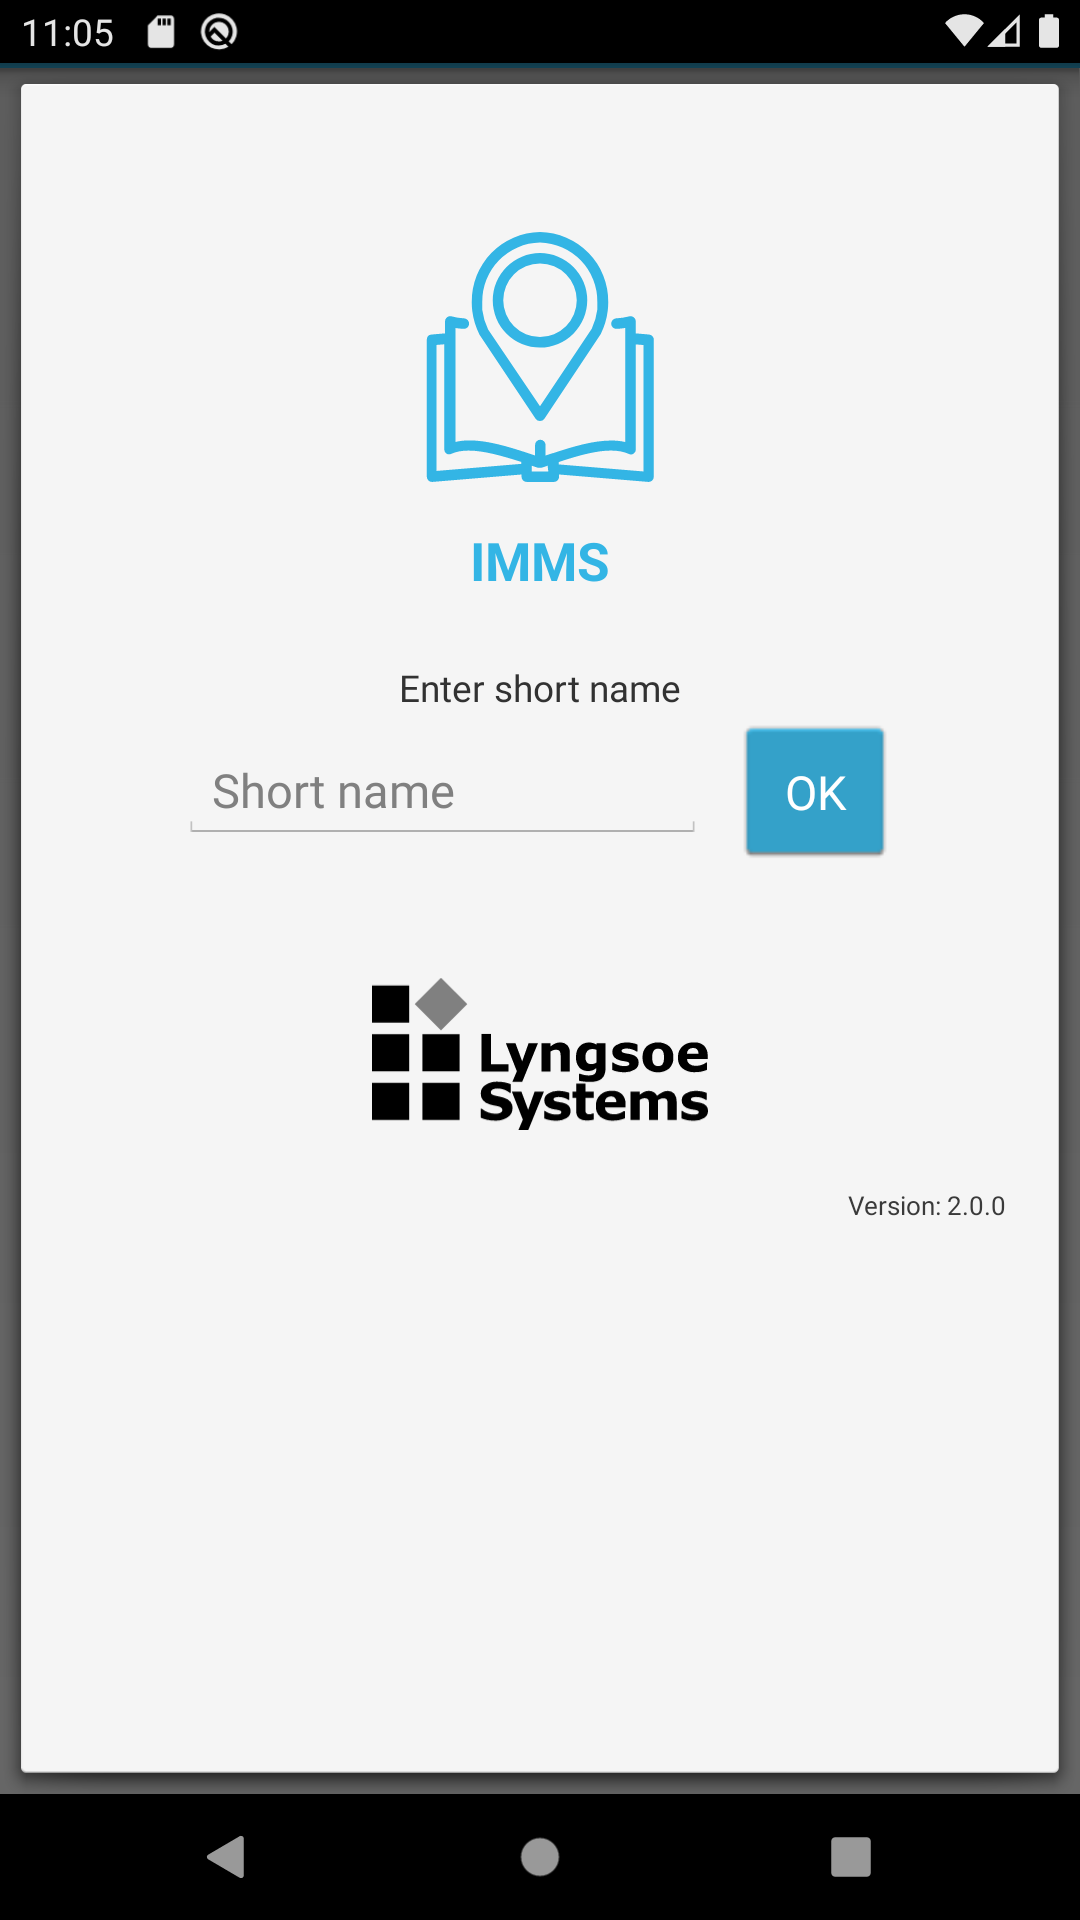
The installation specific short name is entered. This is typically also part of the web address for the web client. When it has been entered correctly, the Sign in screen is displayed where the full name of the installation is shown. When the app is subsequently started, this step is not shown.
Note: In organizations where the installed apps are managed centrally, it is also possible to manage the configure the short name centrally. If this is used, the bootstrap page is never shown.
The Android operating system will in cooperation with Google Play continuously update the mobile client as new versions are released. It is, however, also possible for the mobile client to see from its own configuration that a newer version should be installed. This configuration can furthermore specify, that sign in is not possible until the newer version has been installed. This will usually only become relevant if the device for an extended period of time has been unable to retrieve updates from Google Play.
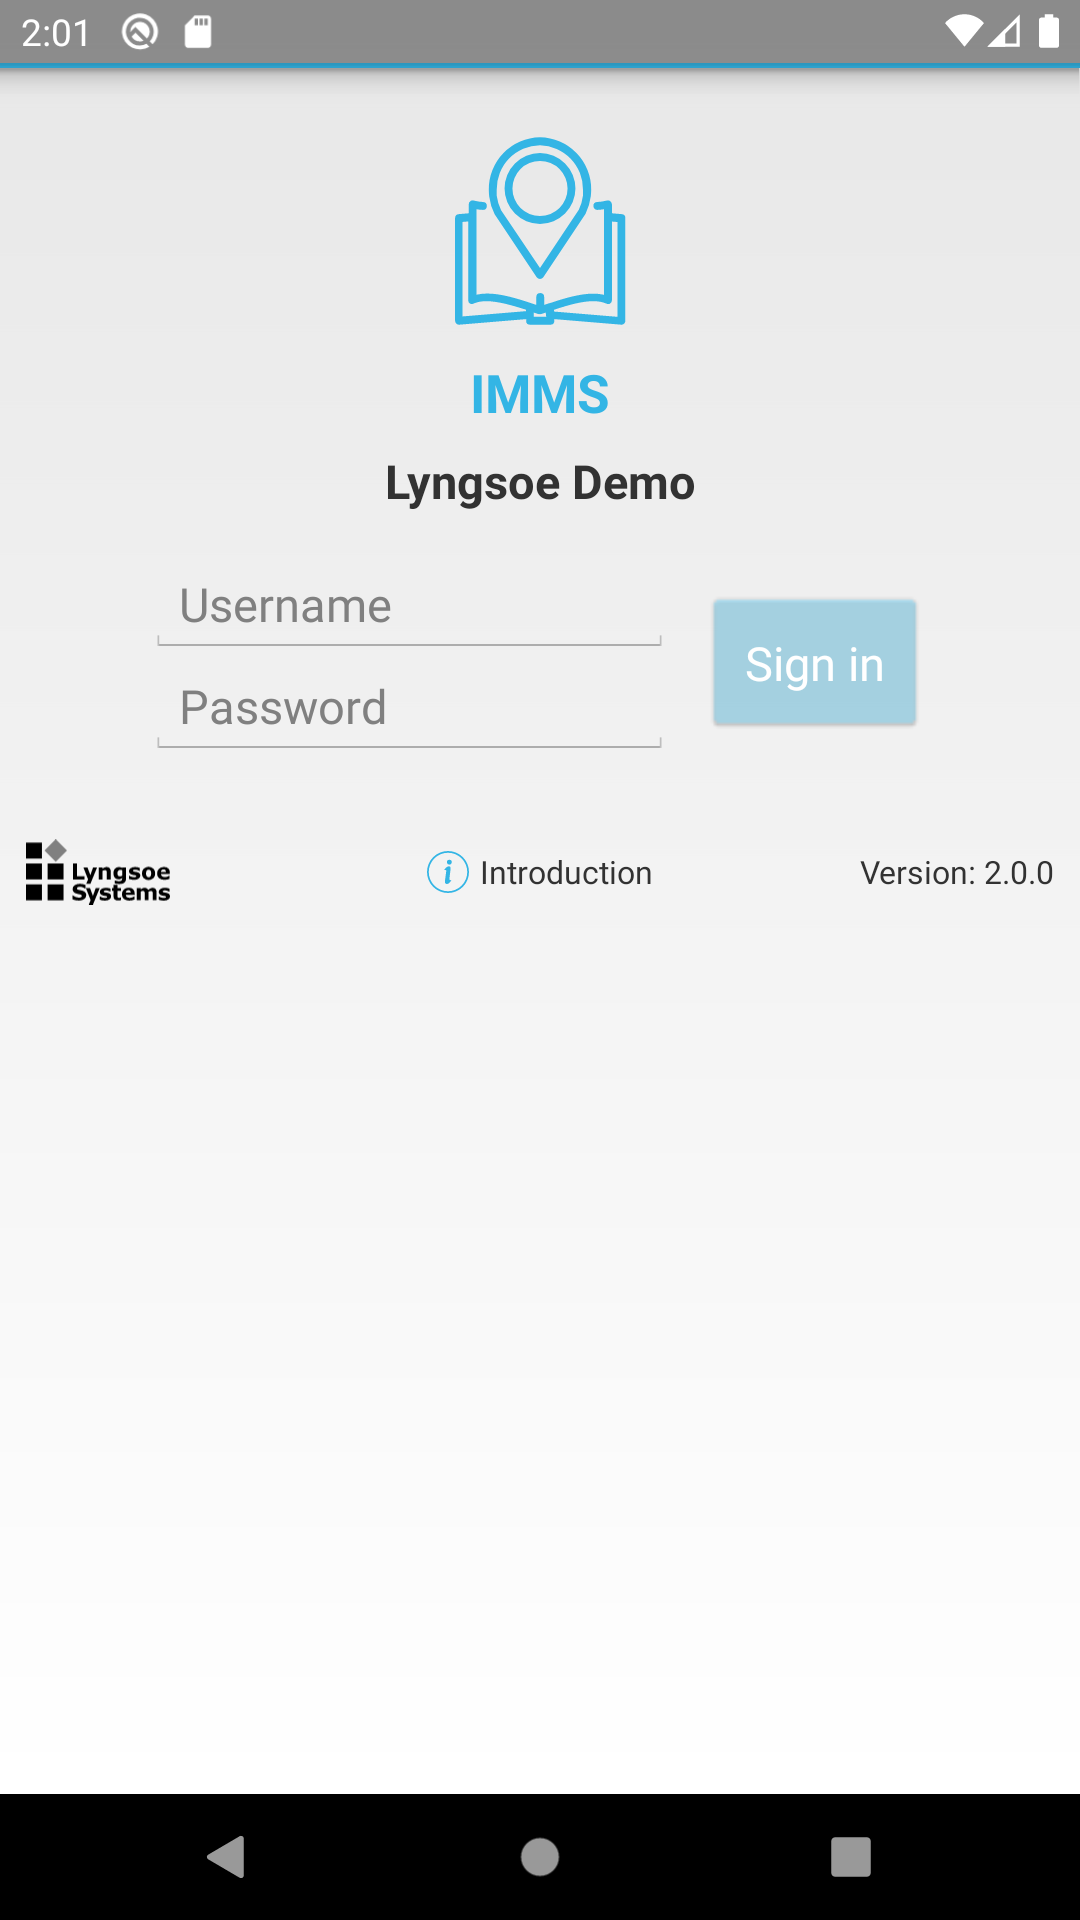
The “sign in” screen is automatically displayed during startup of the mobile client if a customer previously signed out. The user must sign in to the mobile client by entering a username and password into the appropriate fields on the screen. This introduction to the mobile client can be opened by clicking on “Intro”.
If the information entered is accepted, the start screen is displayed.
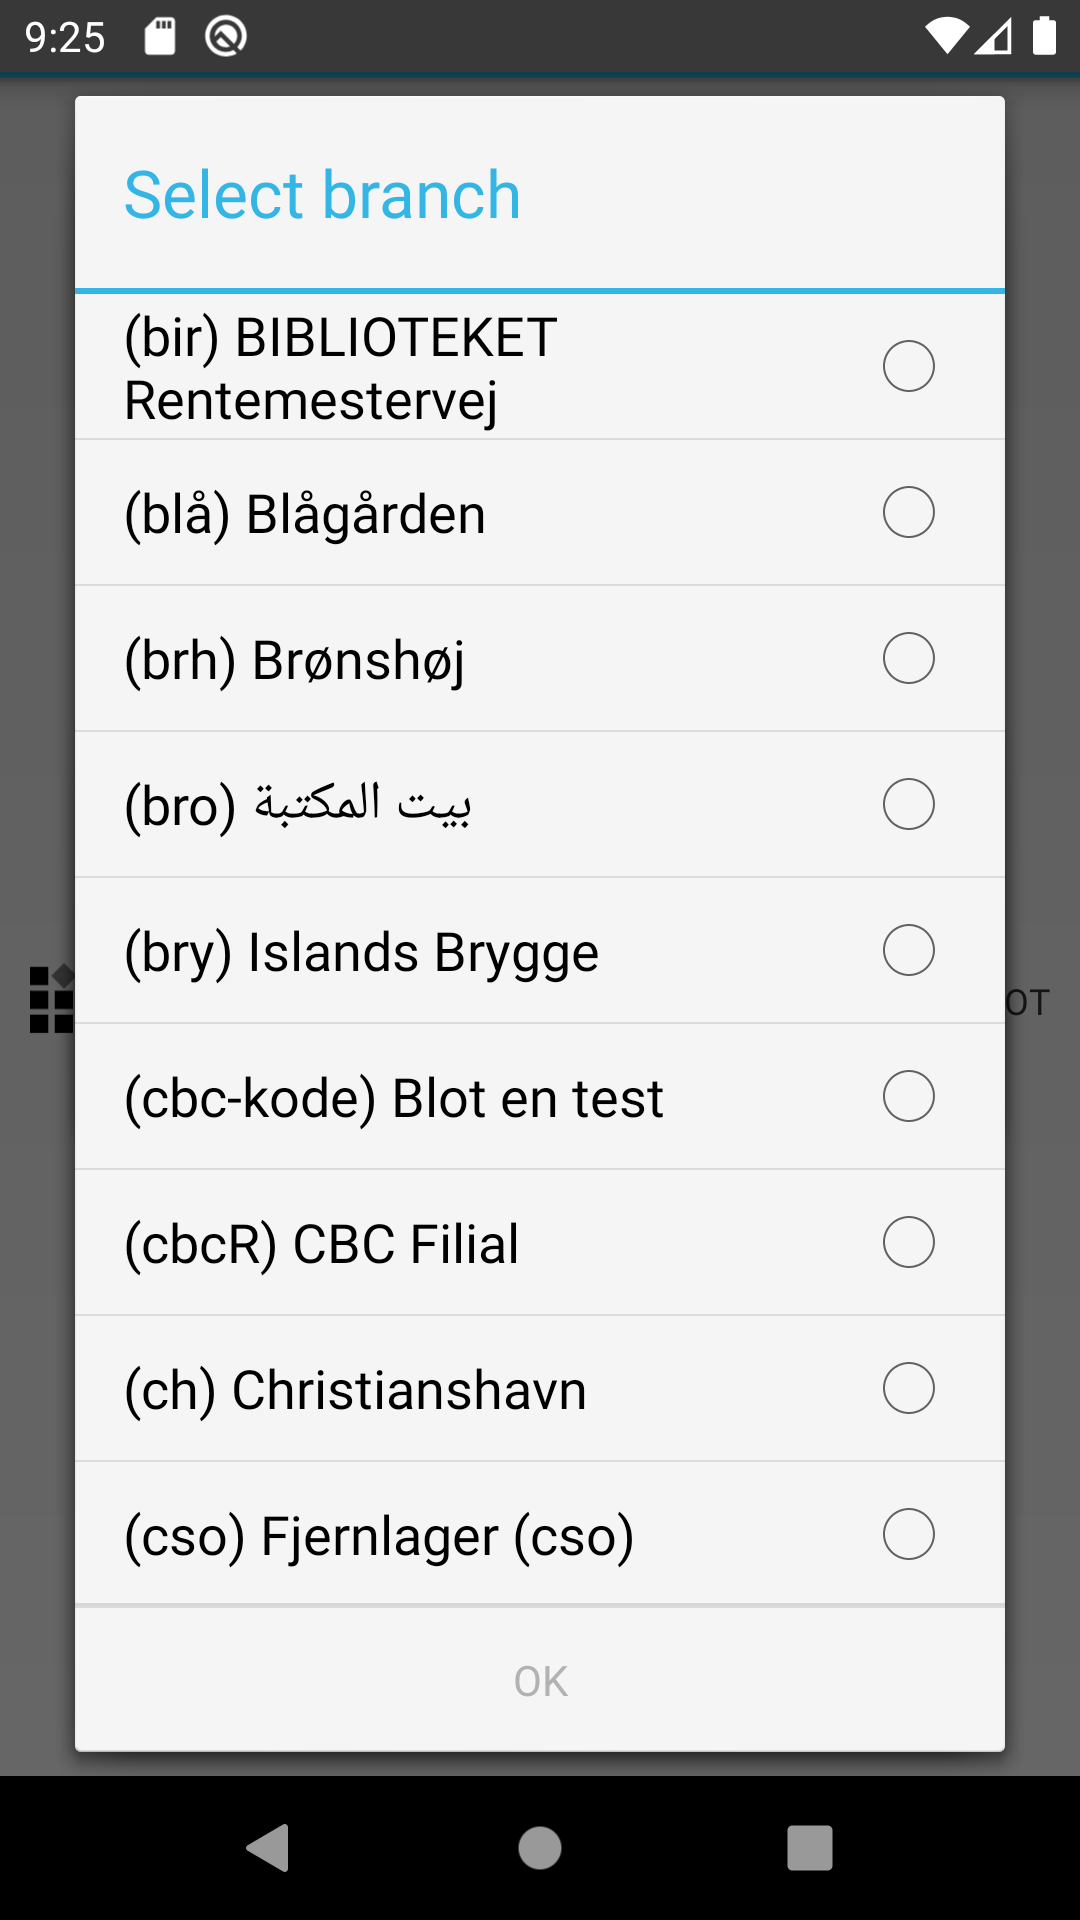
If the user has access to mobile functionality for several branches, then a list of the approved branches is displayed so that the user can select the branch to sign in to.
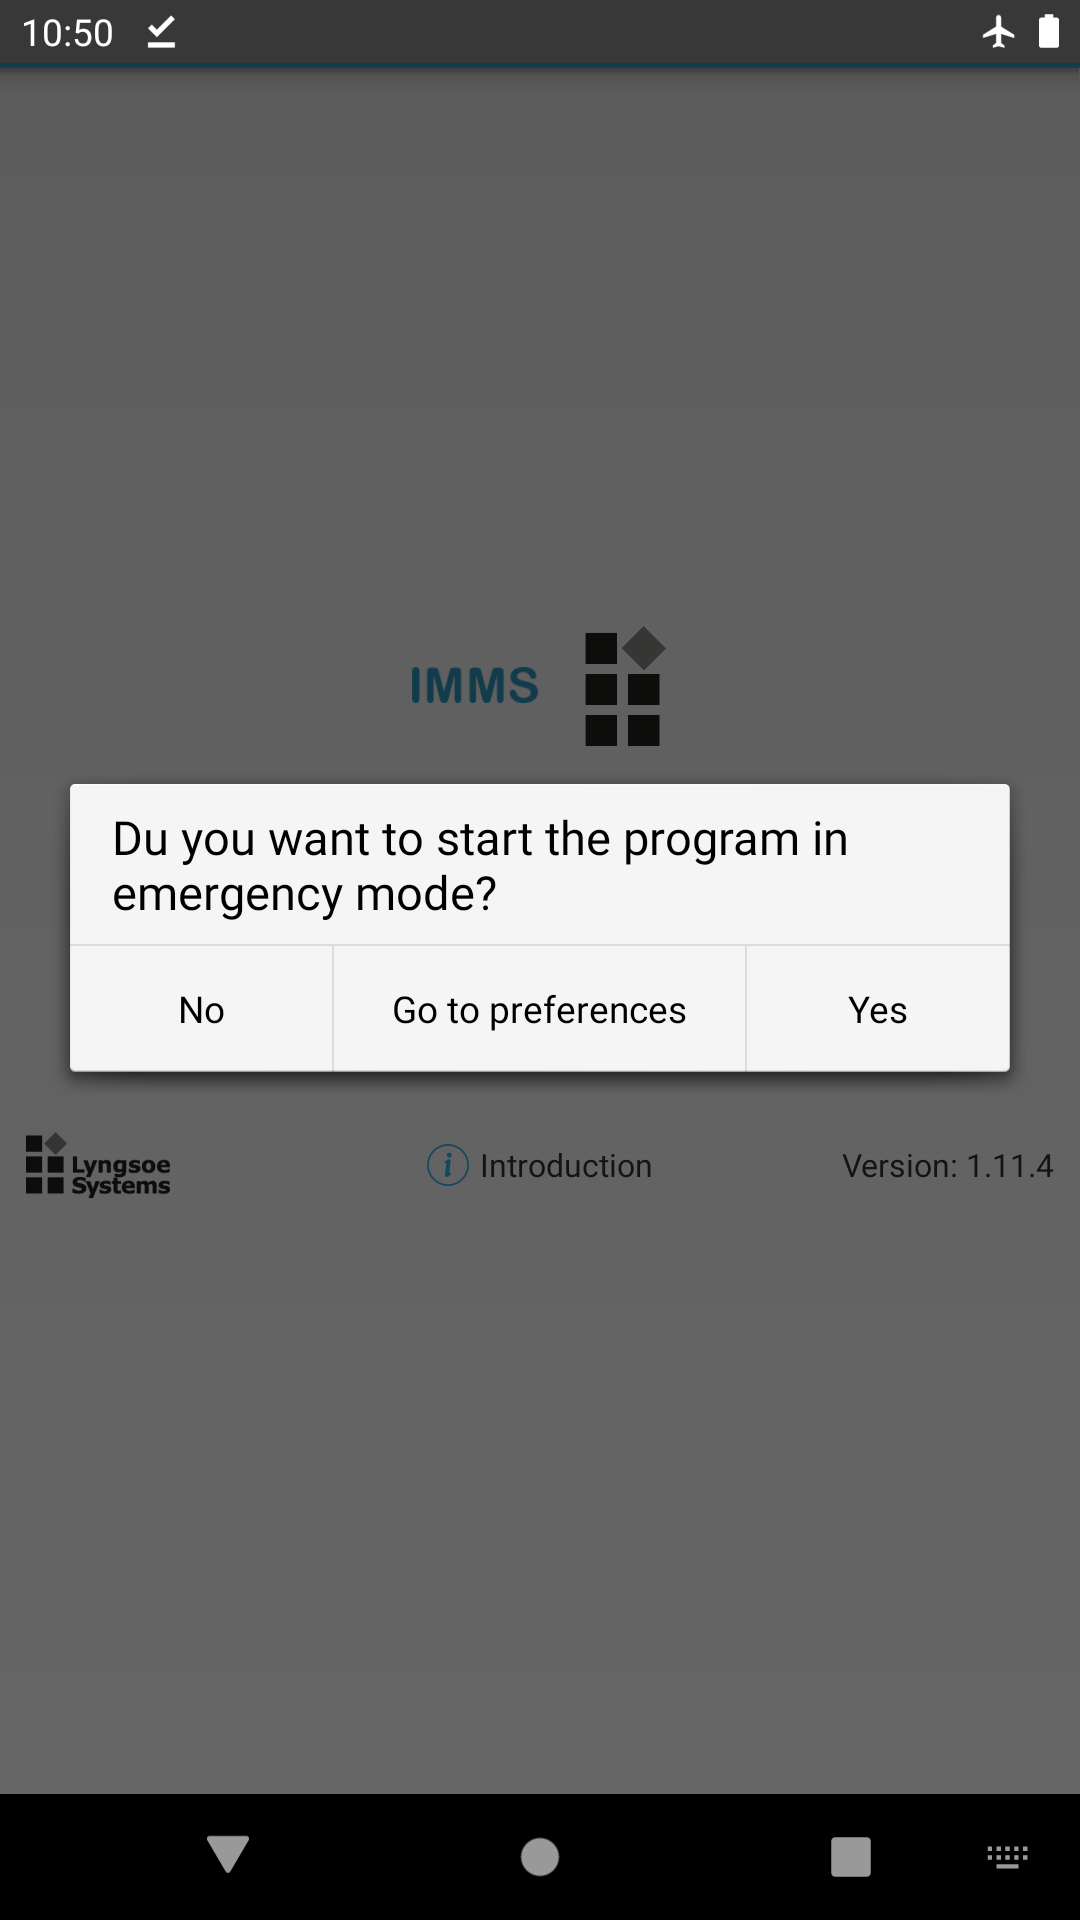
If there is no connection to the IMMS server, the user is asked whether the mobile client should alternatively start in emergency operating mode.
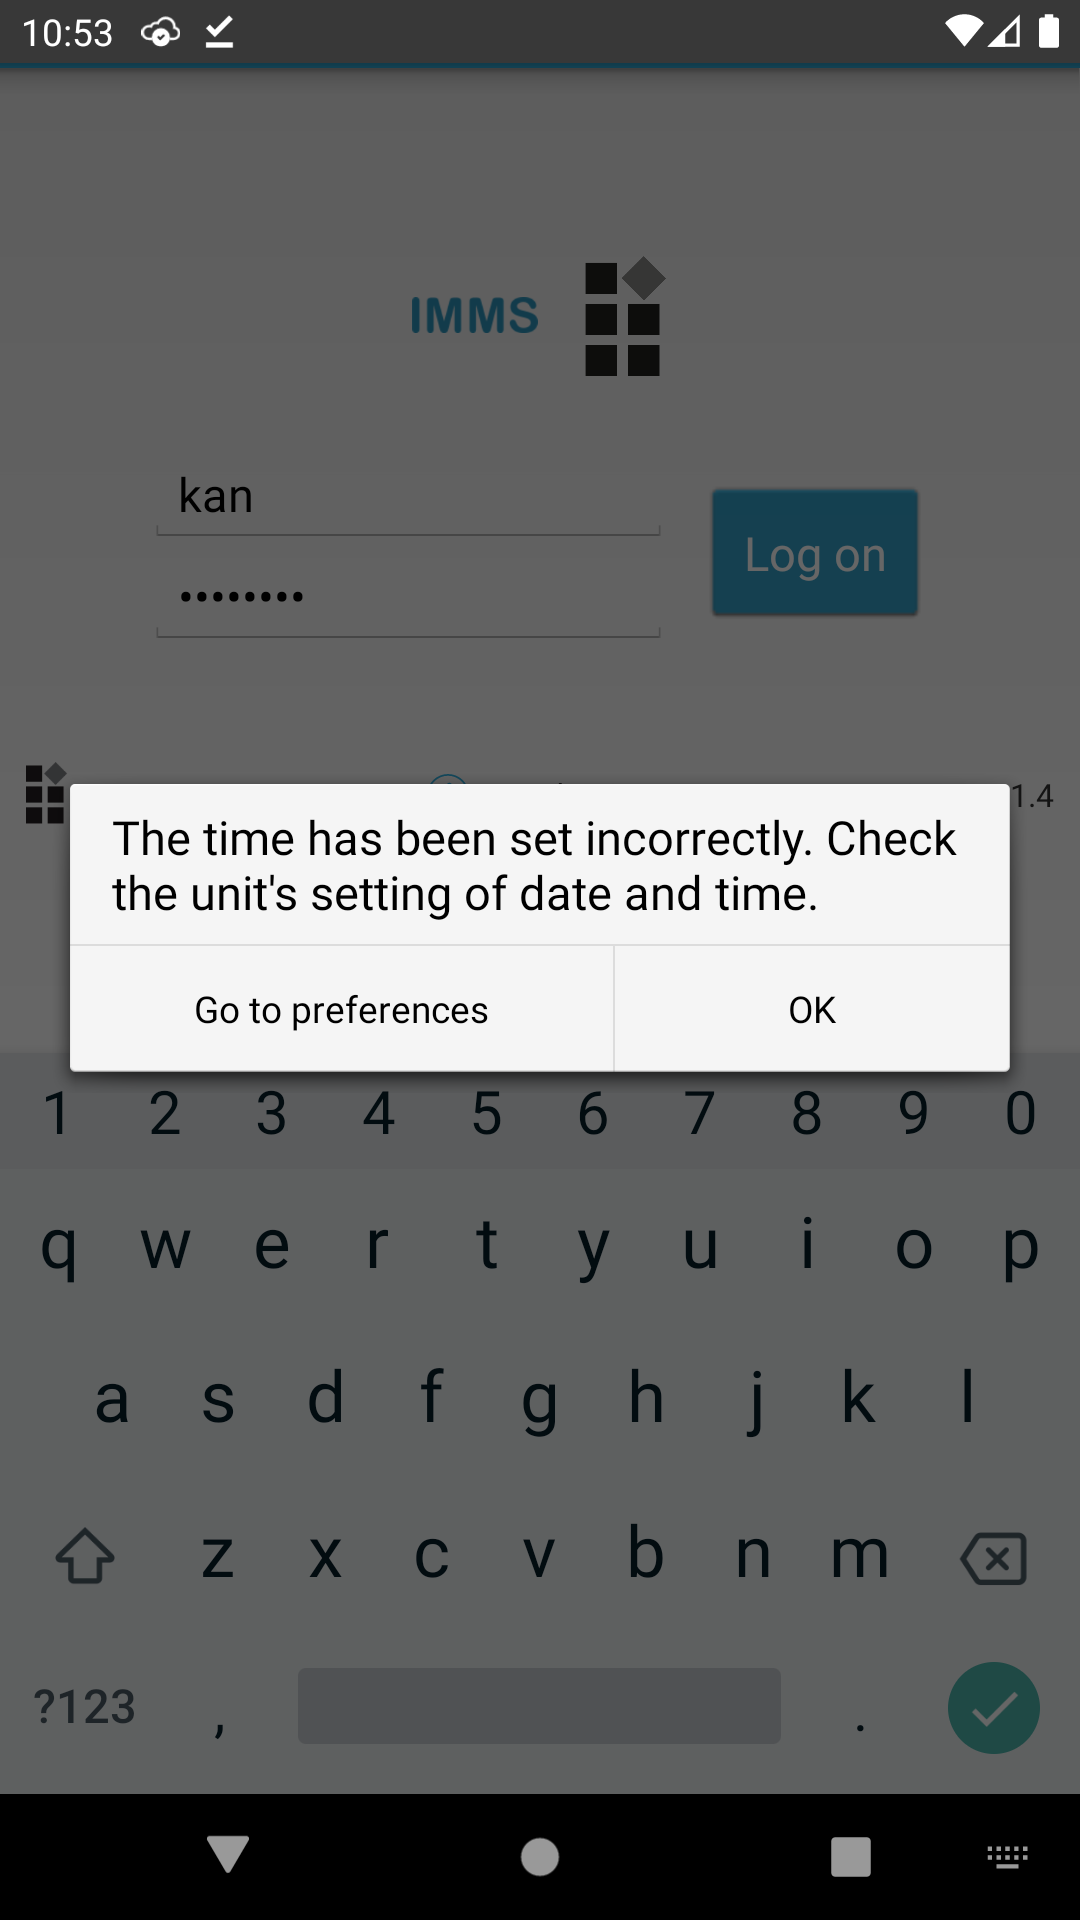
Exact times are important for the IMMS. For this reason, the mobile client automatically synchronizes its internal clock with the IMMS server, but if the unit’s clock is significantly off, then you will not be able to sign in.
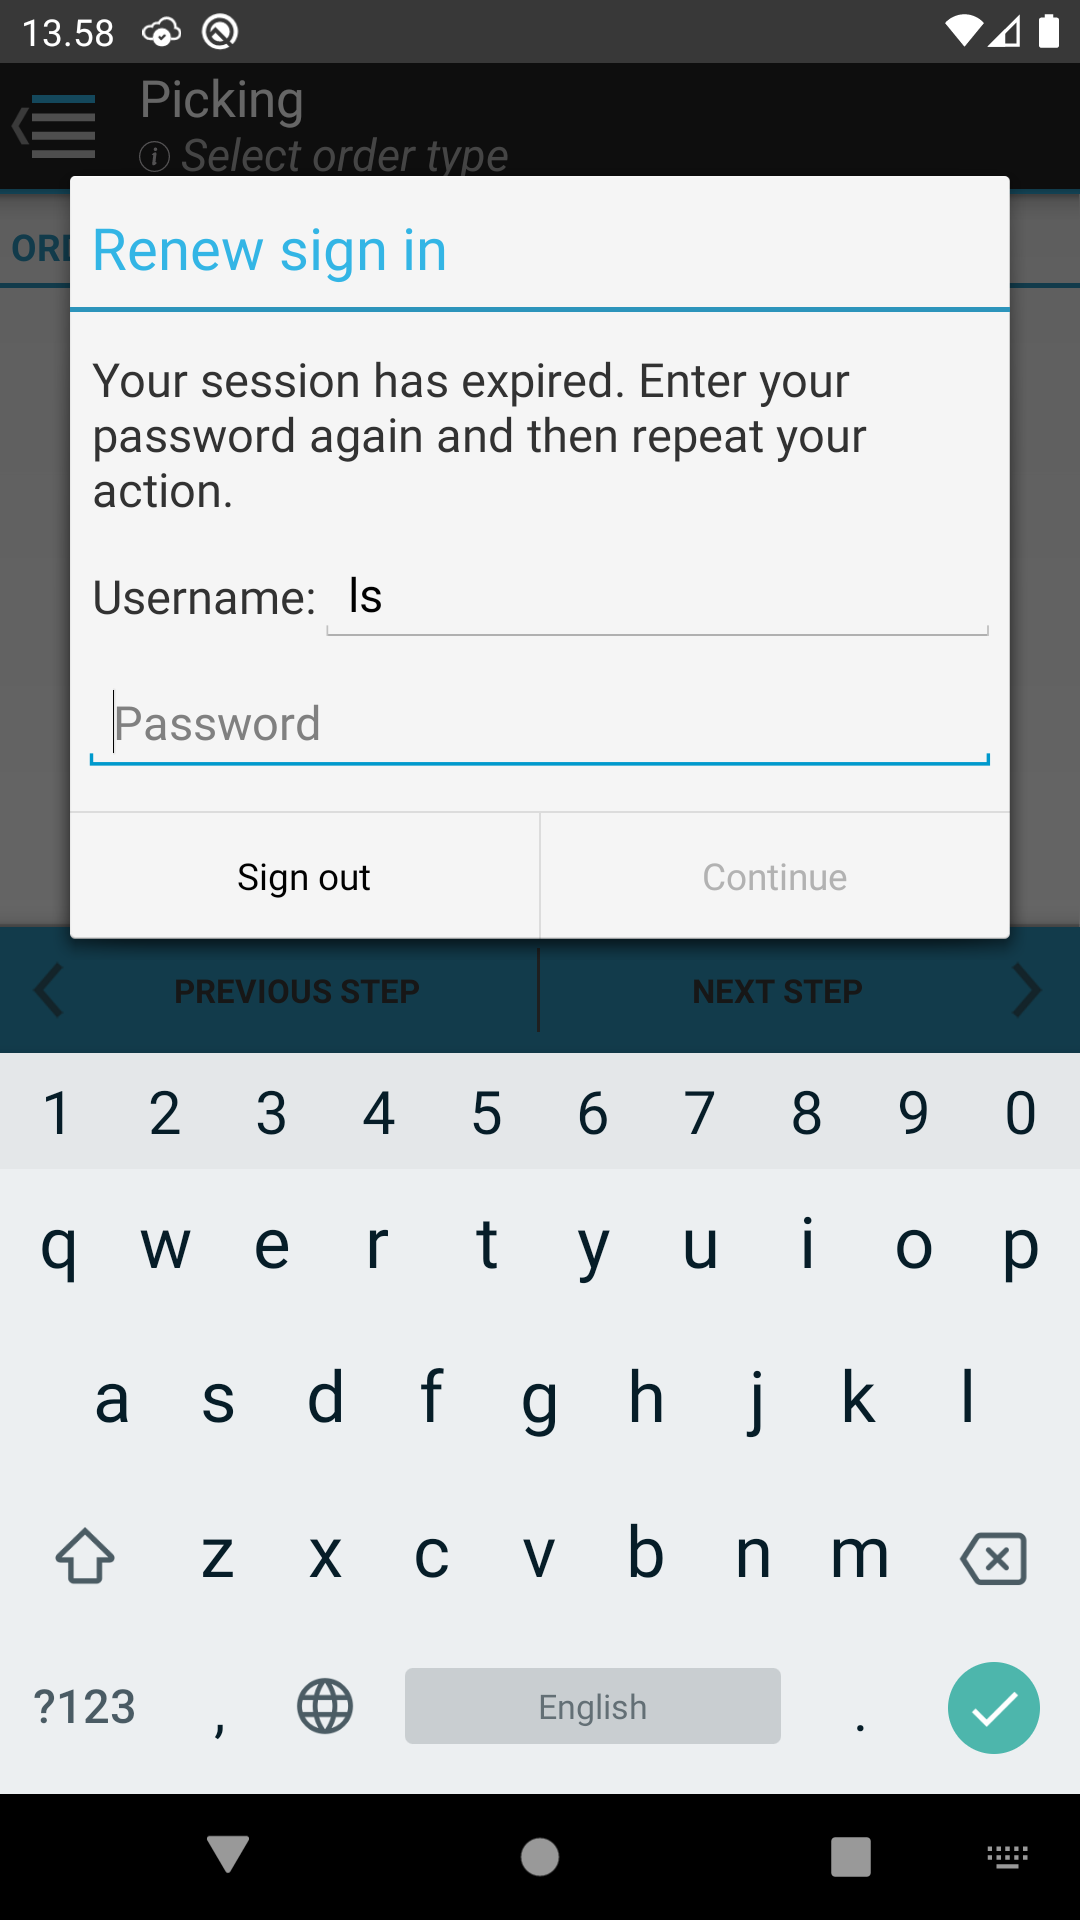
If the mobile client has not communicated with the server in a while, the server will ask for the user’s password again once communication is reestablished with the server. The user is not signed out of the mobile client but simply needs to re-enter his/her password.
The start screen, which contains a limited amount of basic information, is located to the right of the menu. The start screen is displayed by clicking to the right of the menu. The menu can be enabled again by clicking either on the left edge of the screen or on the top left icon.
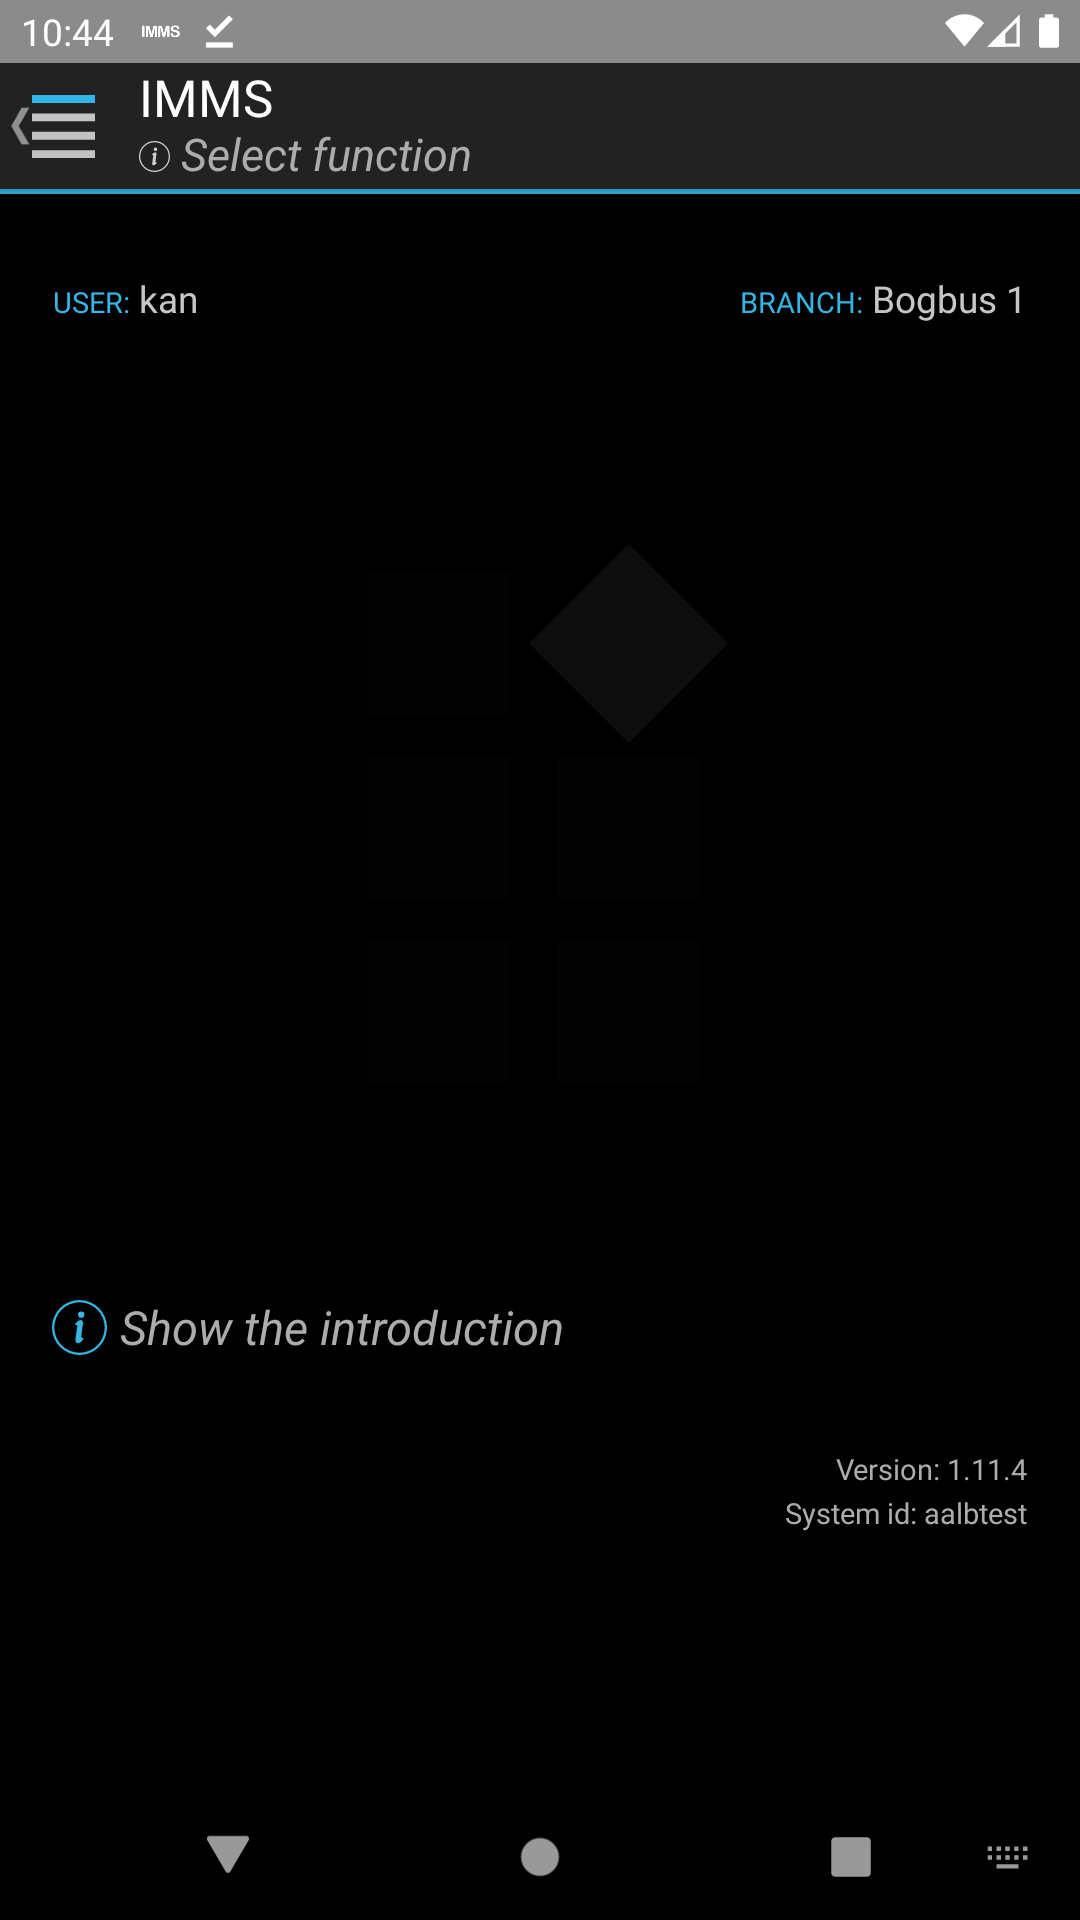
The bottom of the screen always provides access to Android’s standard buttons.
In addition, there is a “Show the introduction” button, which opens the introduction for the IMMS mobile client.
When a label is scanned on an item, transport unit, location, or chute, there are two possible outcomes:
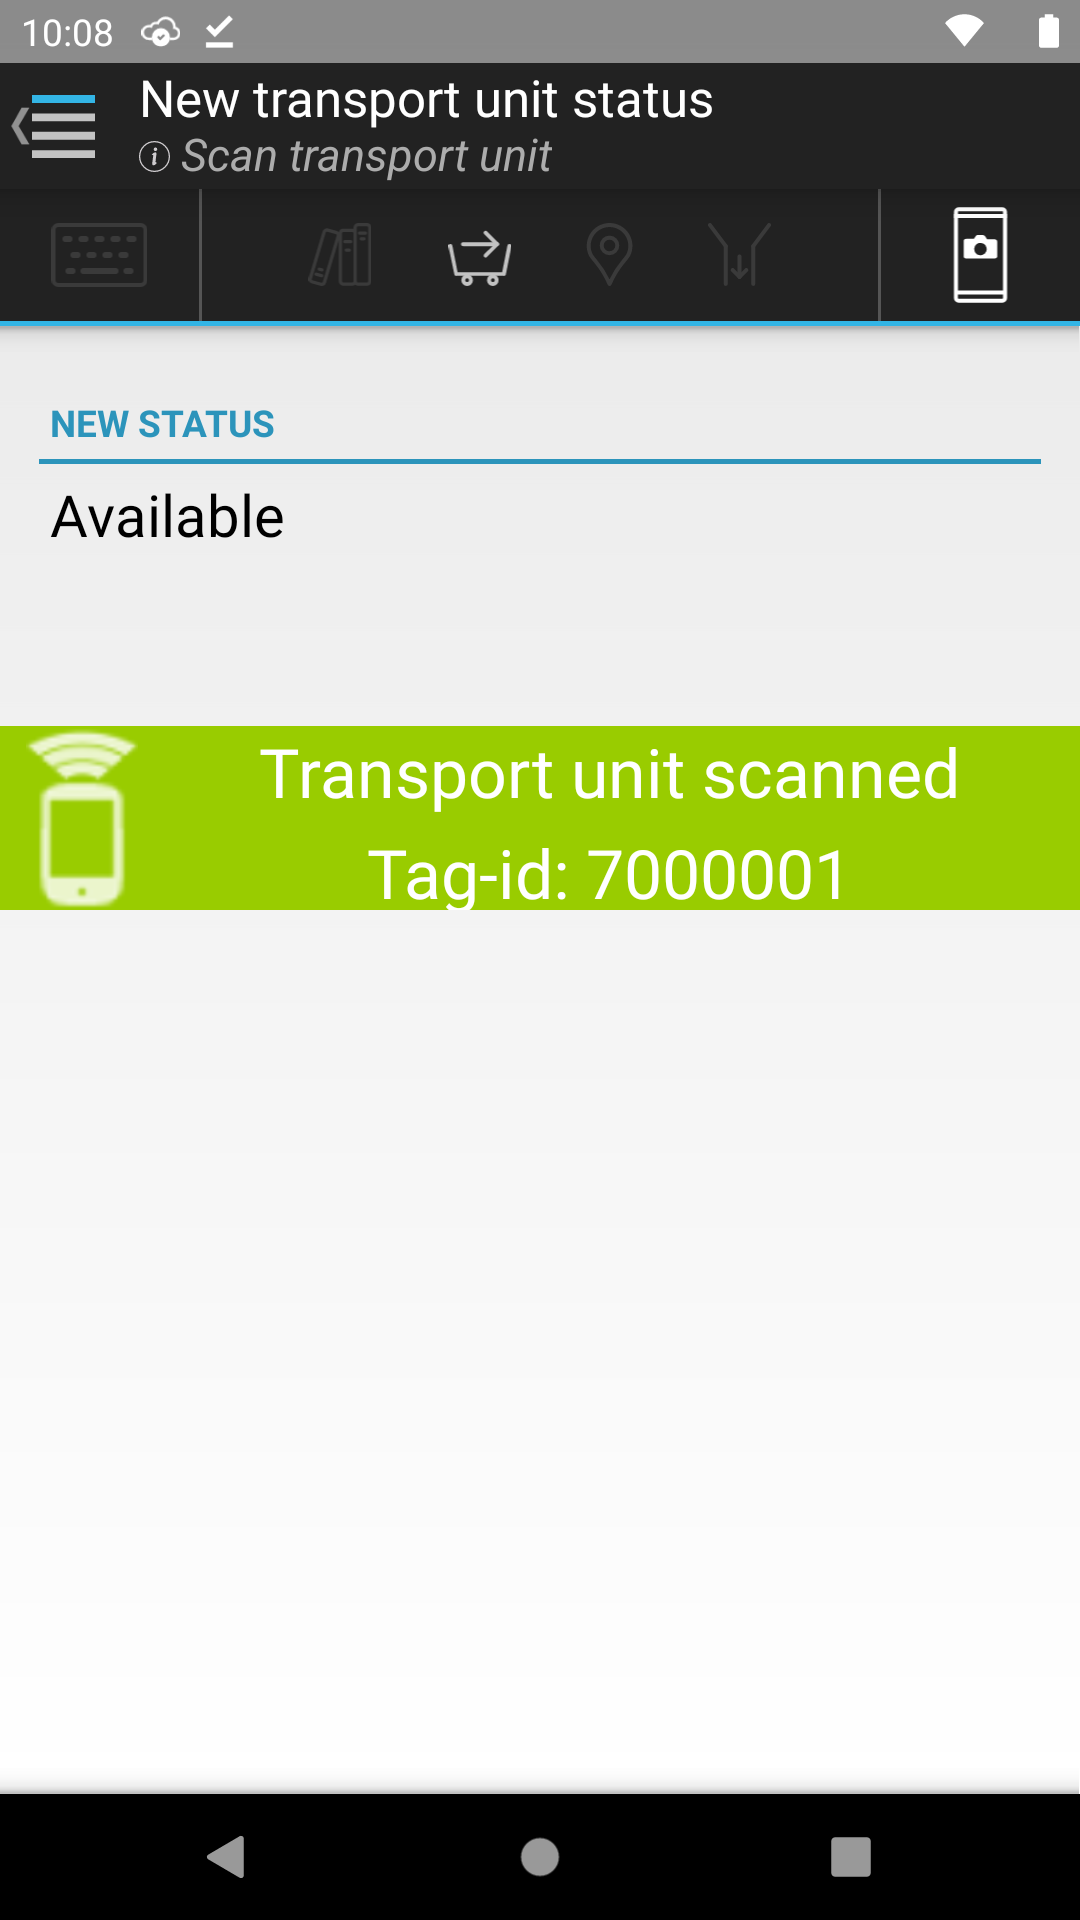
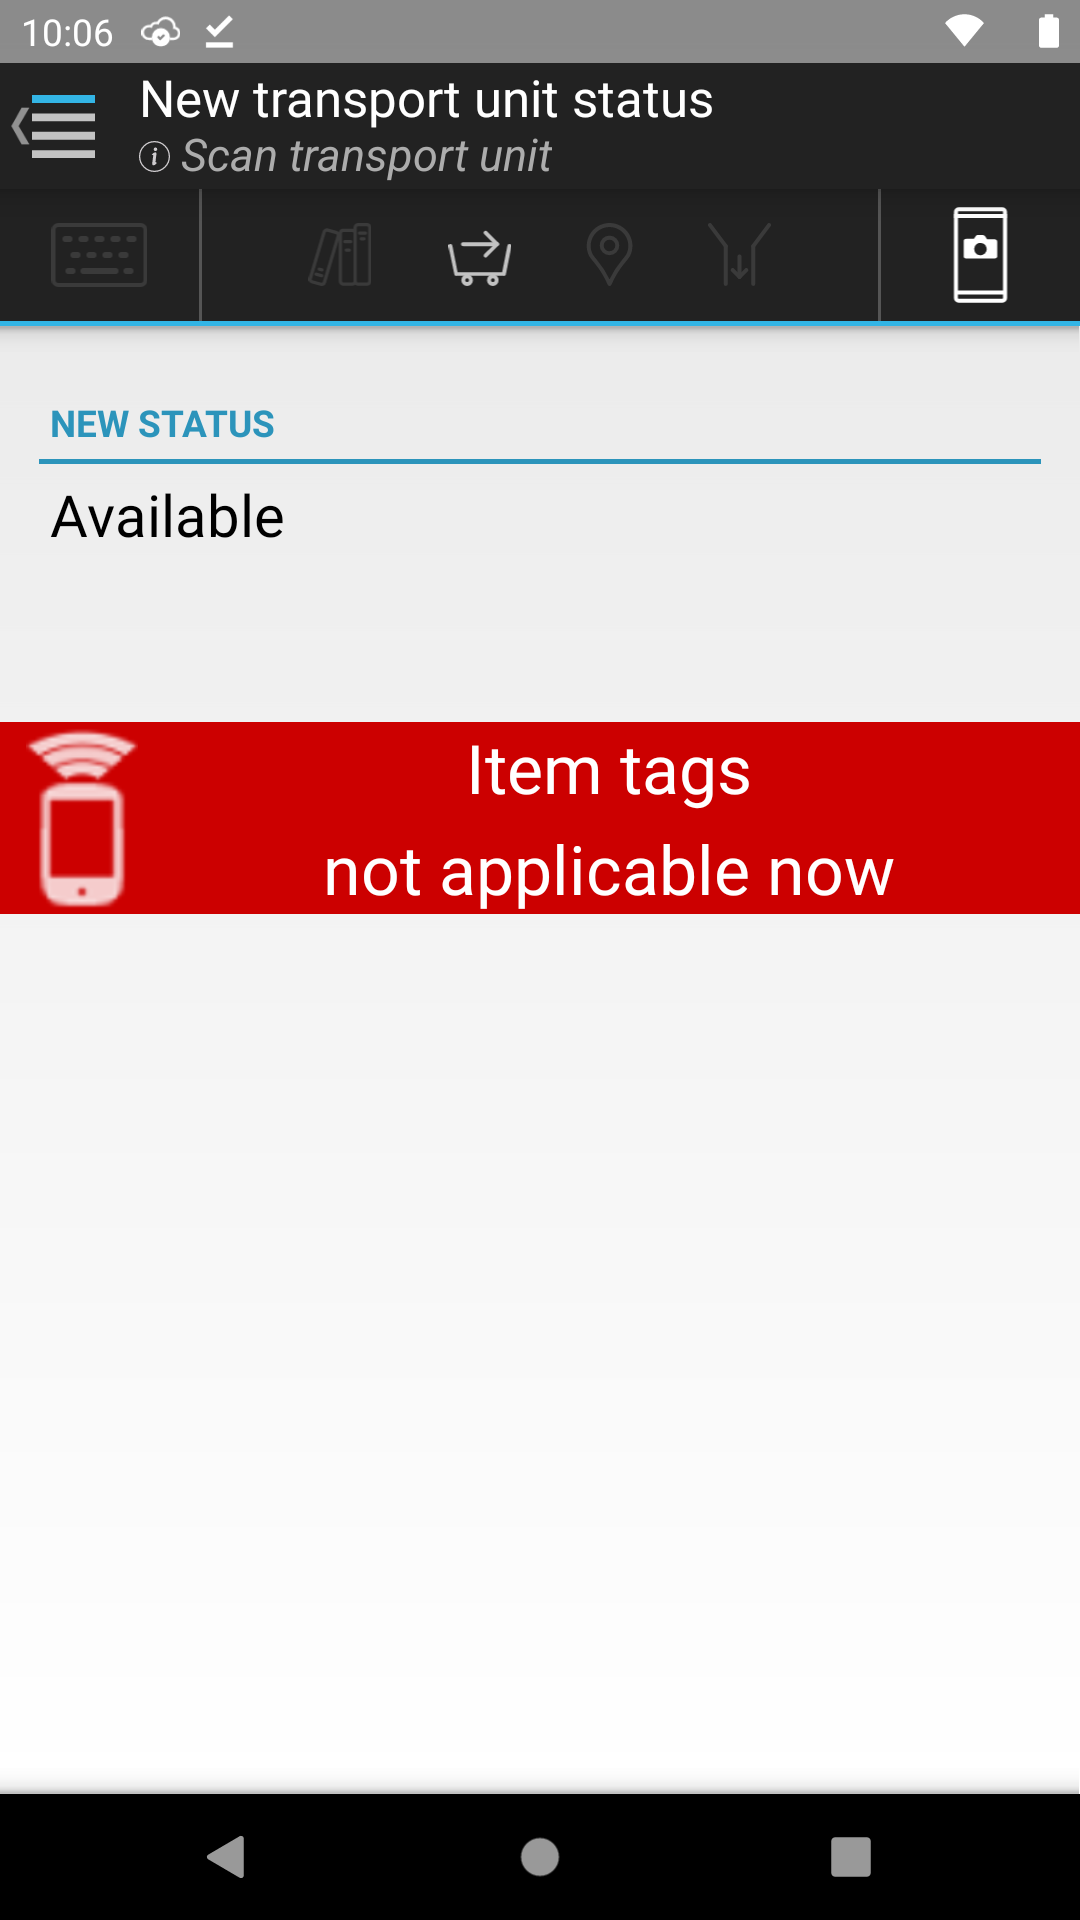
All scans are followed by a system sound, where the volume is controlled externally. If audio is enabled in the menu (see Sounds and vibration), an incorrect scan will be followed by an additional sound. Visually, a correct and an incorrect scan are indicated in the following manner, respectively: (example from the screen New transport unit status):
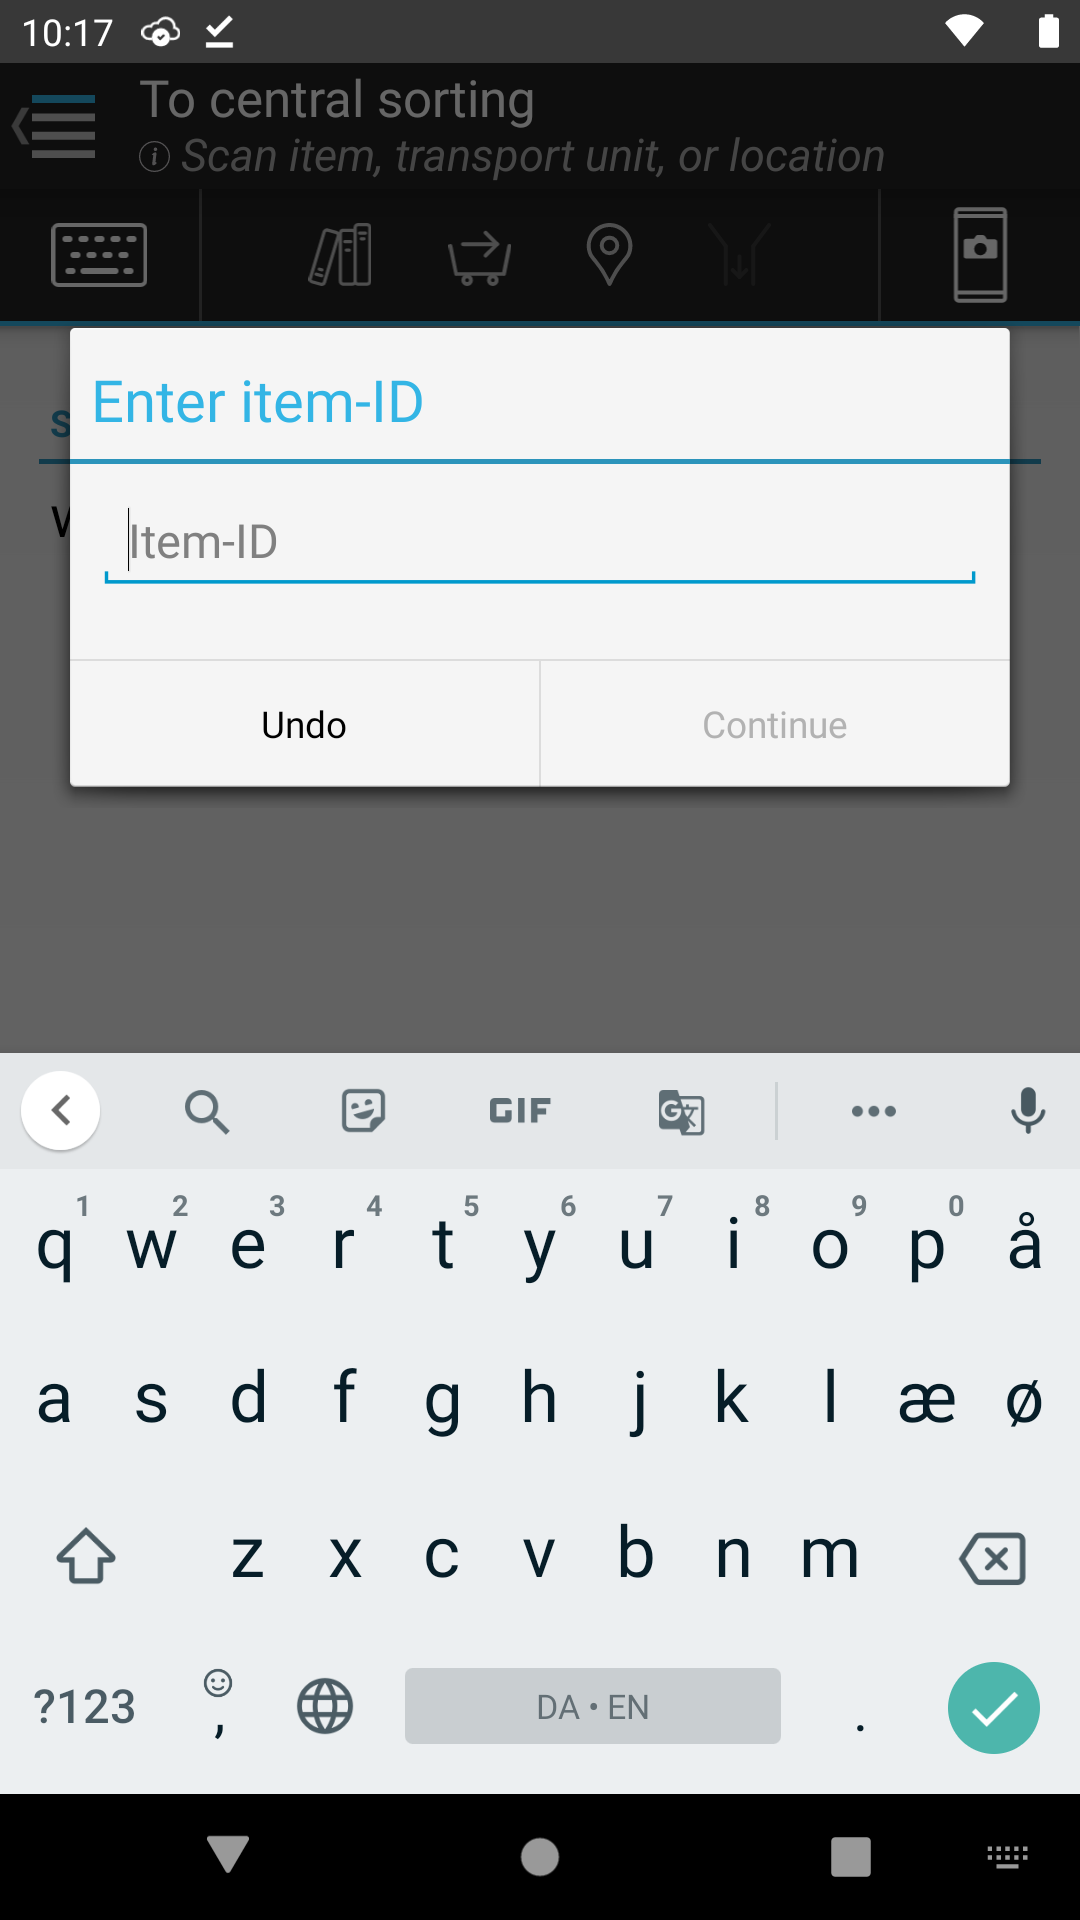
Aside from scanning a label, items may also be input in IMMS by manually entering an Item ID. The data input field is enabled from the scanning button.
While working with the mobile client, a number of registrations are generated that must be sent to the server for processing. An icon at the top left of the screen shows the current status of the registrations. The status icon appears when you sign in and only disappears when the mobile client shuts down completely. The icon can appear as one of the following 3 symbols:
 The registrations have been submitted
 The registrations are about to be submitted
 The registrations could not be delivered
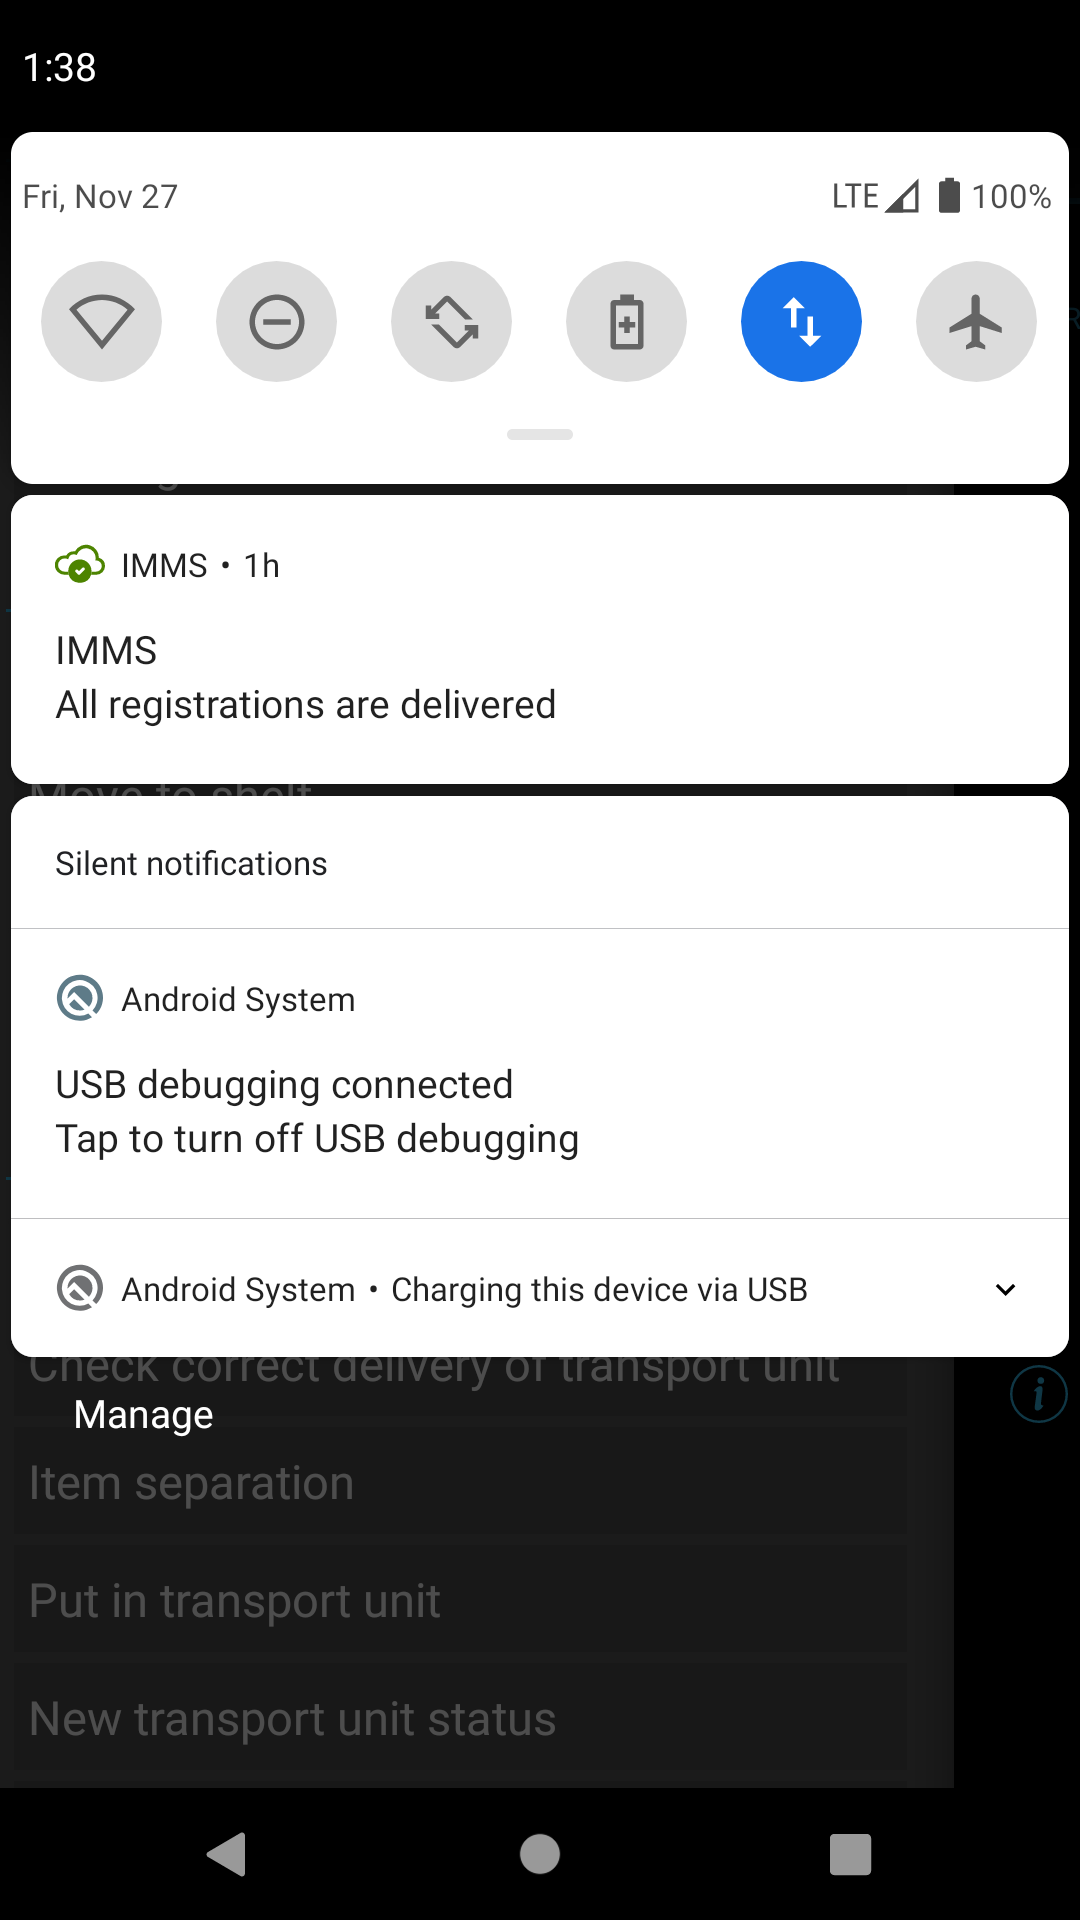
Further information on the status of the registrations can be obtained by dragging the top line downward as shown below. Pressing the notification takes the user back to the IMMS Application.
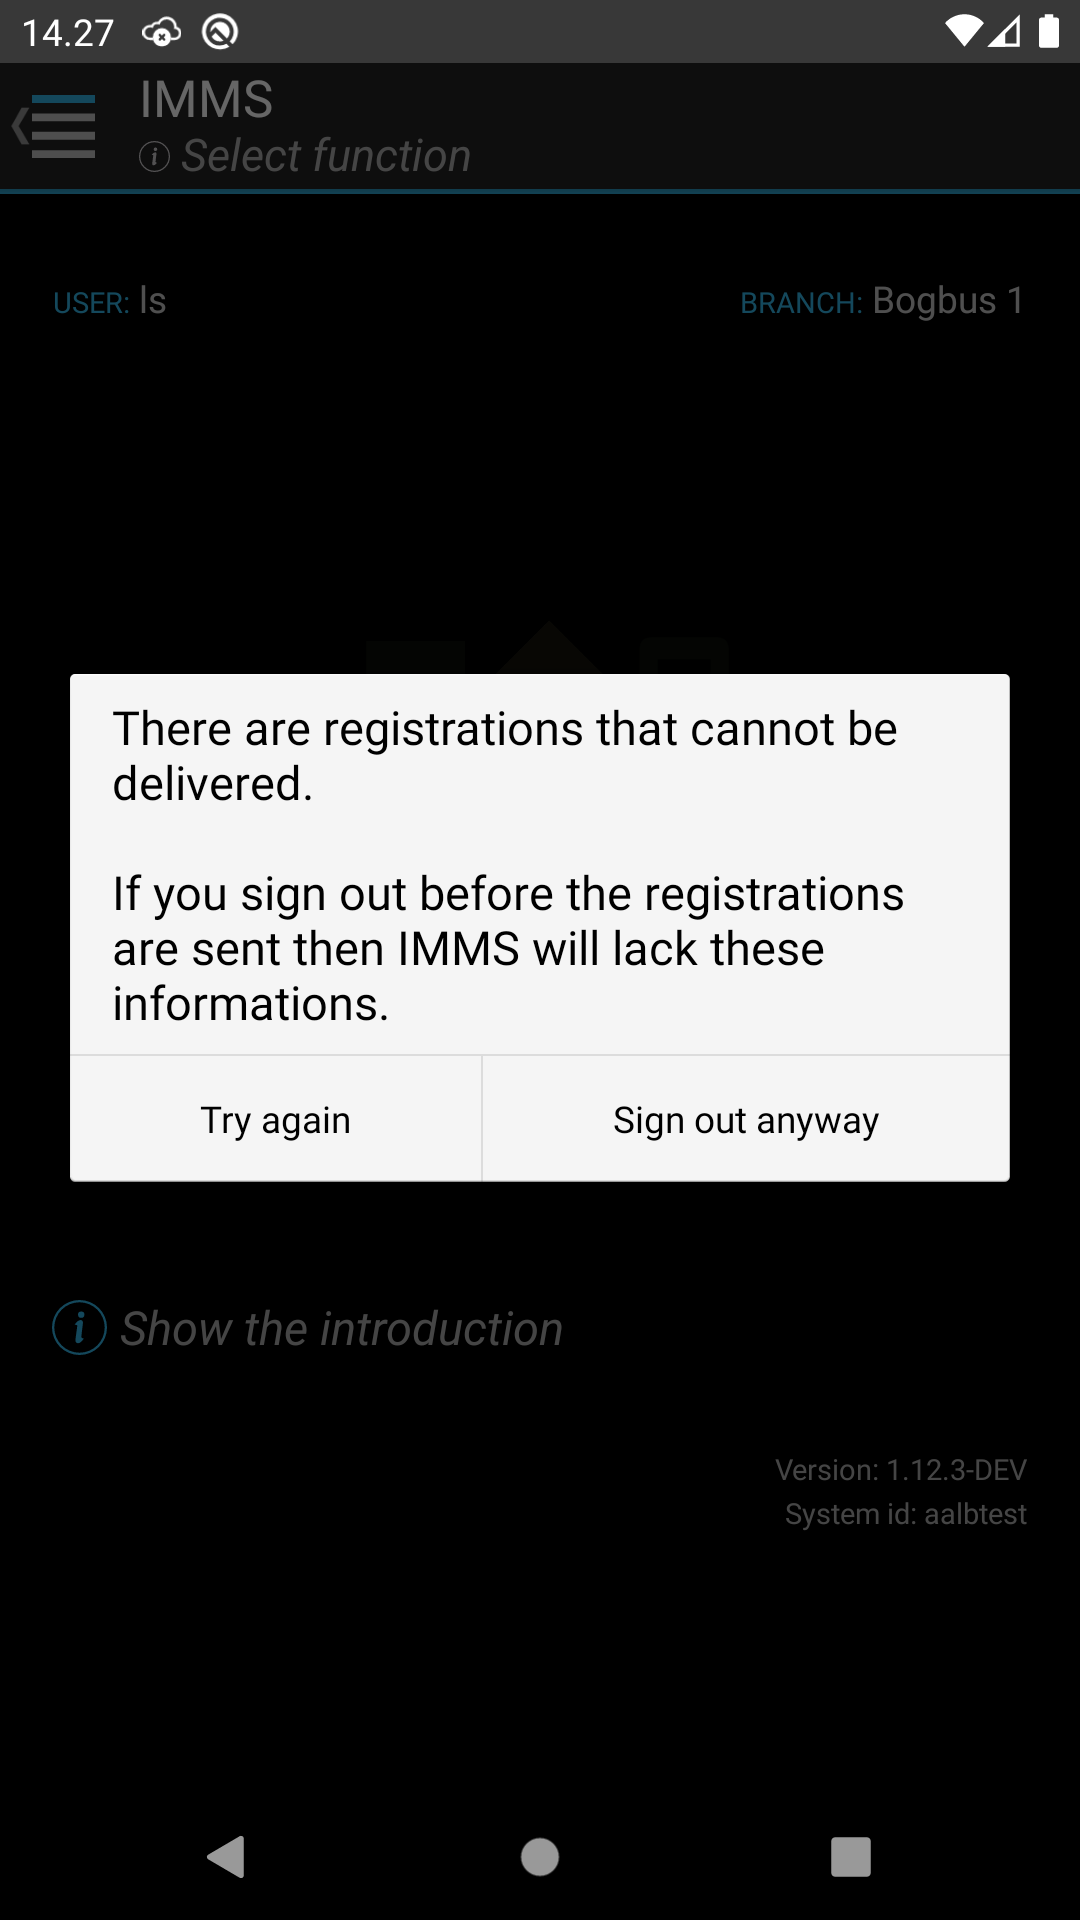
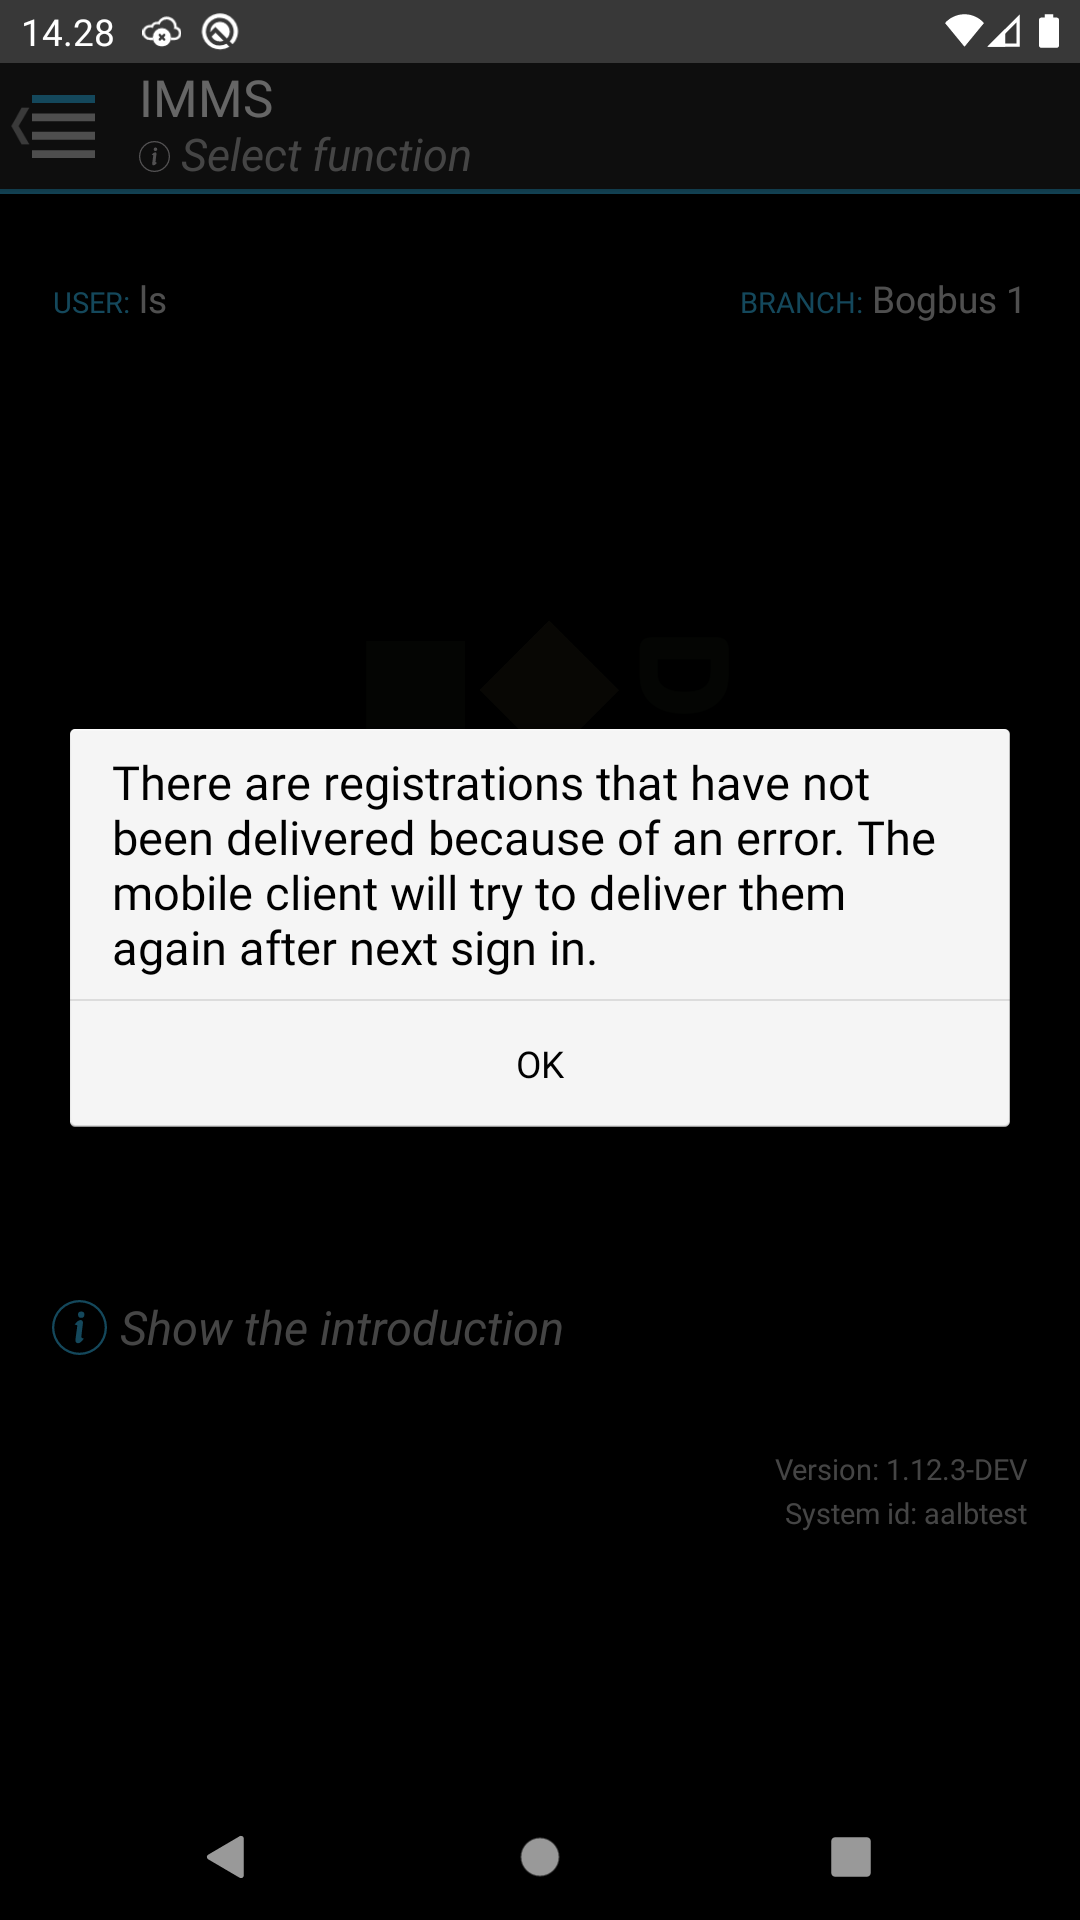
If registrations have been stored when signing out of the mobile client, the following message will be displayed.
In the event of a network or server error, the following error message will appear on the screen.
A detailed review of the mobile client’s functions and settings menu can be found in the menu description.
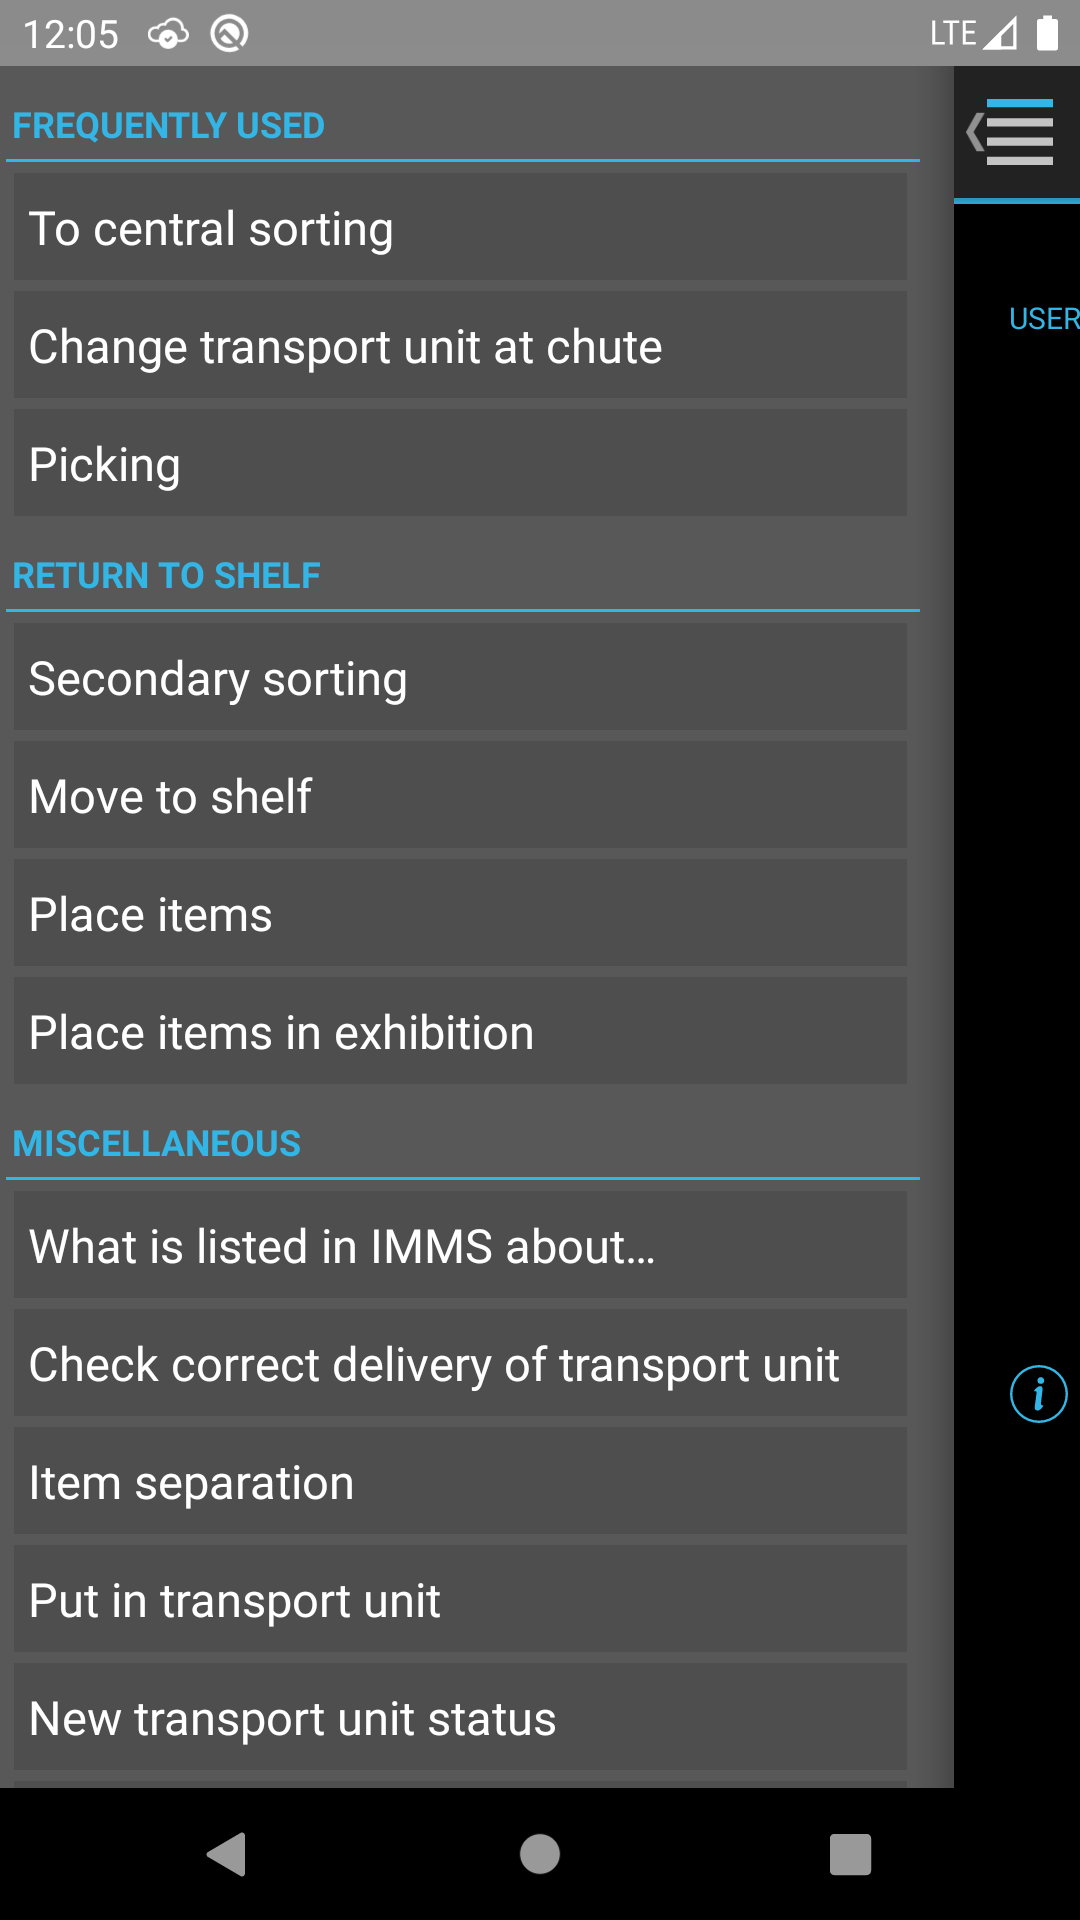
When you are signed in or when exiting from a function, the menu is displayed. The menu on the mobile client is divided into the following sections corresponding to the blue headers on the screenshot:
Help can be displayed for all of the screens in the IMMS mobile client. Help can be accessed by opening the menu from the screen where the help is required. Then select “Help” in the menu.
Help for the relevant screen is then displayed in the window of the default browser.
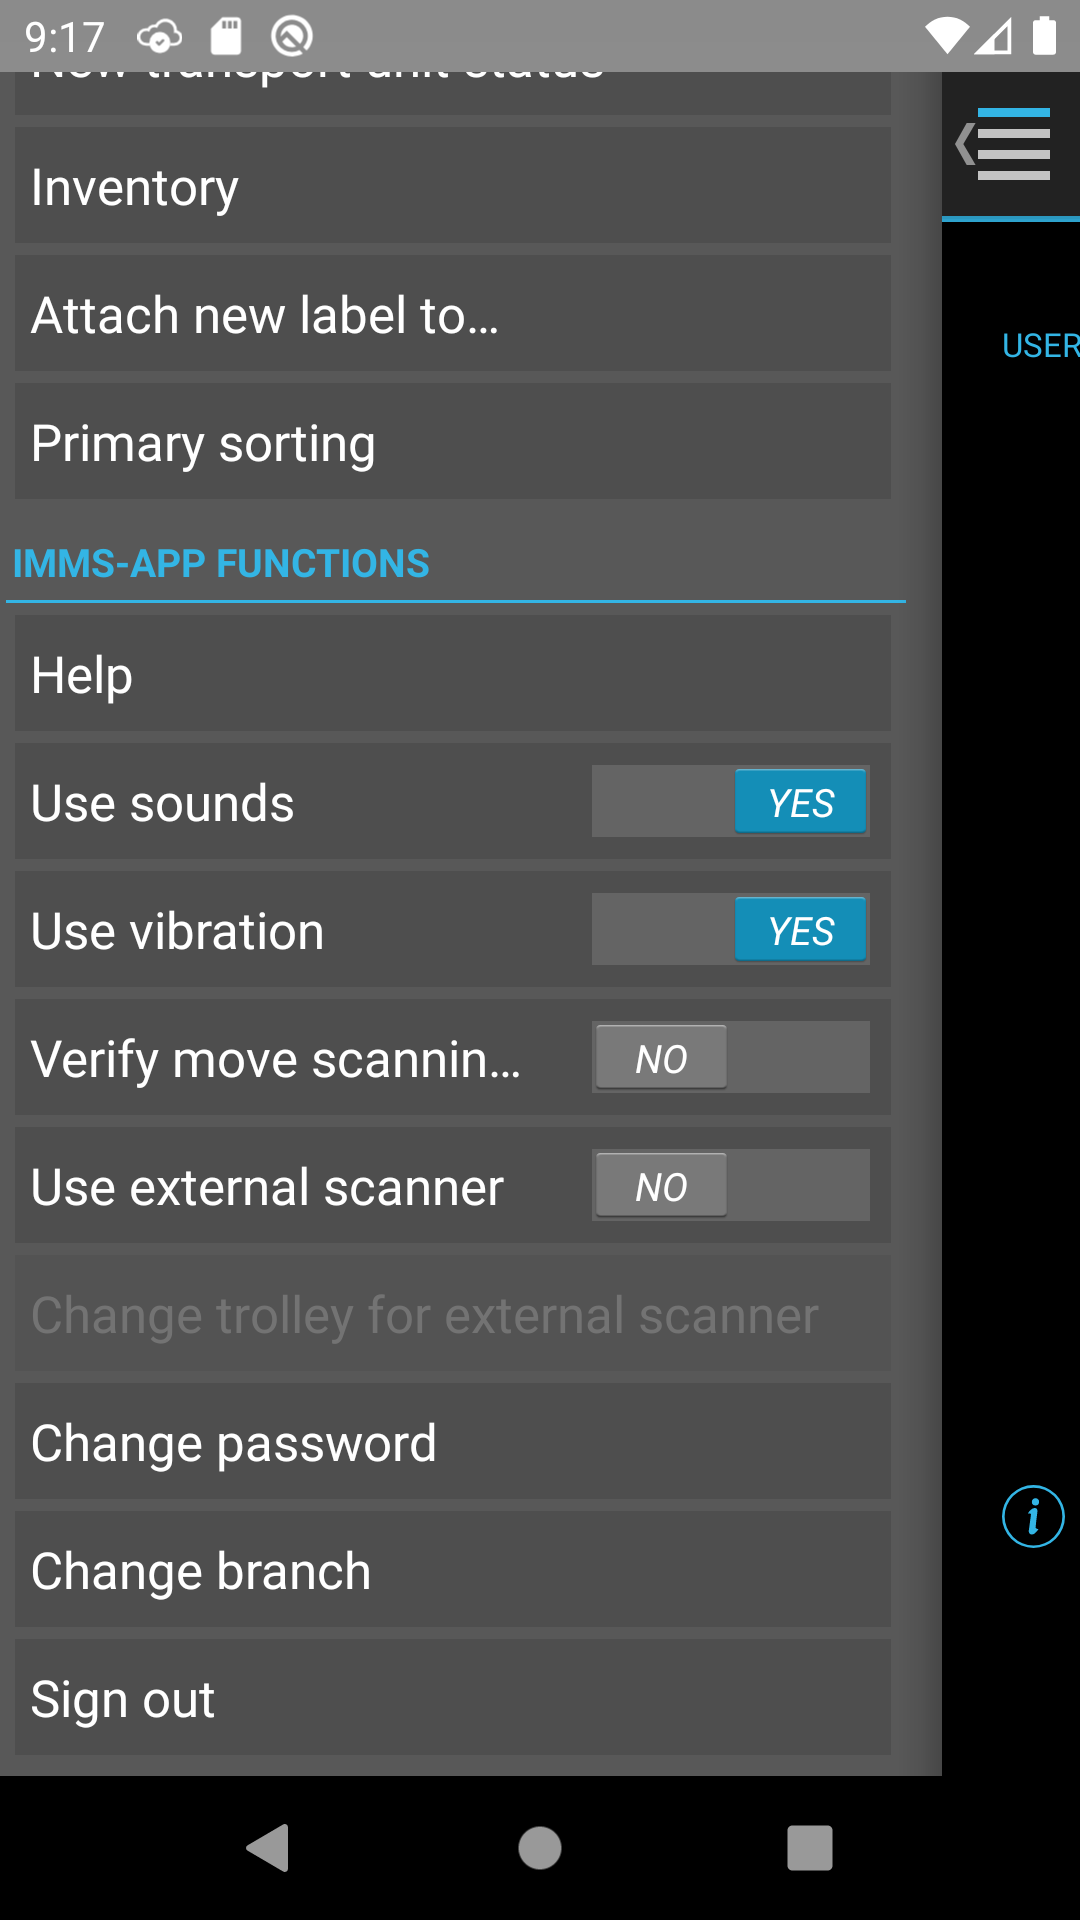
It is possible to enable or disable audio/vibration in the menu (below the “IMMS app functions” header). The setting can be changed by clicking on the menu item:
“Enable audio” does not affect the unit’s built-in sounds during scanning. This audio is managed using the device’s general sound level settings.
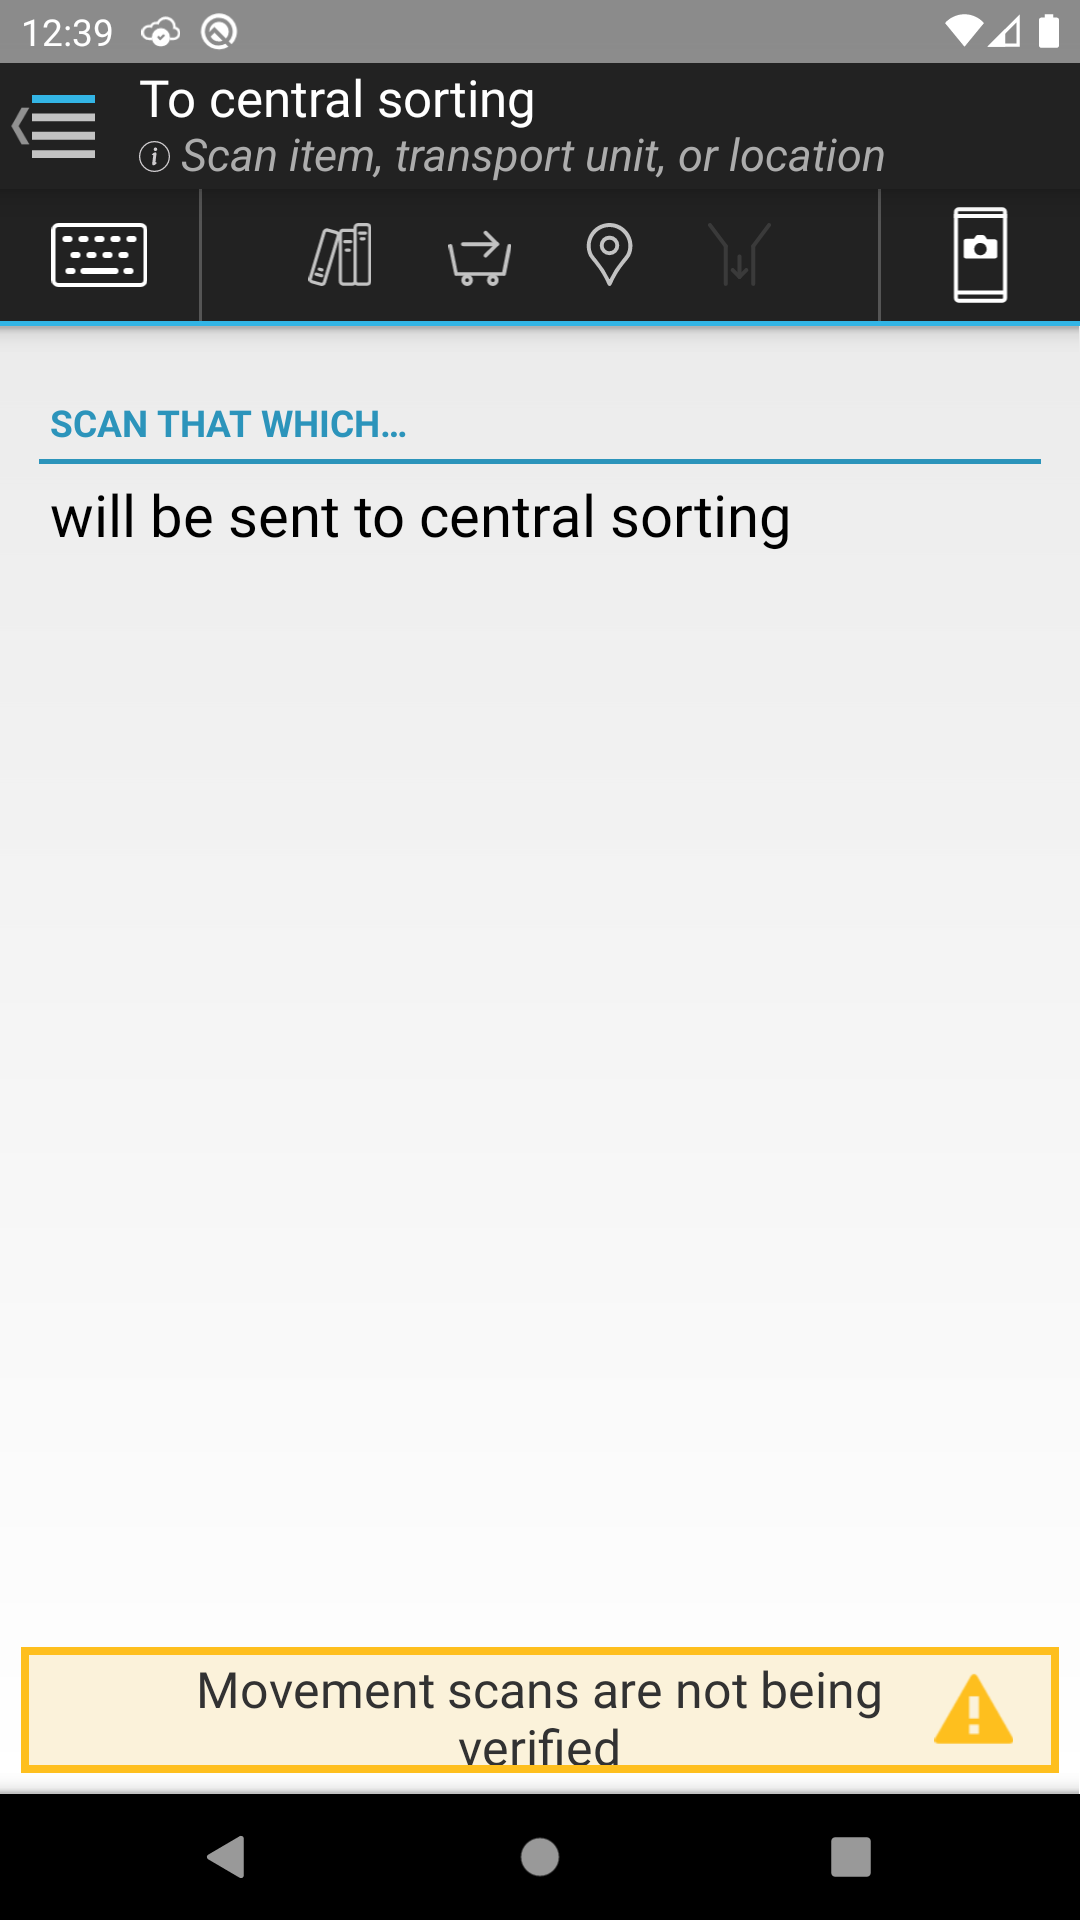
IMMS can provide a warning if the user is about to perform an item relocation that may be inappropriate. (If necessary, refer to the Warning of questionable item movements). The item relocations in the “To central sorting”, “Move to shelf, “Shelved”, and “Place in transport unit” are monitored in this way.
The extent to which a warning is provided during item relocations is managed by the parameter "Warning when making questionable item movements with the mobile", but the warning can also be manually enabled or disabled directly on the mobile unit using the “Verify move scannings” setting. Each time you sign in, this setting is reset, i.e., is set to the value that the “Warning when making questionable item movements with the mobile” parameter specifies for the branch you are signed in to.
If the “Warning when making questionable item movements with the mobile” parameter specifies that the mobile unit must provide a warning about item relocations, but the user disables the function, then a warning message is displayed on the move functions. If the parameter specifies that the mobile unit should not provide warnings, then no warning message is displayed.
The mobile client is designed to work with an external scanner unit if the client has established a connection to one. Integration to the external unit can be enabled or disabled from this menu entry.
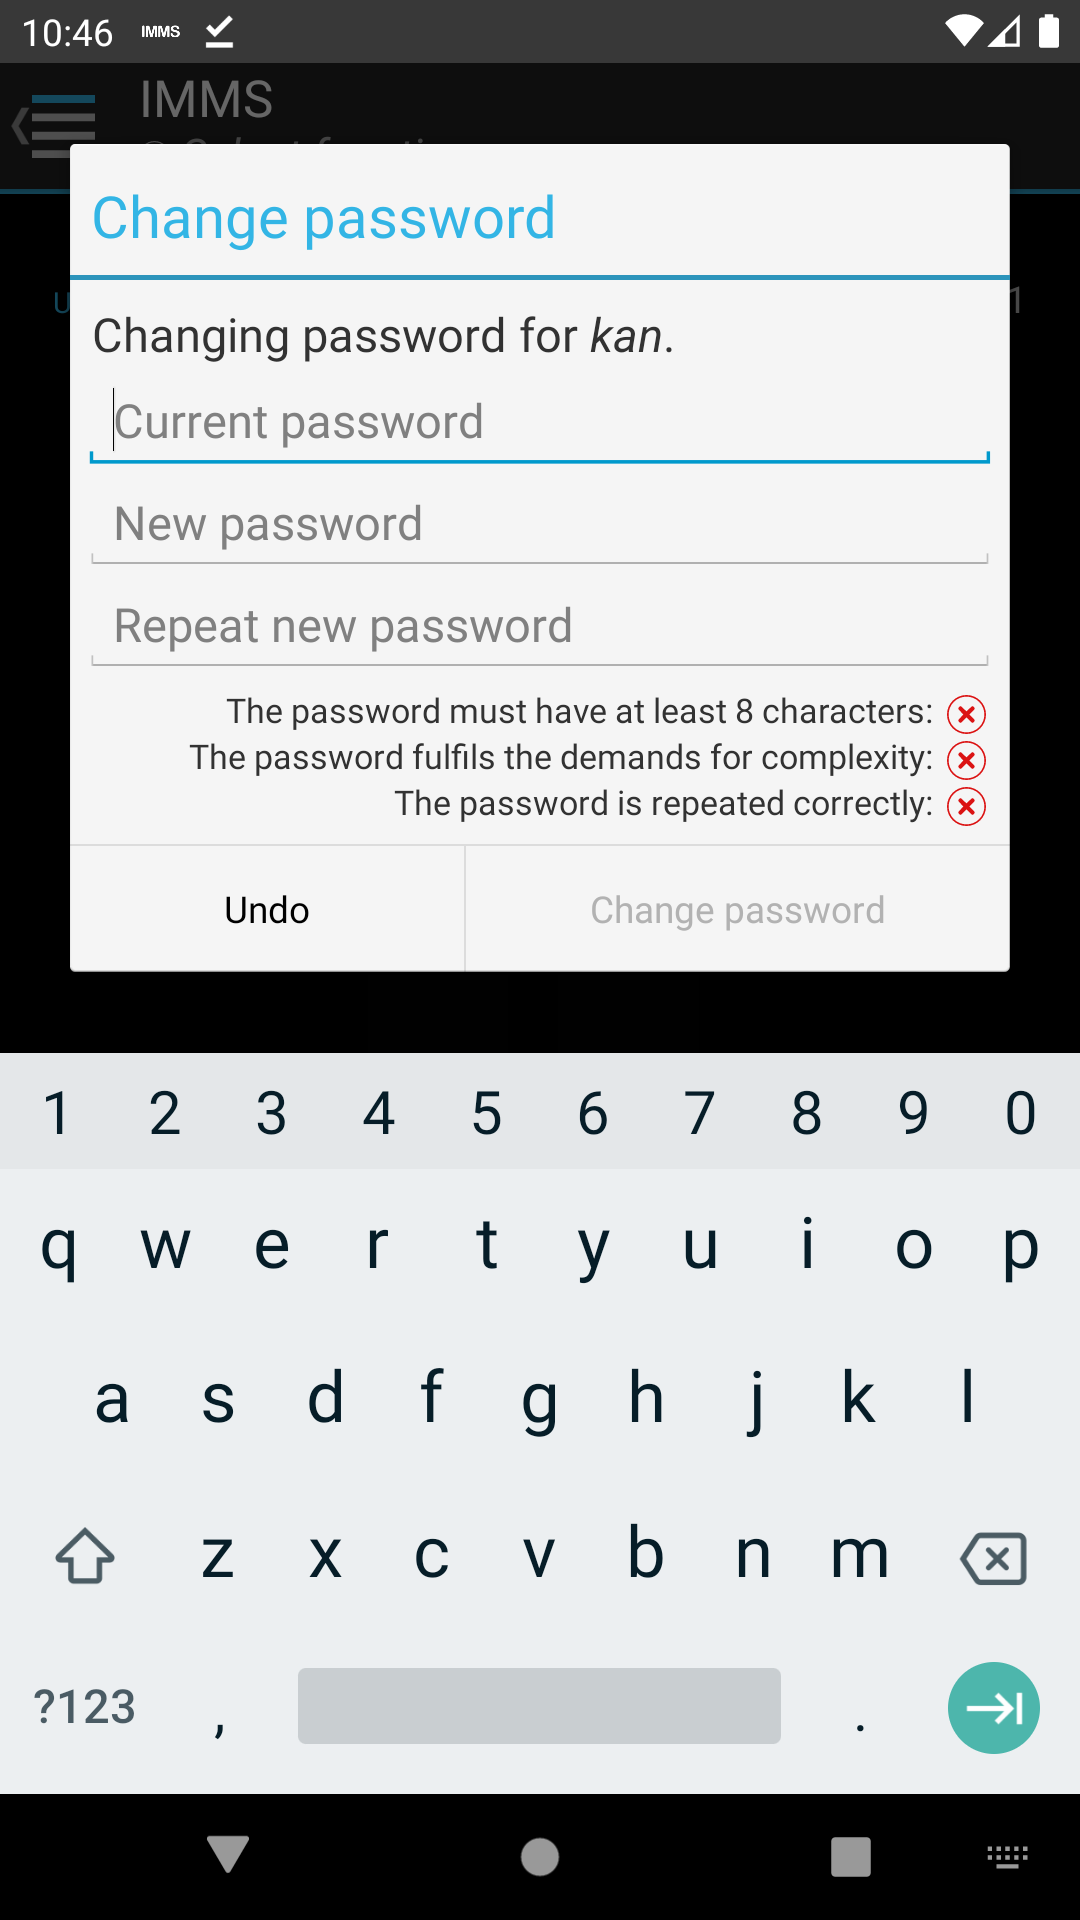
It is possible to change the password using the mobile unit. The screen is opened from the menu under the “IMMS app functions” header. The same rules apply to passwords (complexity, length, reuse, etc.) for the mobile client as apply to the web client. Change the password by performing the following 3 steps:
When an entry is accepted, the icons change from an “X” to a check mark. The following complexity requirements must be met:
The rules marked with a “▶” are constantly checked when the user enters a new password and an icon is shown beside each rule in the dialog boxes. When an “X” is displayed, the security rule has not been complied with. In contrast, a check mark indicates that the rule has been complied with. Items marked with a “▷” first require a response from the server.
If a user is able to sign in at multiple branches using the mobile client, then a menu item will be available for changing the branch. Therefore, the user does not need to enter a username and password again. The menu item displays the same list of branches that were shown when the user signed in.
The branch can only be changed if the mobile client has access to the IMMS server since information is pulled up for the new branch when changing branches.
To sign out of the mobile client, open the menu and select “Sign out” under IMMS app functions. Once you have signed out, the “sign in” screen is displayed.
To completely shut down the IMMS mobile client, click on Android’s standard “Back” button. (If necessary, see the description of the standard buttons under Start screen).