| Front page › Mobile client › Menu › Item separation | Search | Version: 2.9.3 |
This function is used to separate items in one or more transport units containing mixed items in order to prepare them for further processing (e.g. shelving or moving to holds shelf). Physically, this is done by removing one or more fractions until the transport units end up containing only items which should be handled alike.
The function is closely related to Check correct delivery of transport unit, which is used to perform reception validation.
Item separation consists of these steps:
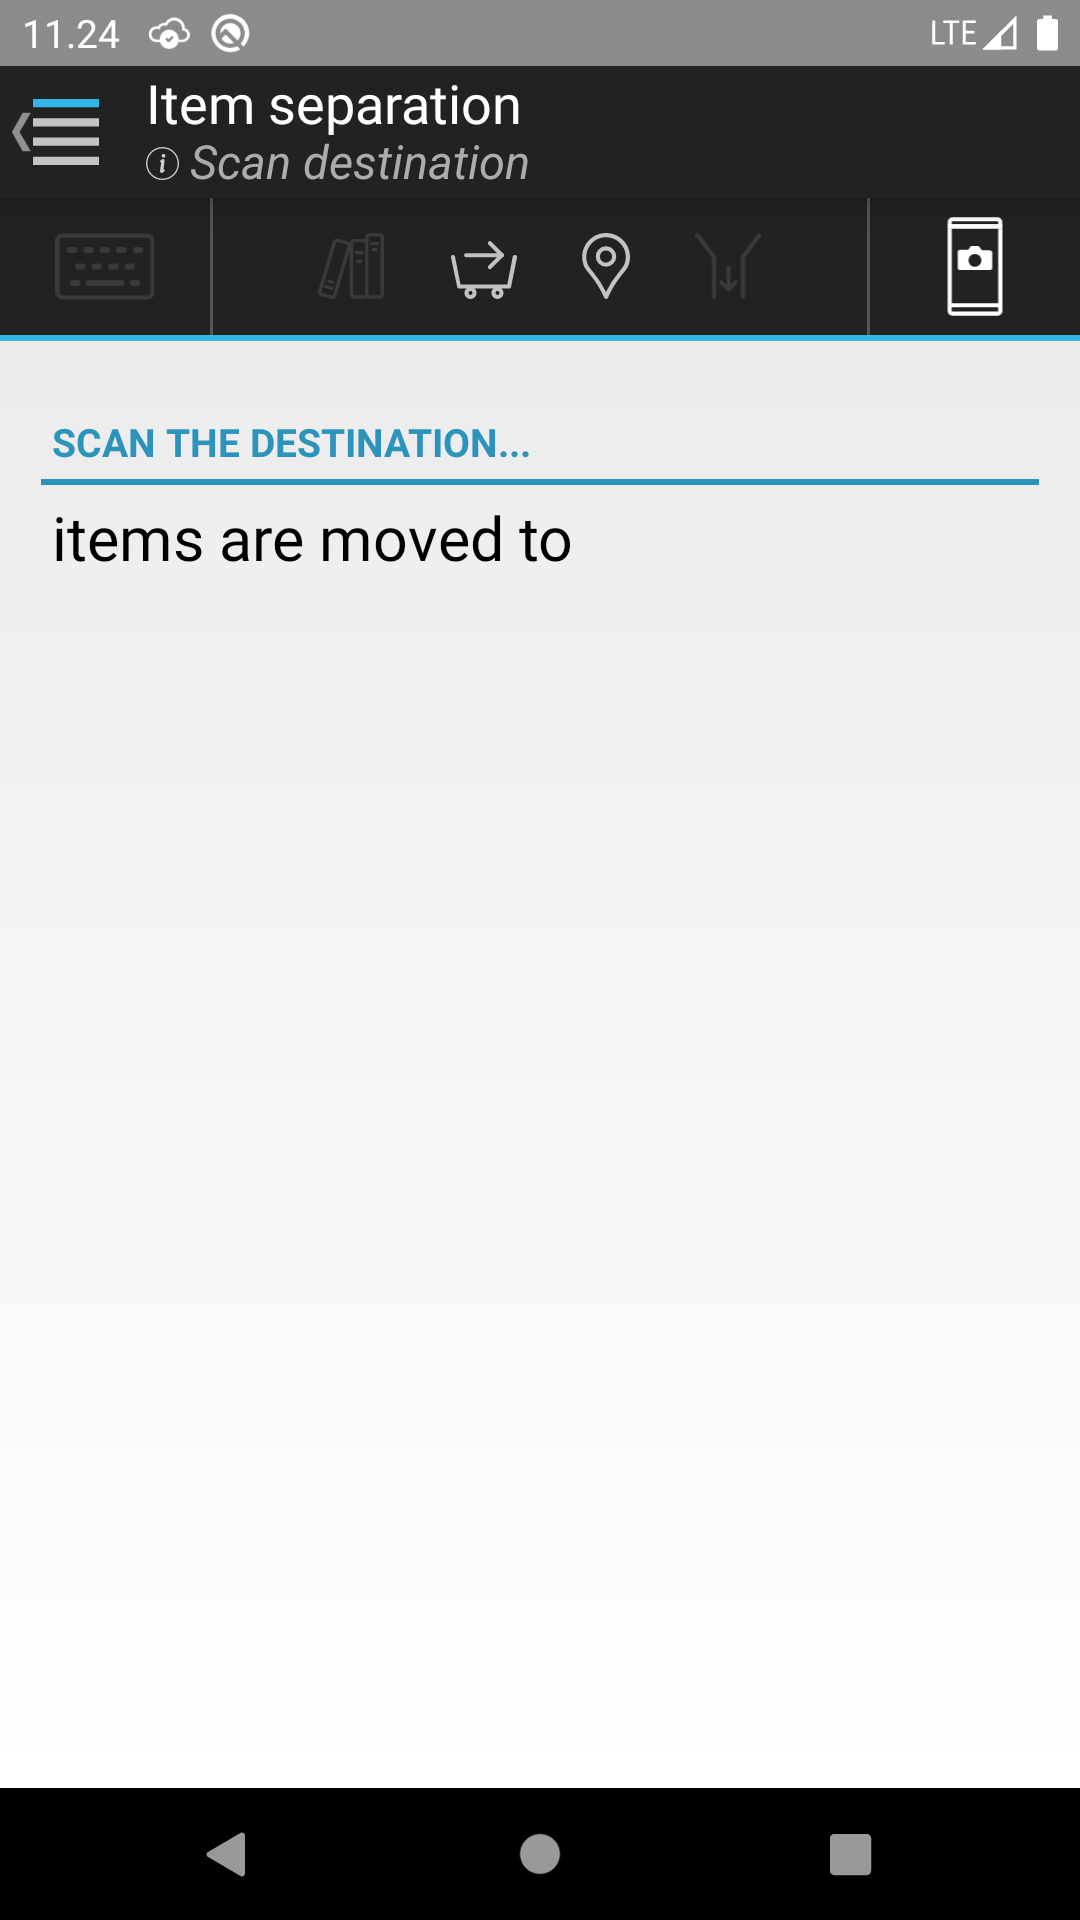
First step is to scan the transport unit or location, which the items are moved to during the subsequent separation.
The scanned transport unit or location can be used for handling multiple transport units containing items to be separated.
When a transport unit or location has been scanned, the next step is shown.
Here the transport unit containing the items to be separated is scanned.
It is not allowed to scan the same transport unit as the items are moved to (previous step).
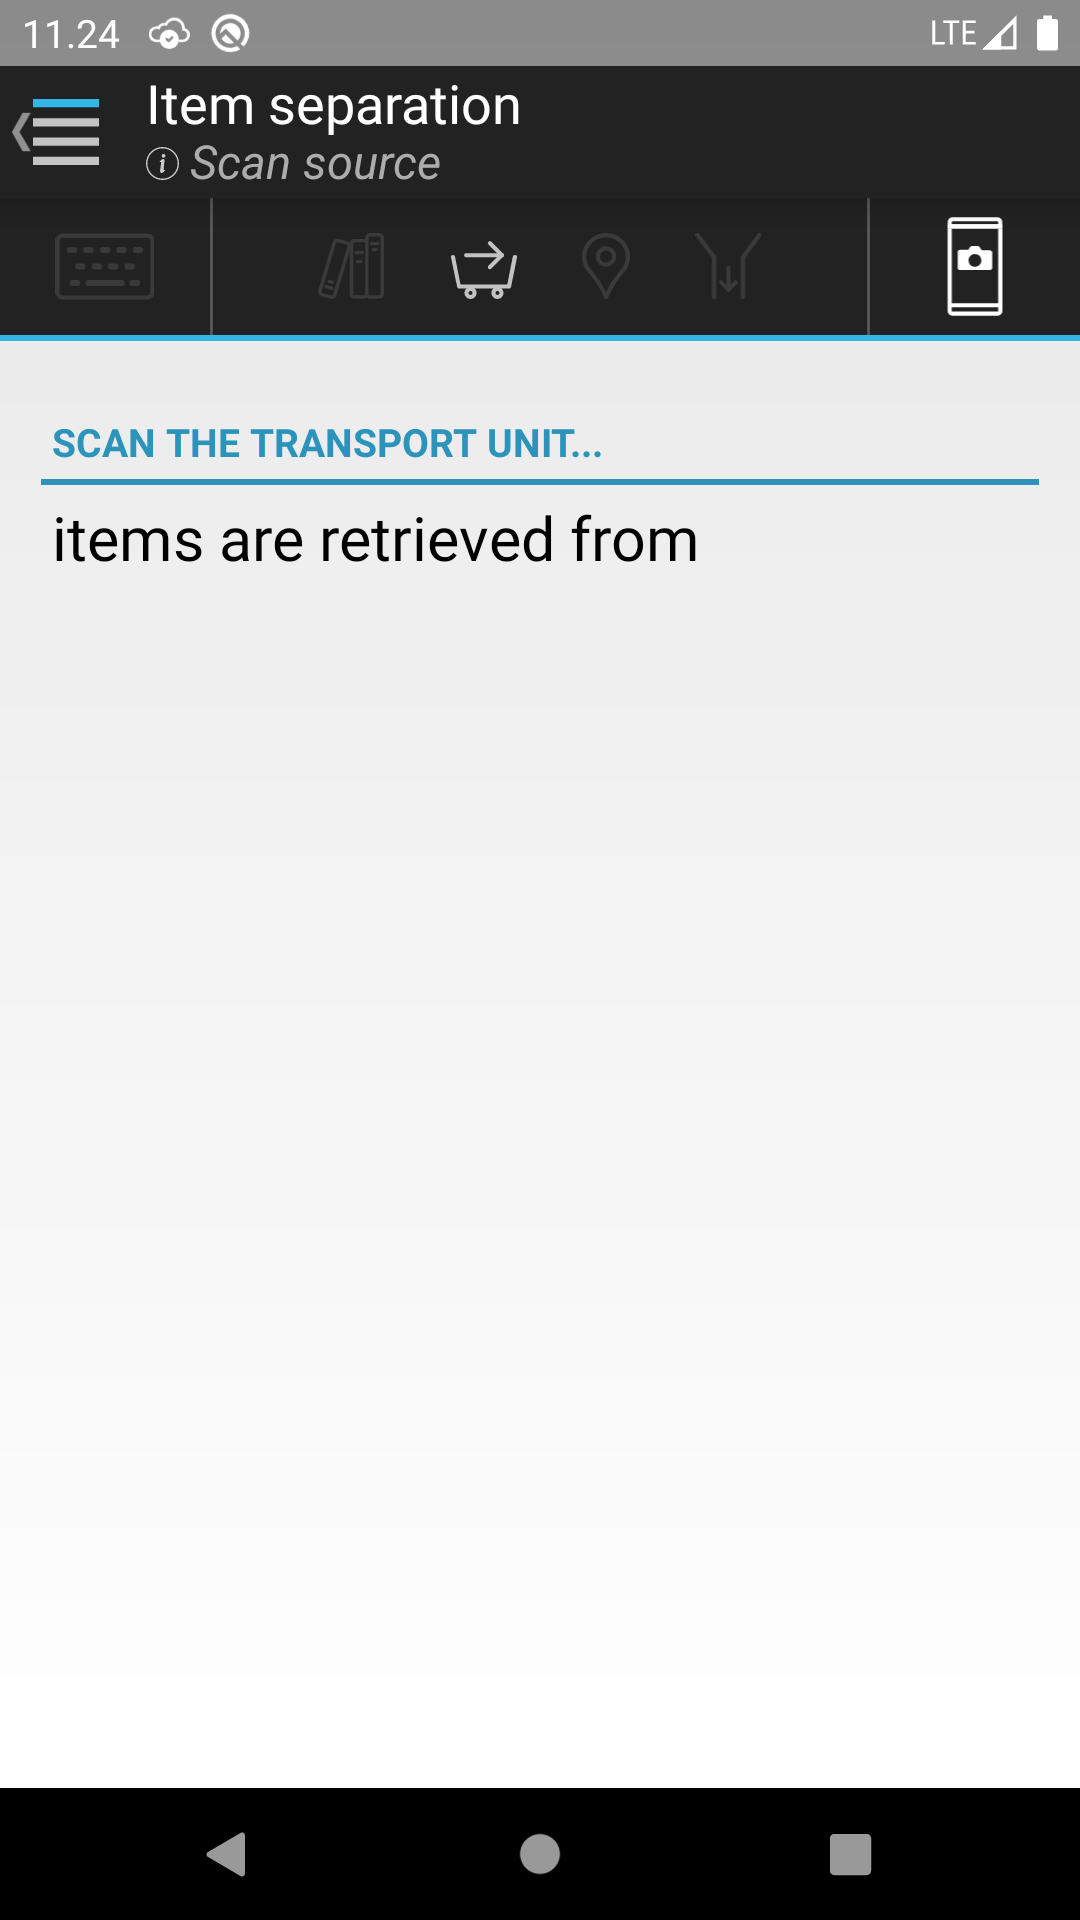
When a transport unit has been scanned, the next step is shown.
An overview of the fractions of items contained in the transport unit is shown – i.e. how the transport unit's various items should be handled.
The fraction to remove from the transport unit must be selected.
By pressing "Change display" is it possible to switch between displaying the exhibitions on the branch as a single row or as one row pr. exhibition.
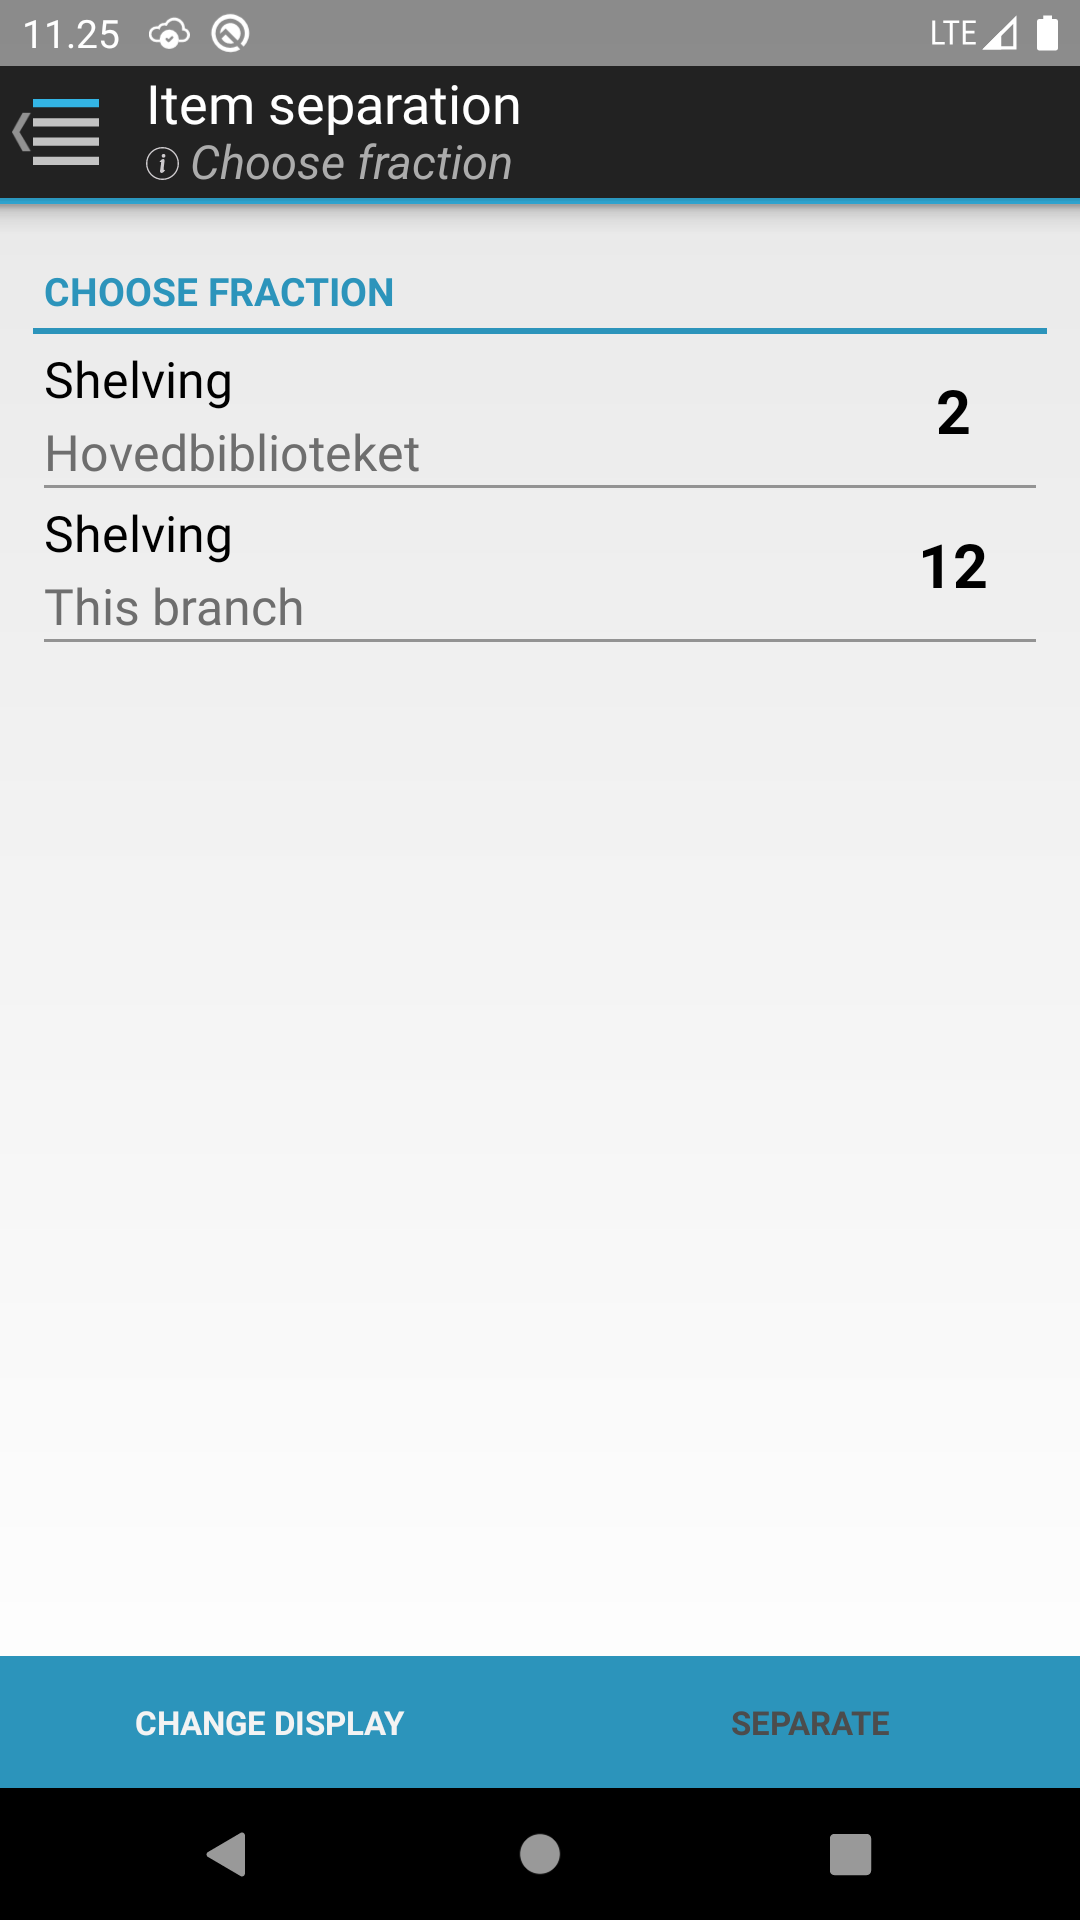
Once a fraction has been selected, "Separate" is pressed to switch to the next step.
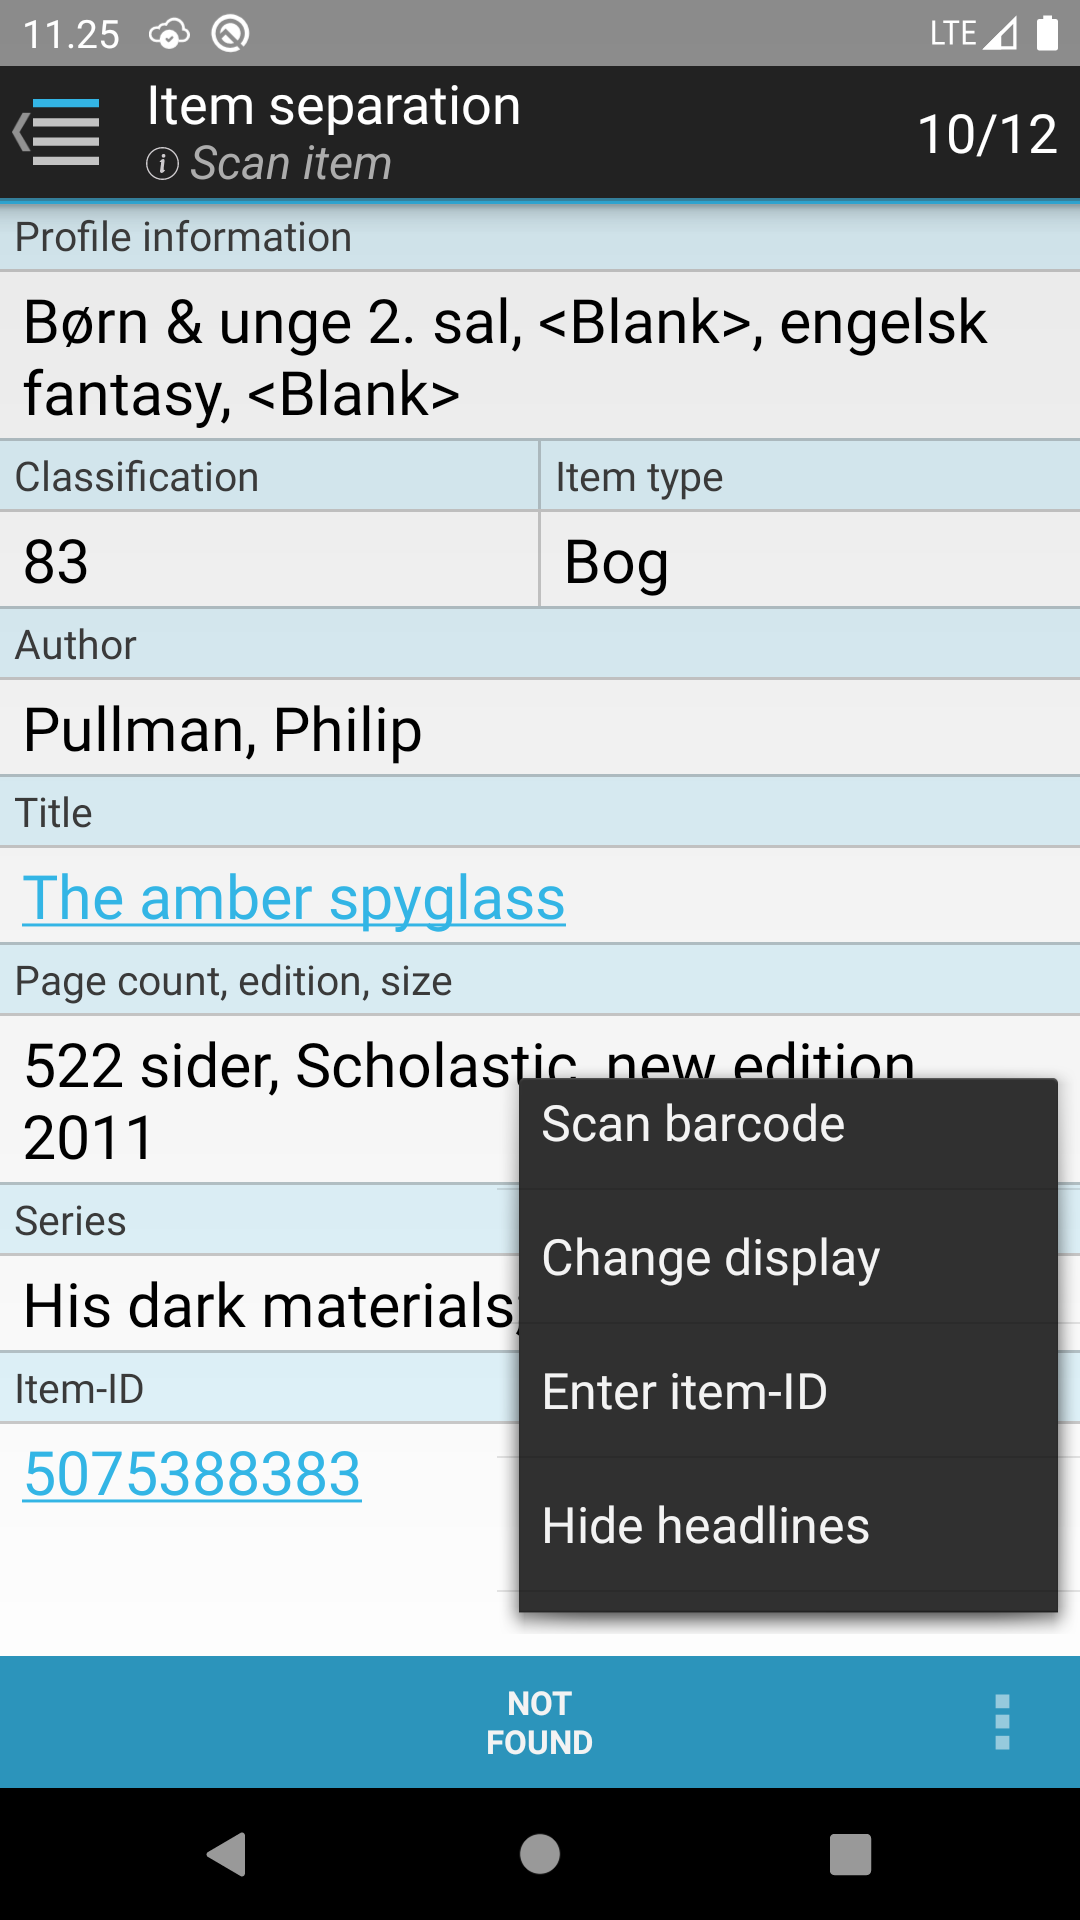
A list containing the items in the fraction chosen in the previous step are shown. These items should now be separated from the rest.
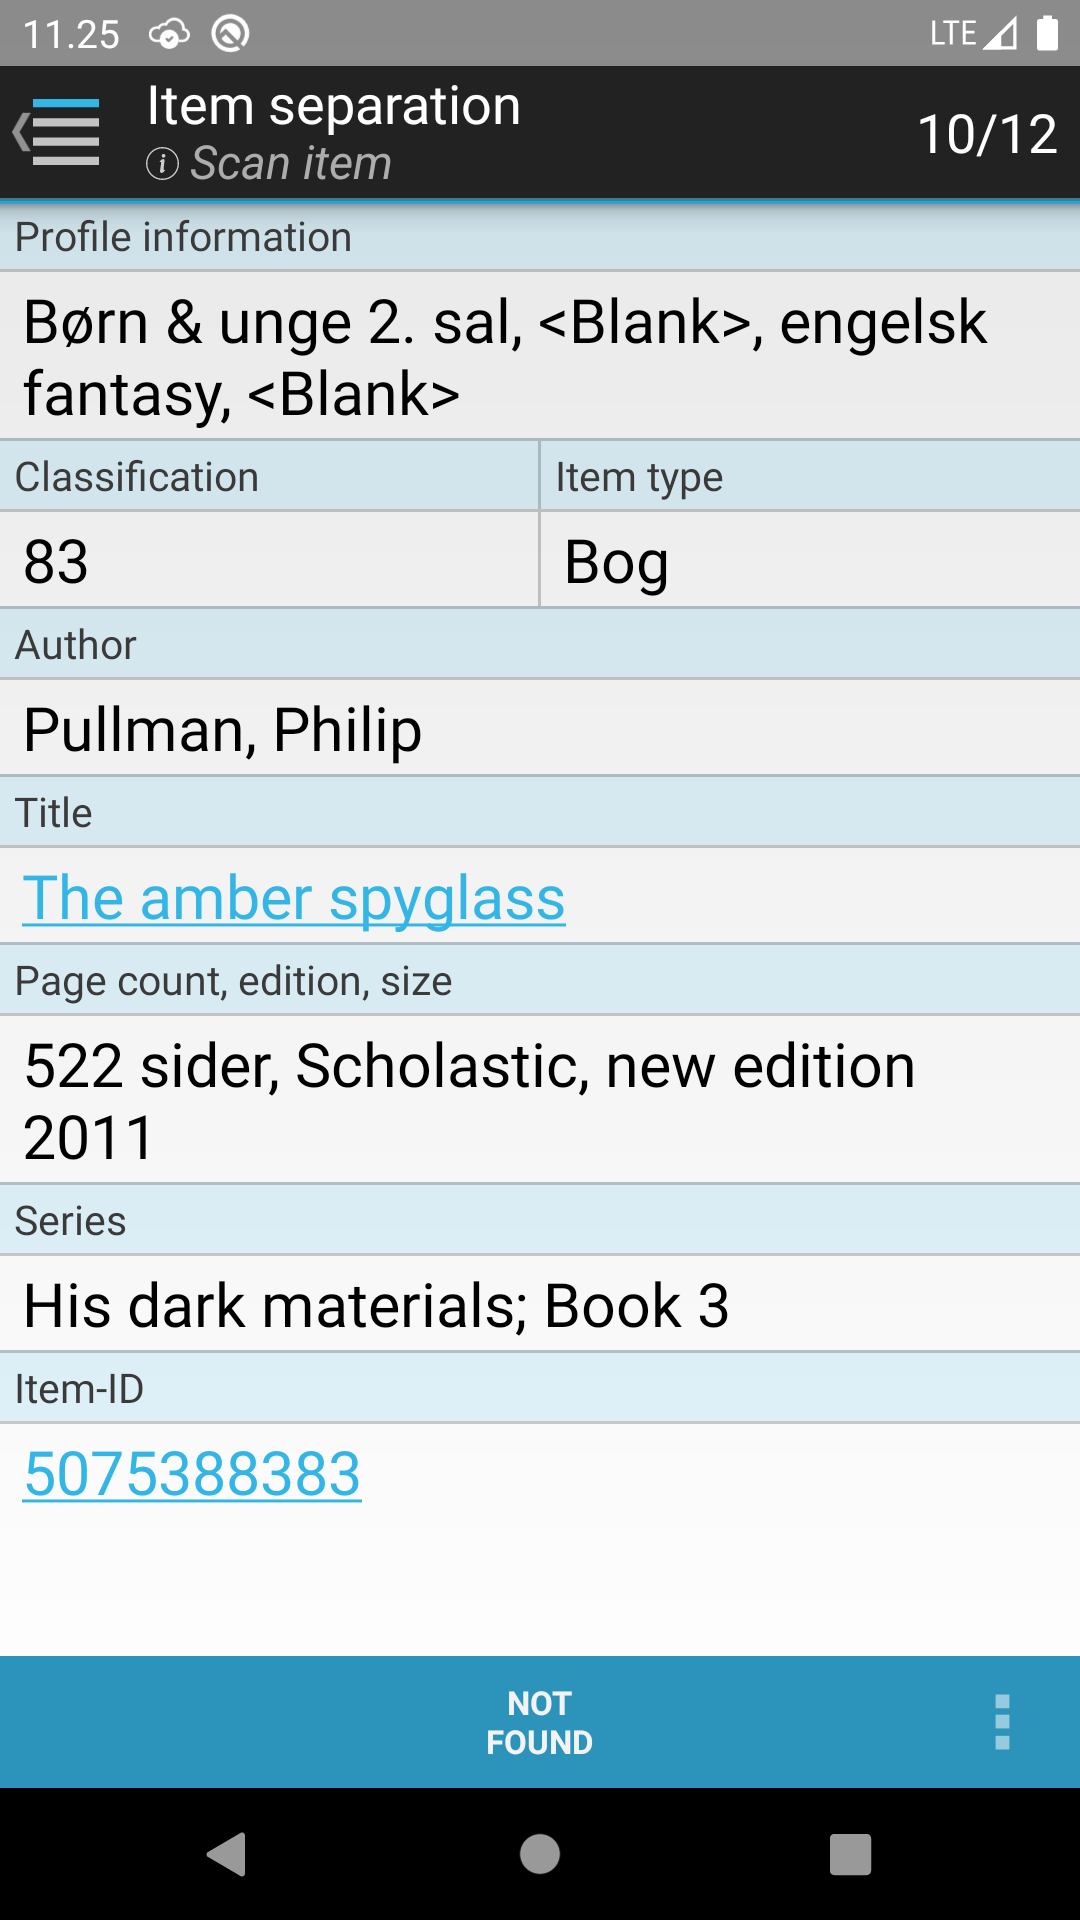
The functionality is similar to picking and is used in the same way.
Each time an item is scanned, it is removed from the list, and the item is moved to the destination (transport unit or location) scanned in the first step.
If the item cannot be found, "Not found" is pressed. The item is then registered as missing. This is, however, not possible for taken items.
The menu provides the following options:
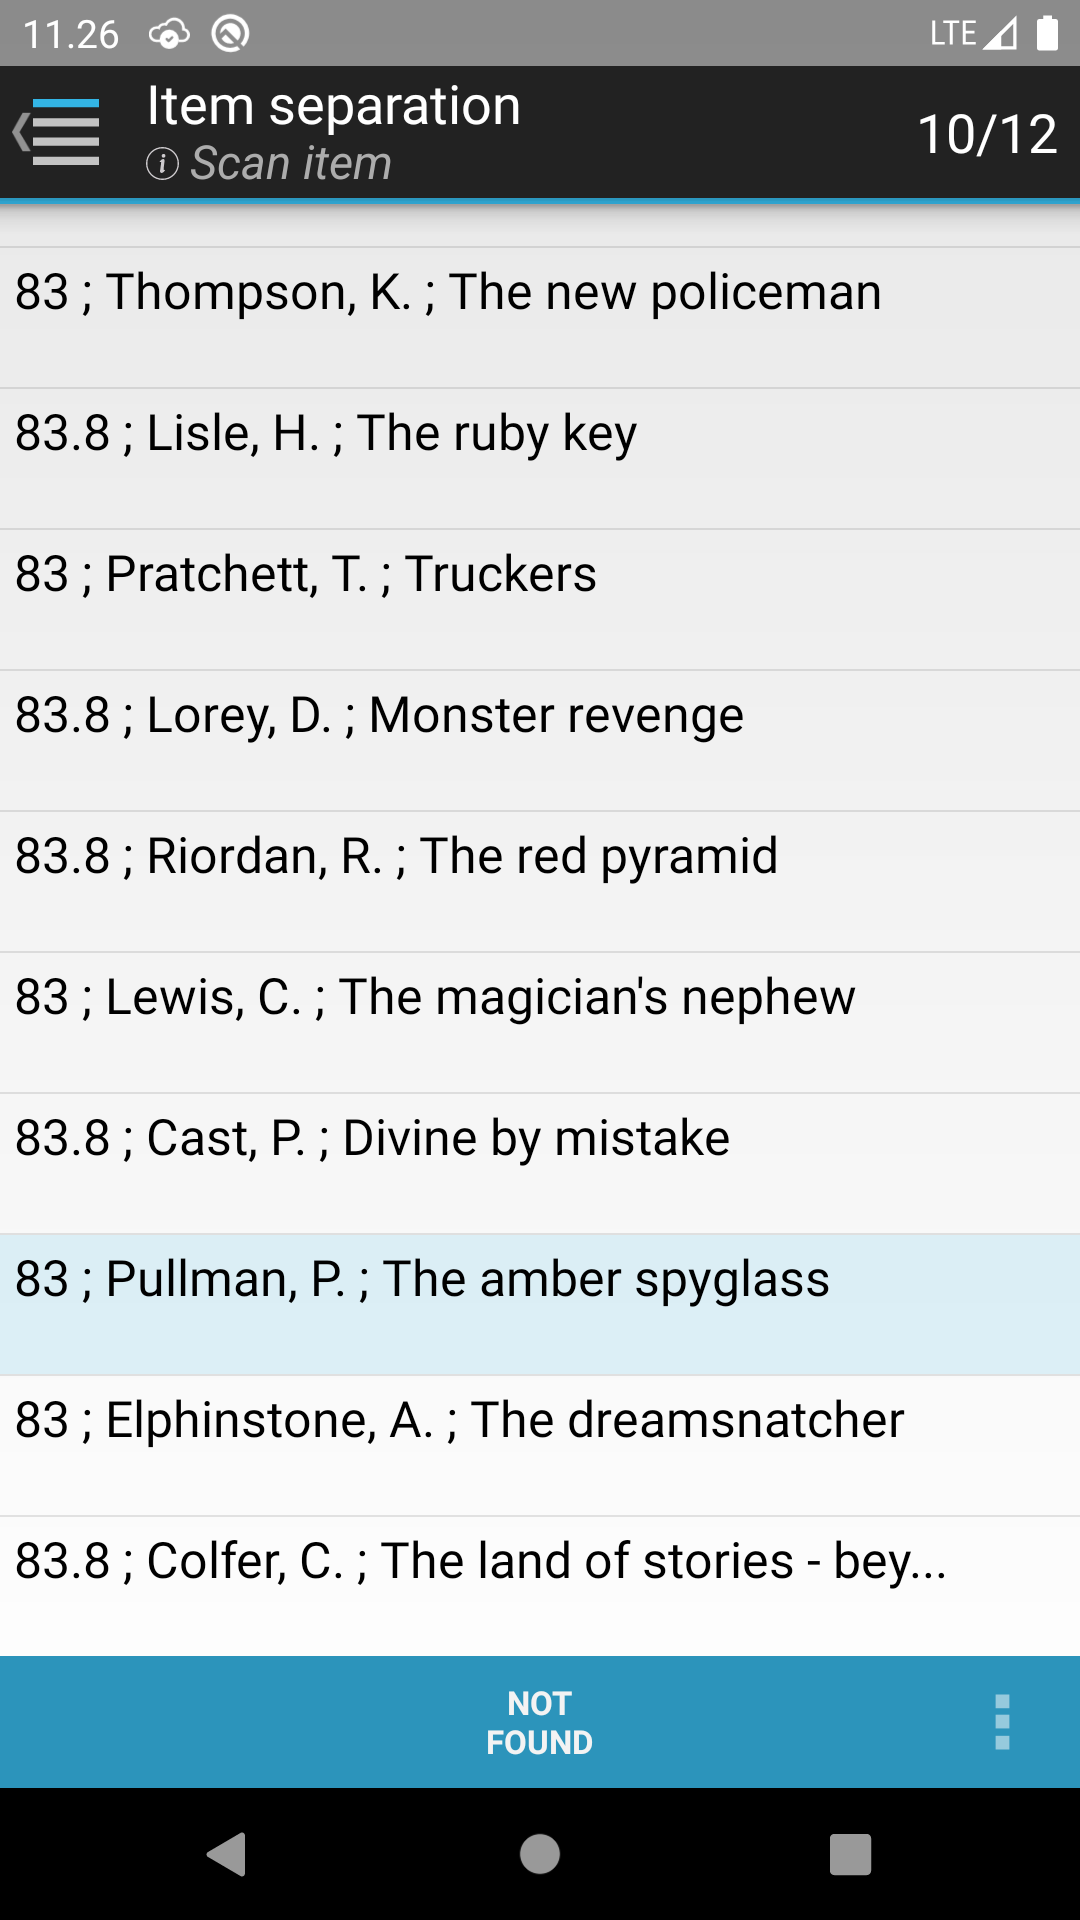
If "Change display" is selected, the screen appears as shown below.
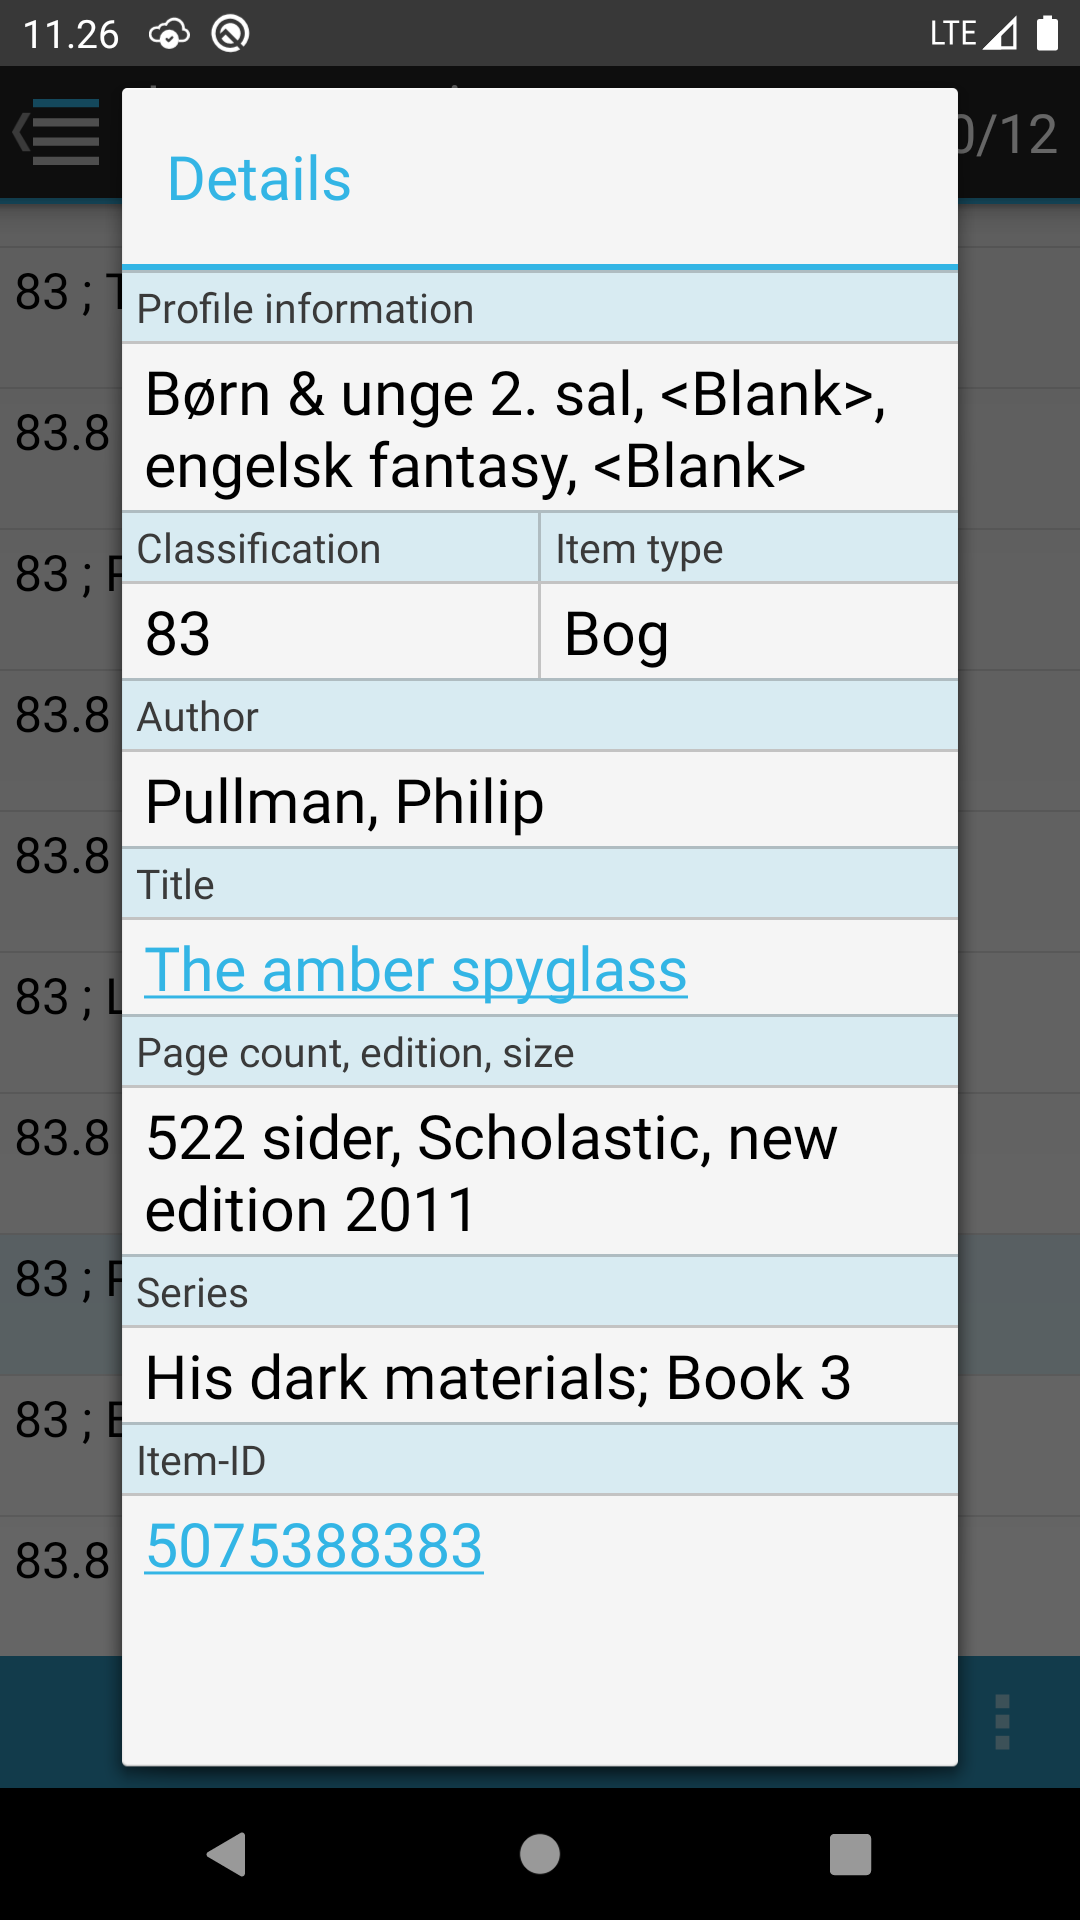
In compact view, you can see the details of an individual order by pressing your finger on an item for about a second. The detail window disappears when you click anywhere on the screen.
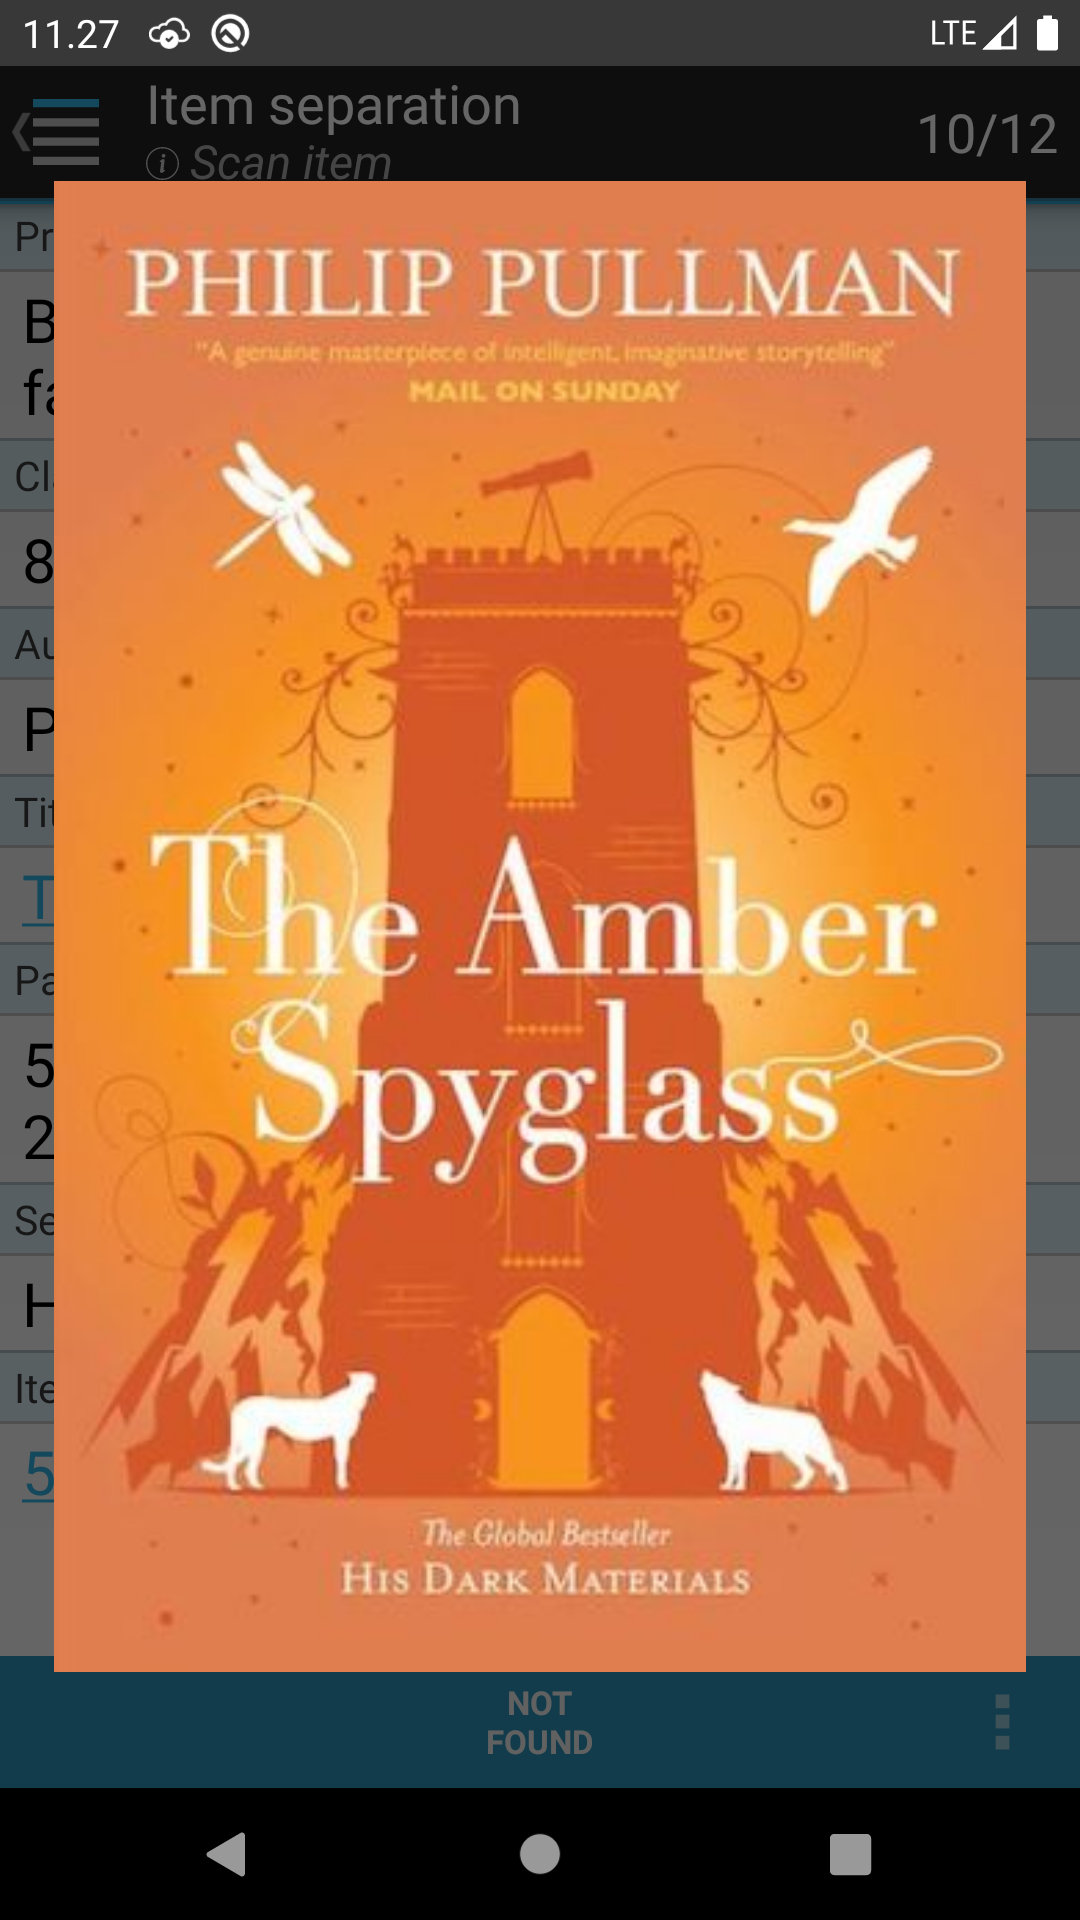
Clicking on an item's title calls the cover image service, which displays an image of the cover of the selected item. You can get rid of the image by clicking on or outside the image or by clicking the “Back” button. If the cover image is not available, then a message is displayed.
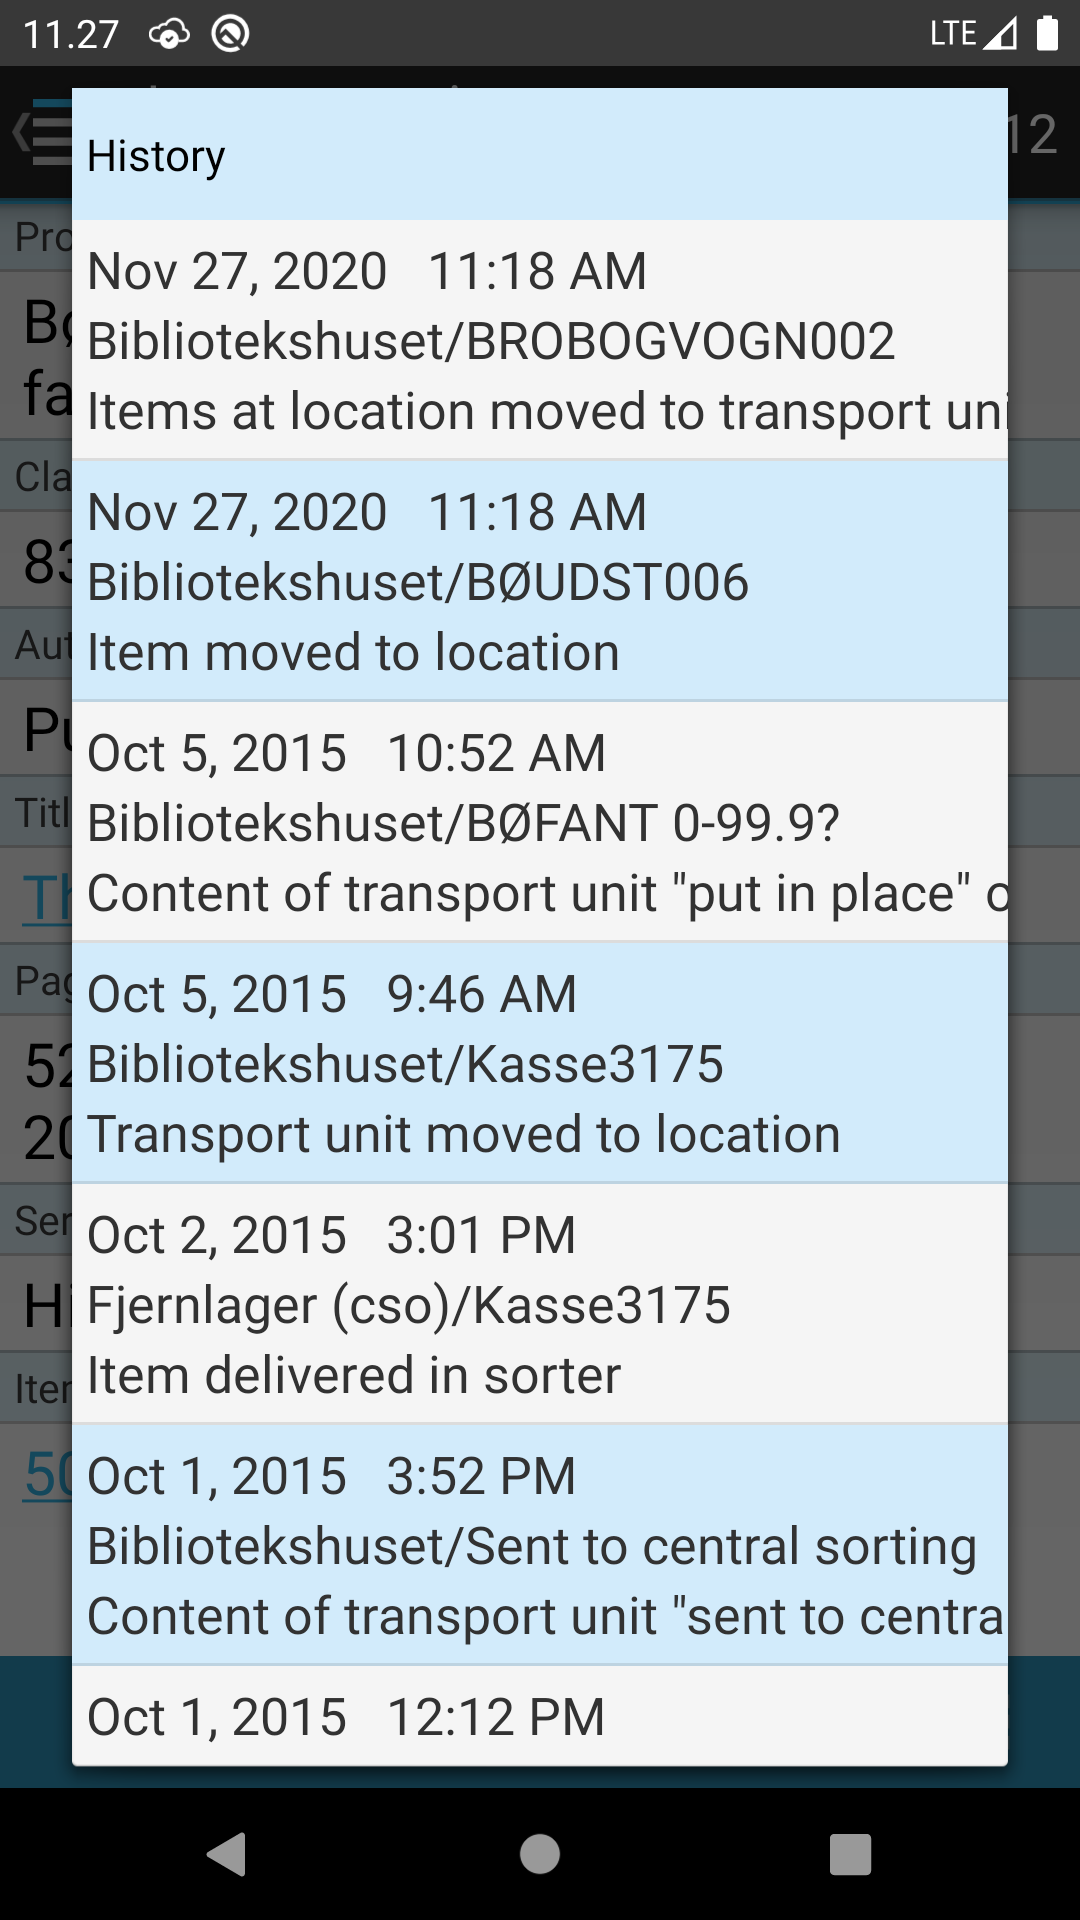
By clicking on the Item ID, the item's history is displayed. Here you can see where the item was previously located as well as the dates of the various actions. The last 15 movements for the item are shown. The history view is closed by clicking on the “Back” button.
When the last item on the list has been scanned (or not found), the step Scan the transport unit, items are retrieved from is shown, where a new transport unit can be separated.